Refurbishing the Flexaret V
My parents have had this old medium format camera sitting on a shelf for years and years. It turns out that this camera is none other than the Meopta Flexaret V. A medium format camera which was manufactured in the Czech Republic in 1958 (it was Czechoslovakia back then). I think it was a wedding present. Recently I became interested in trying to take some pictures with it.

After pressing all of the buttons trying to figure out how to use it, I got the back open and noticed that it didn’t have anything to wind the film onto, the spool was gone. I modeled one based on some drawings of 120 film spools I found on google images and printed it in three parts like so:

I loaded some film into it and pressed the shutter release button, but nothing happened. In fact, the shutter release wouldn’t depress at all, perhaps it was jammed. It was time to go inside the camera and take a look. In order to get inside the camera you have to peel up the leatherette on the front face of the camera (the face with the lens). It is only necessary to peel up the leatherette on the top of the camera (closest to the viewport) to access two screws, one on either side. It is also necessary to remove the four small screws on the front plate under the focus mechanism to reveal two more large front panel screws. Once these four large front panel screws are removed, the front face of the camera is loose, but the lens blob is still fastened on tight. We’ll get to that. Next, I removed the ring retaining the leaf shutter/lens assembly from the inside of the camera (in through the film back) using an adjustable lens spanner.
I mentioned that this camera has a leaf shutter. That means that the lens contains a shutter as well as an aperture, this is unusual because the shutter is normally found in the camera body. This is nice because it means that the camera itself is very simple, almost all of the complexity is inside this lens module. So the hope is that whatever is jamming our shutter is in the camera and not in the lens module.
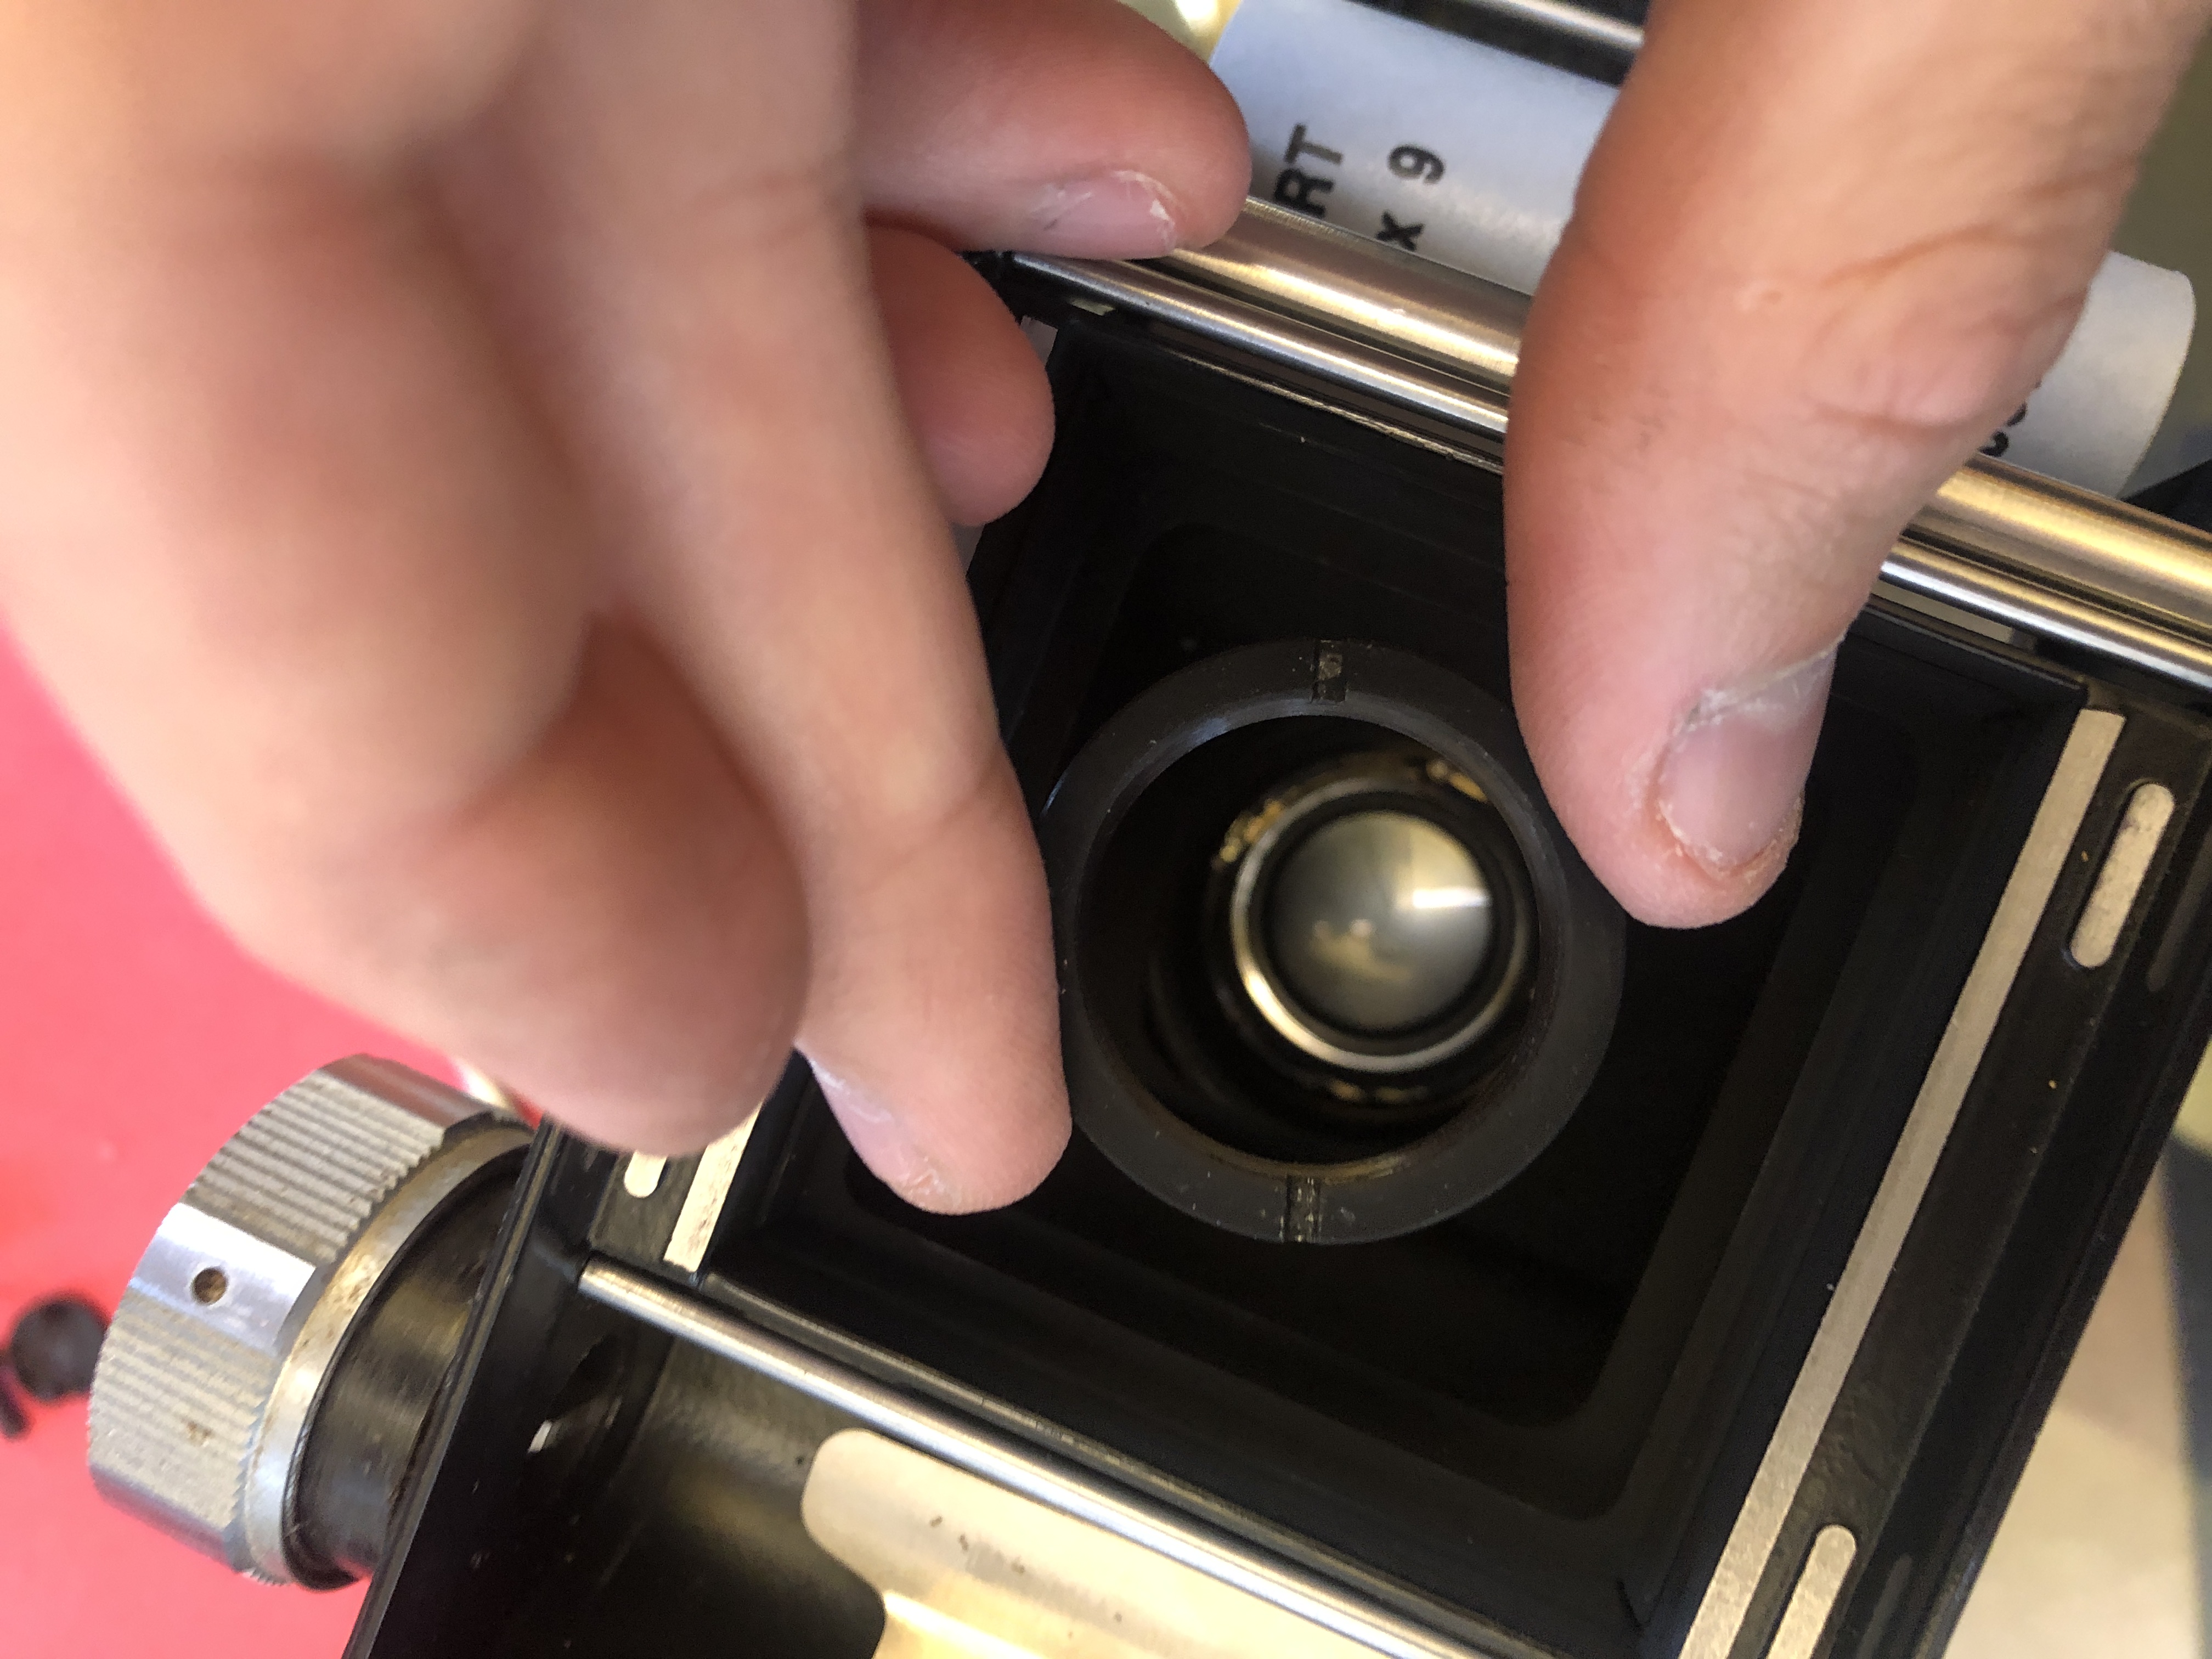
Another interesting property of this camera is that it is a twin lens reflex camera, and this just means that it has two lenses, one for the viewfinder, and one for exposing the film. These two lenses move together when you focus the camera. They are rigidly mounted to a small platform that moves in and out of the camera when the big silver piece at the bottom of the camera is rotated. Once we’ve removed that inner retaining ring, the leaf shutter module comes loose (be careful with the two wires connecting the leaf shutter module to the rest of parts, these wires are for the flash and they are very old).
Also pictured are three spacers which stand the picture taking lens assembly off from the platform, my bet is that these were added to calibrate the focus of the camera after manufacturing. Now that we have the leaf shutter module out, we can do some quick tests to make sure it is healthy. Here are a couple of videos of the leaf shutter doing its business with different settings (short exposure, small aperture, long exposure).
The leaf shutter module works beautifully, which is great, but it means that our problem lies somewhere in the shutter mechanism in the camera. Back to taking apart the camera. The platform that holds the two lenses is still fastened tight, there are four more screws under the leaf shutter module that must be removed. Here’s what it should look like when those are removed:
Now we can free the full optical module, but the front plate of the camera is still in place (despite all of its screws having been removed in the first step). In order to remove the front place, we need to remove the focus lever and the screws that retain it:
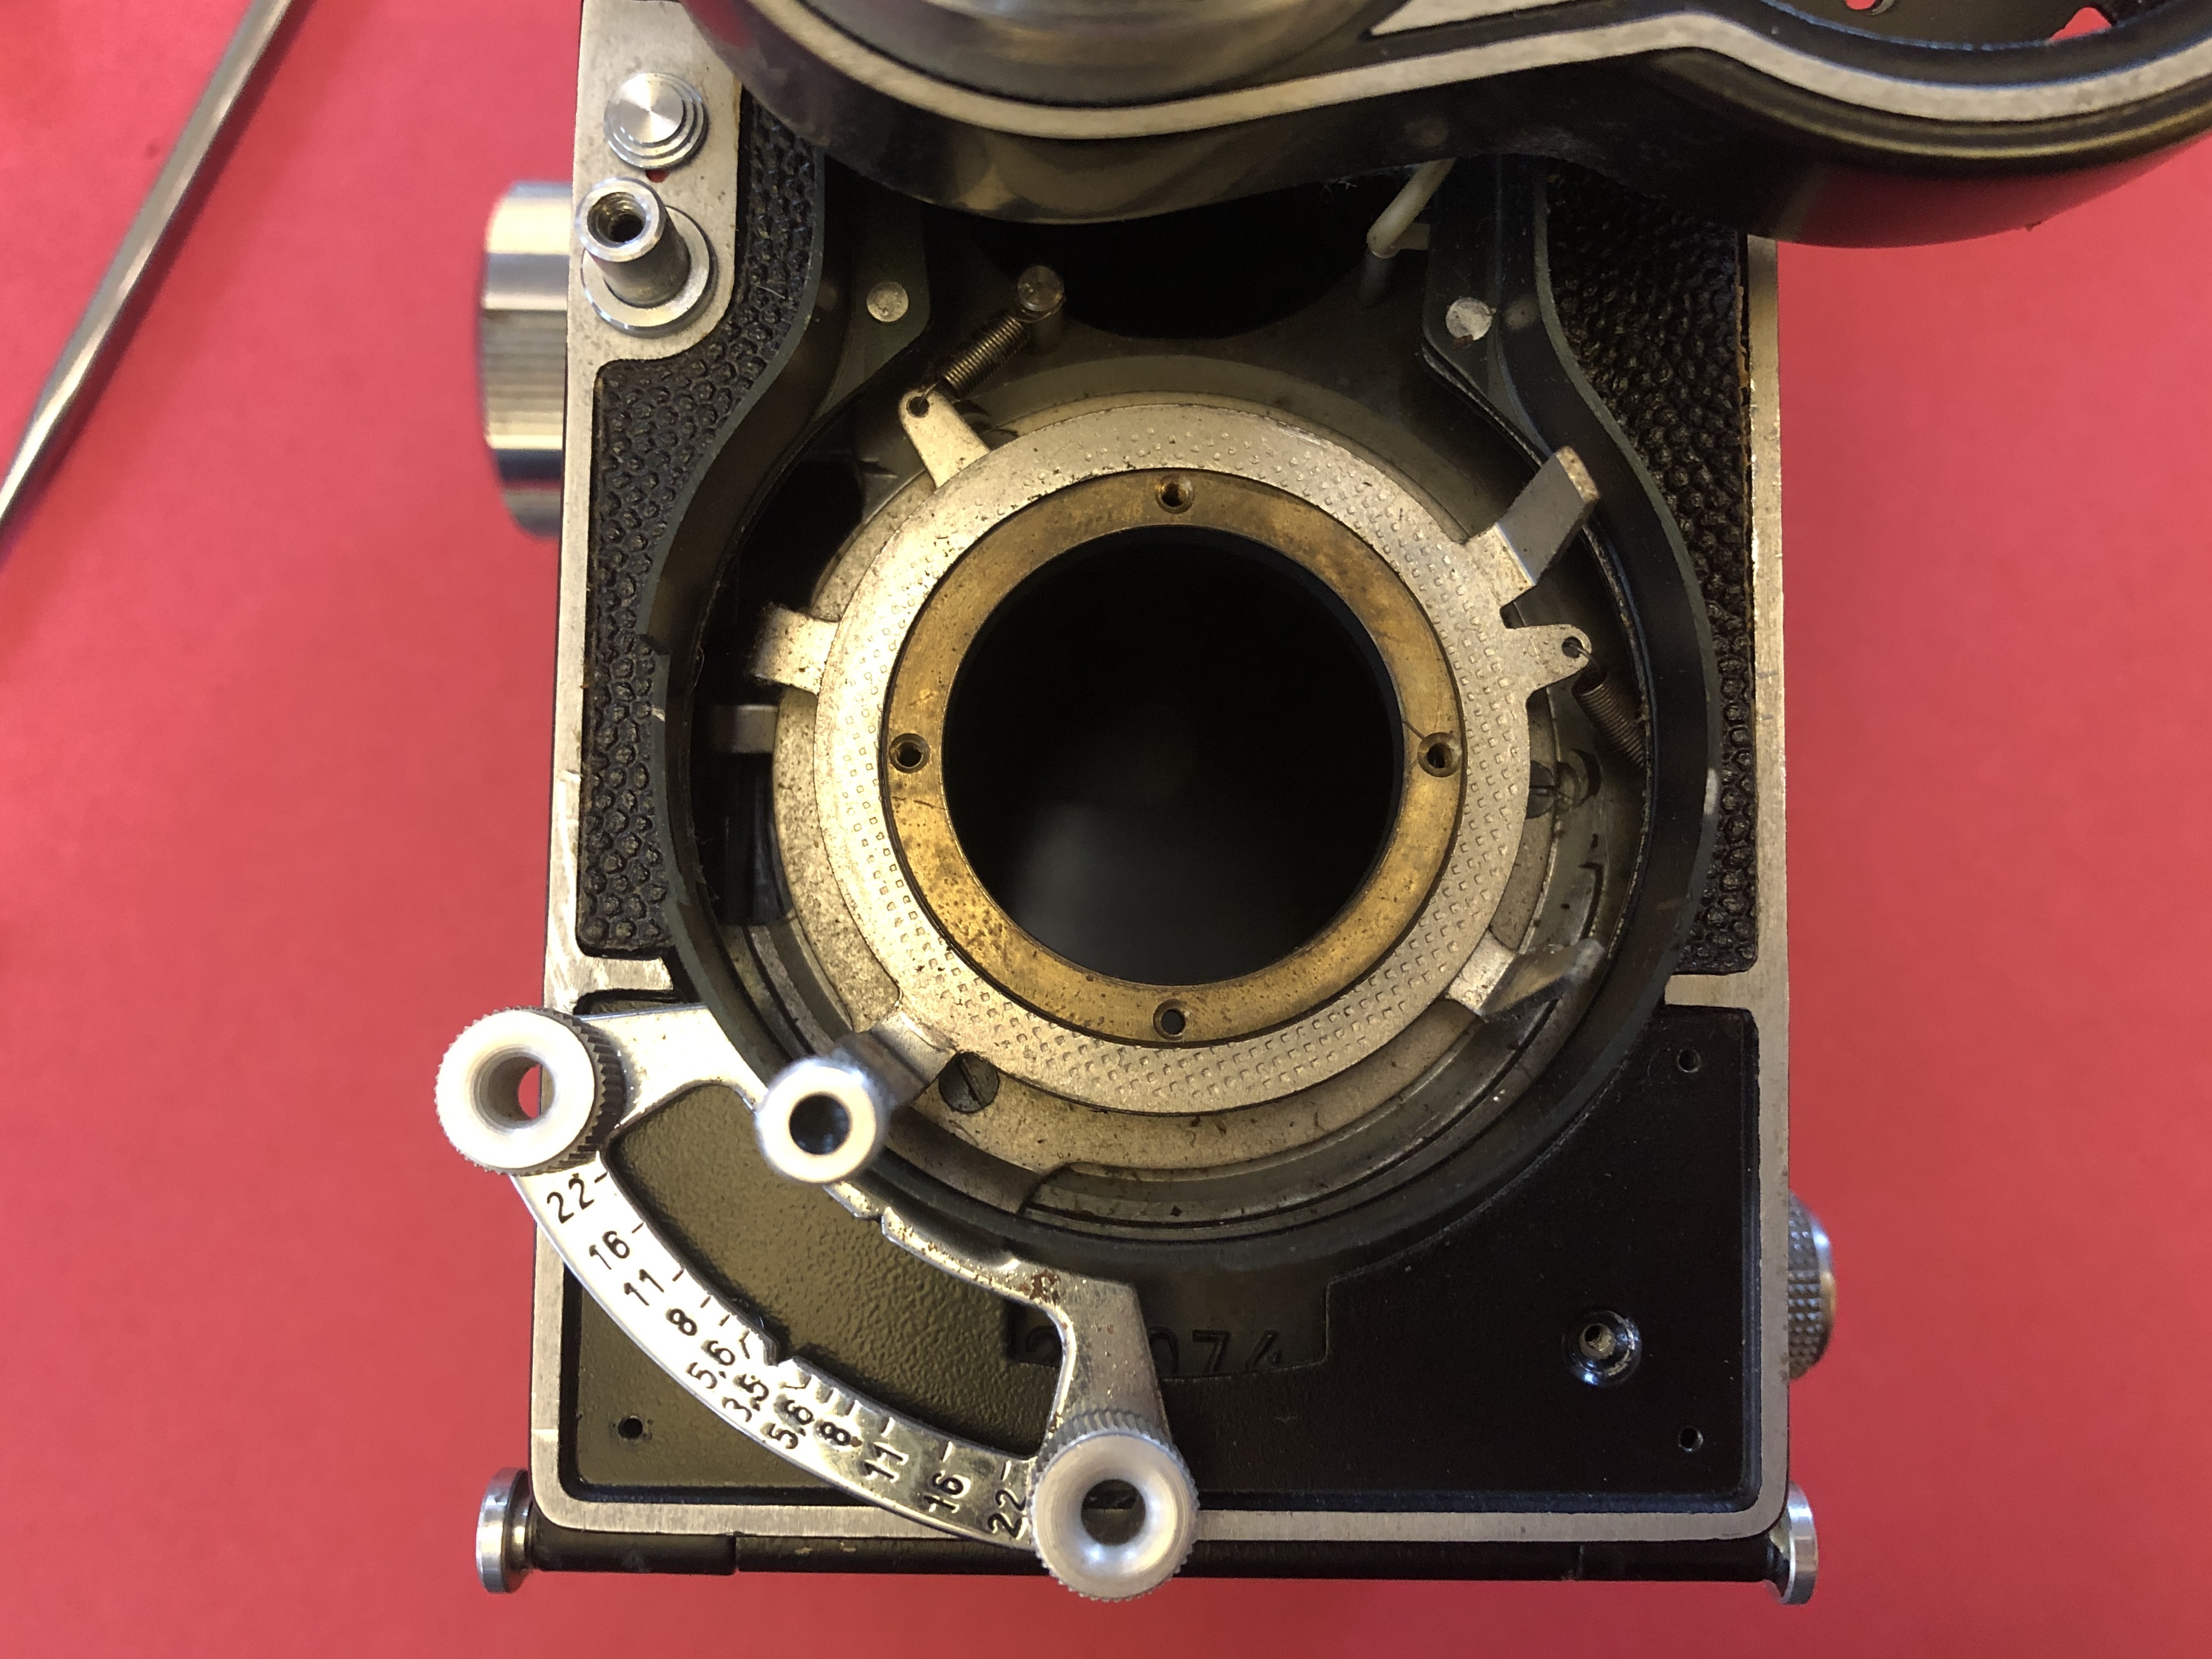
Once these are gone, the whole front plate will come off the camera and we can have a look inside:
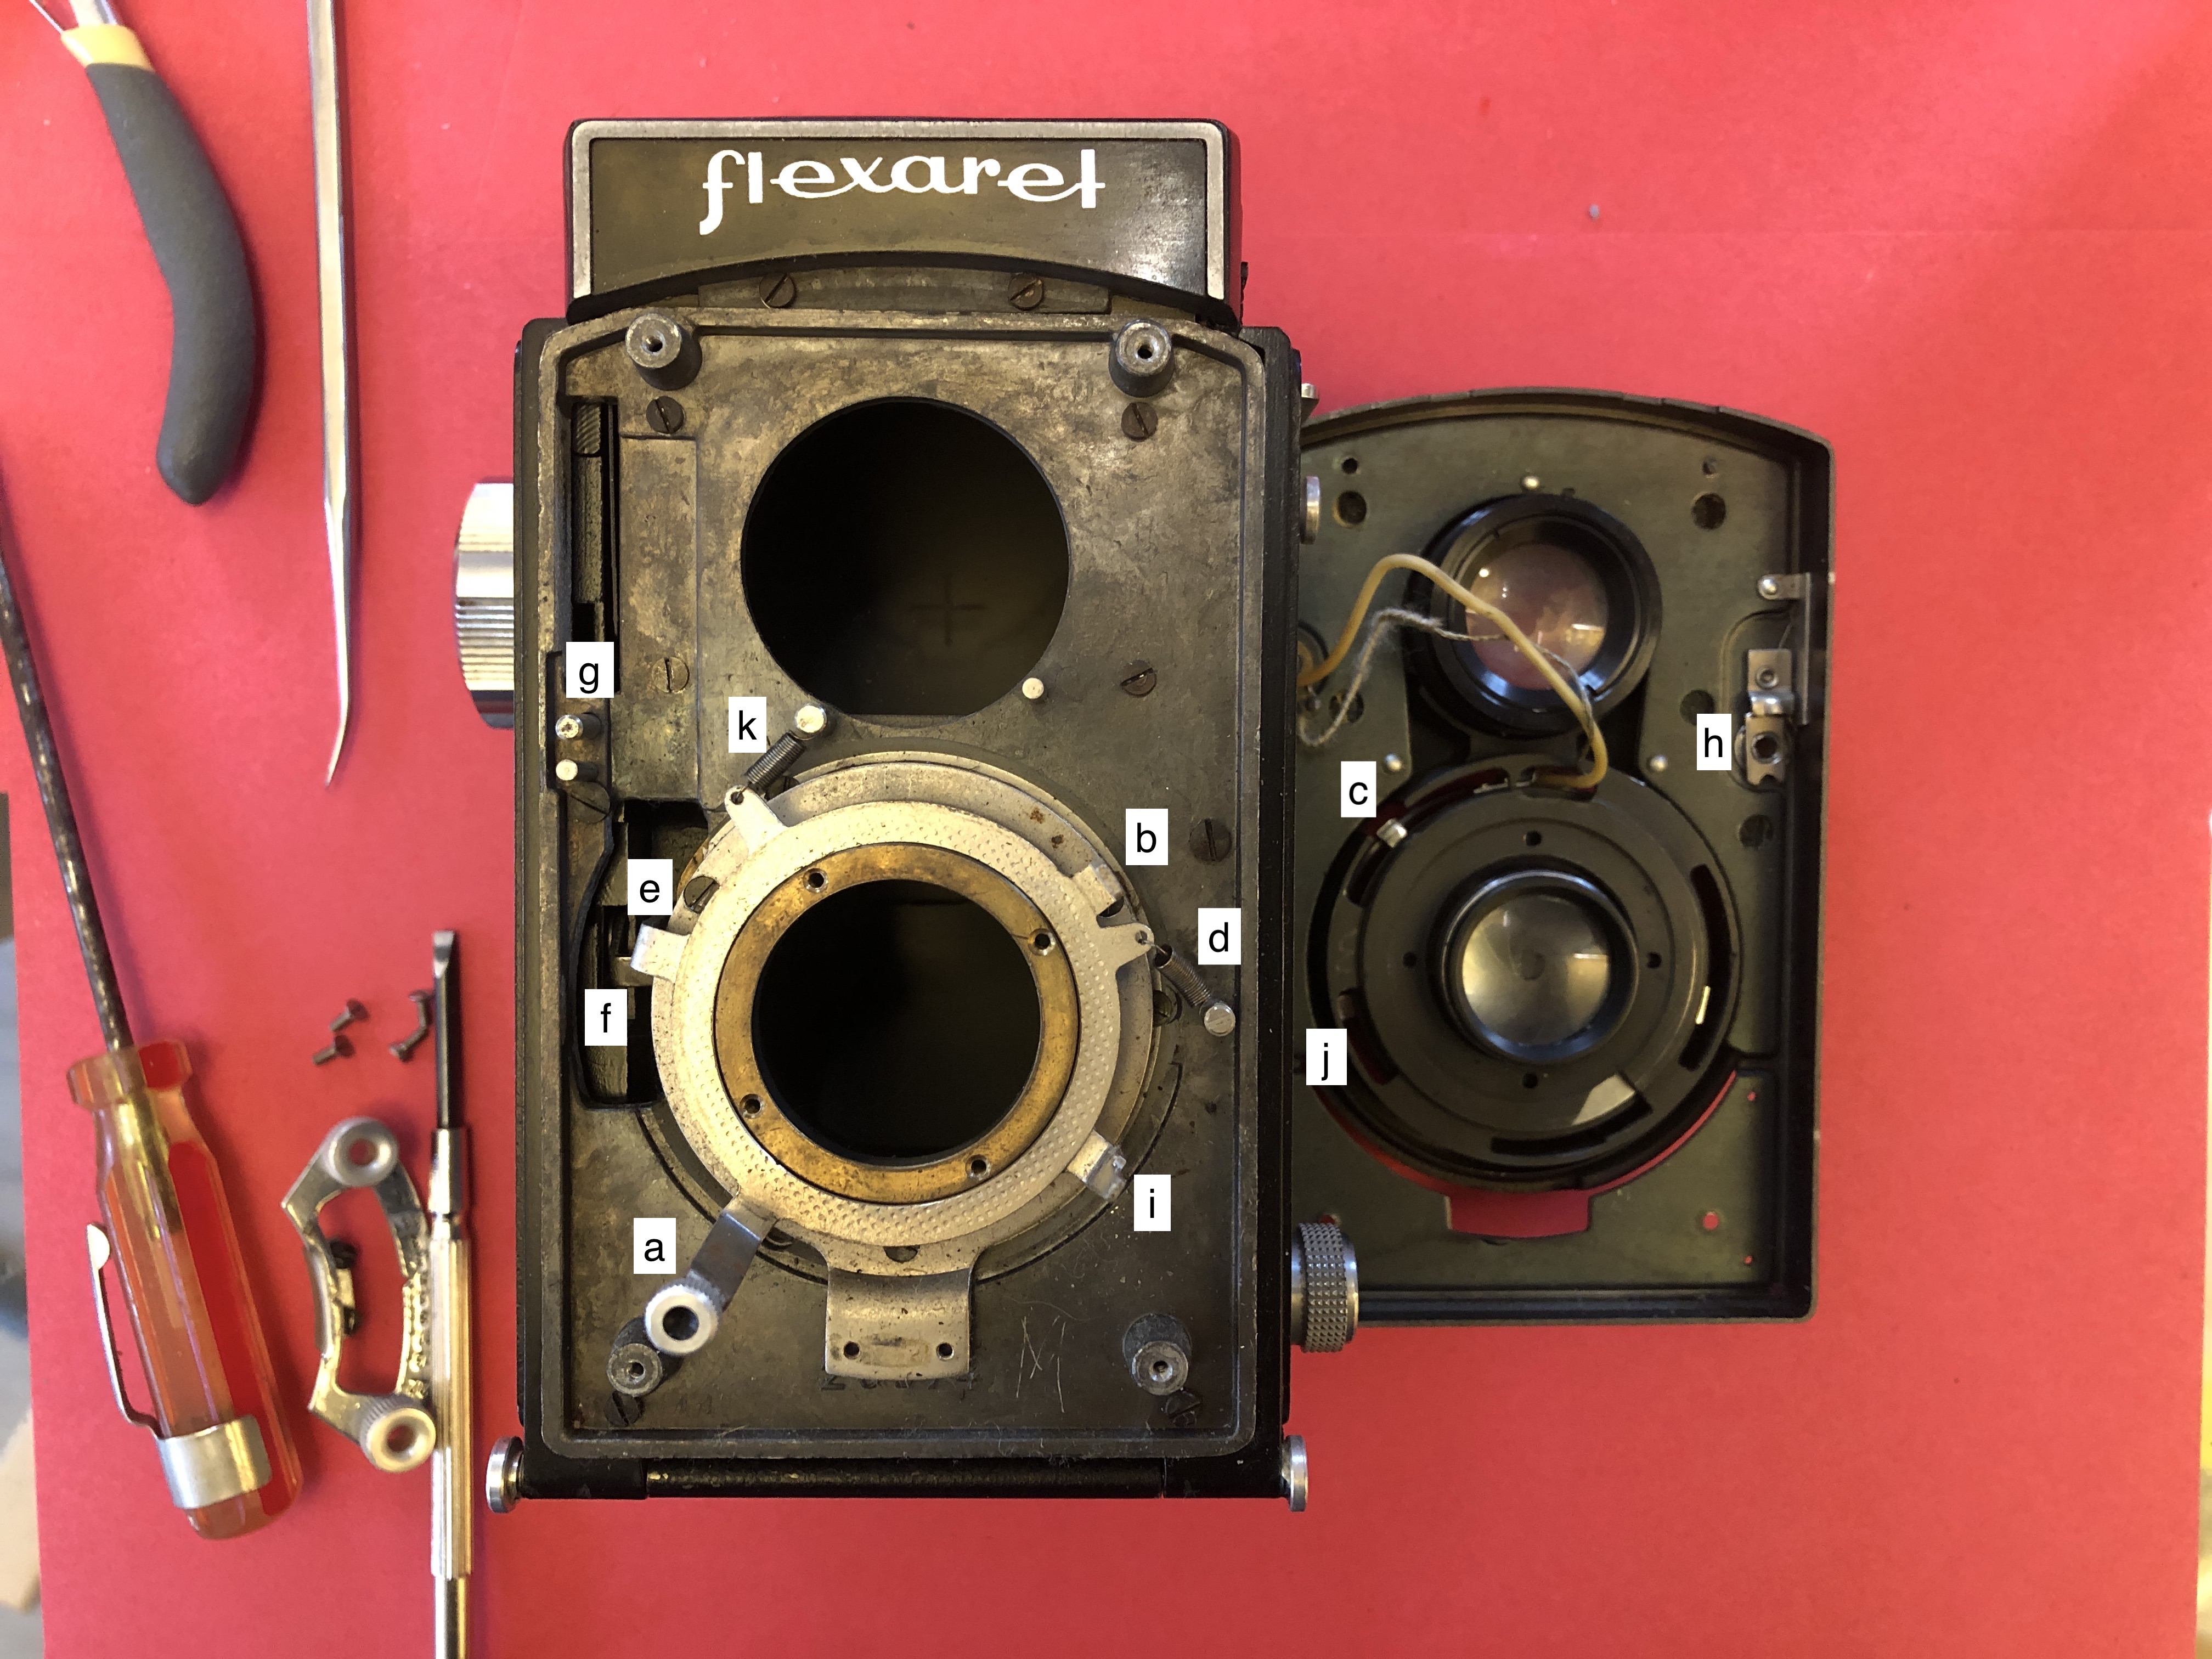
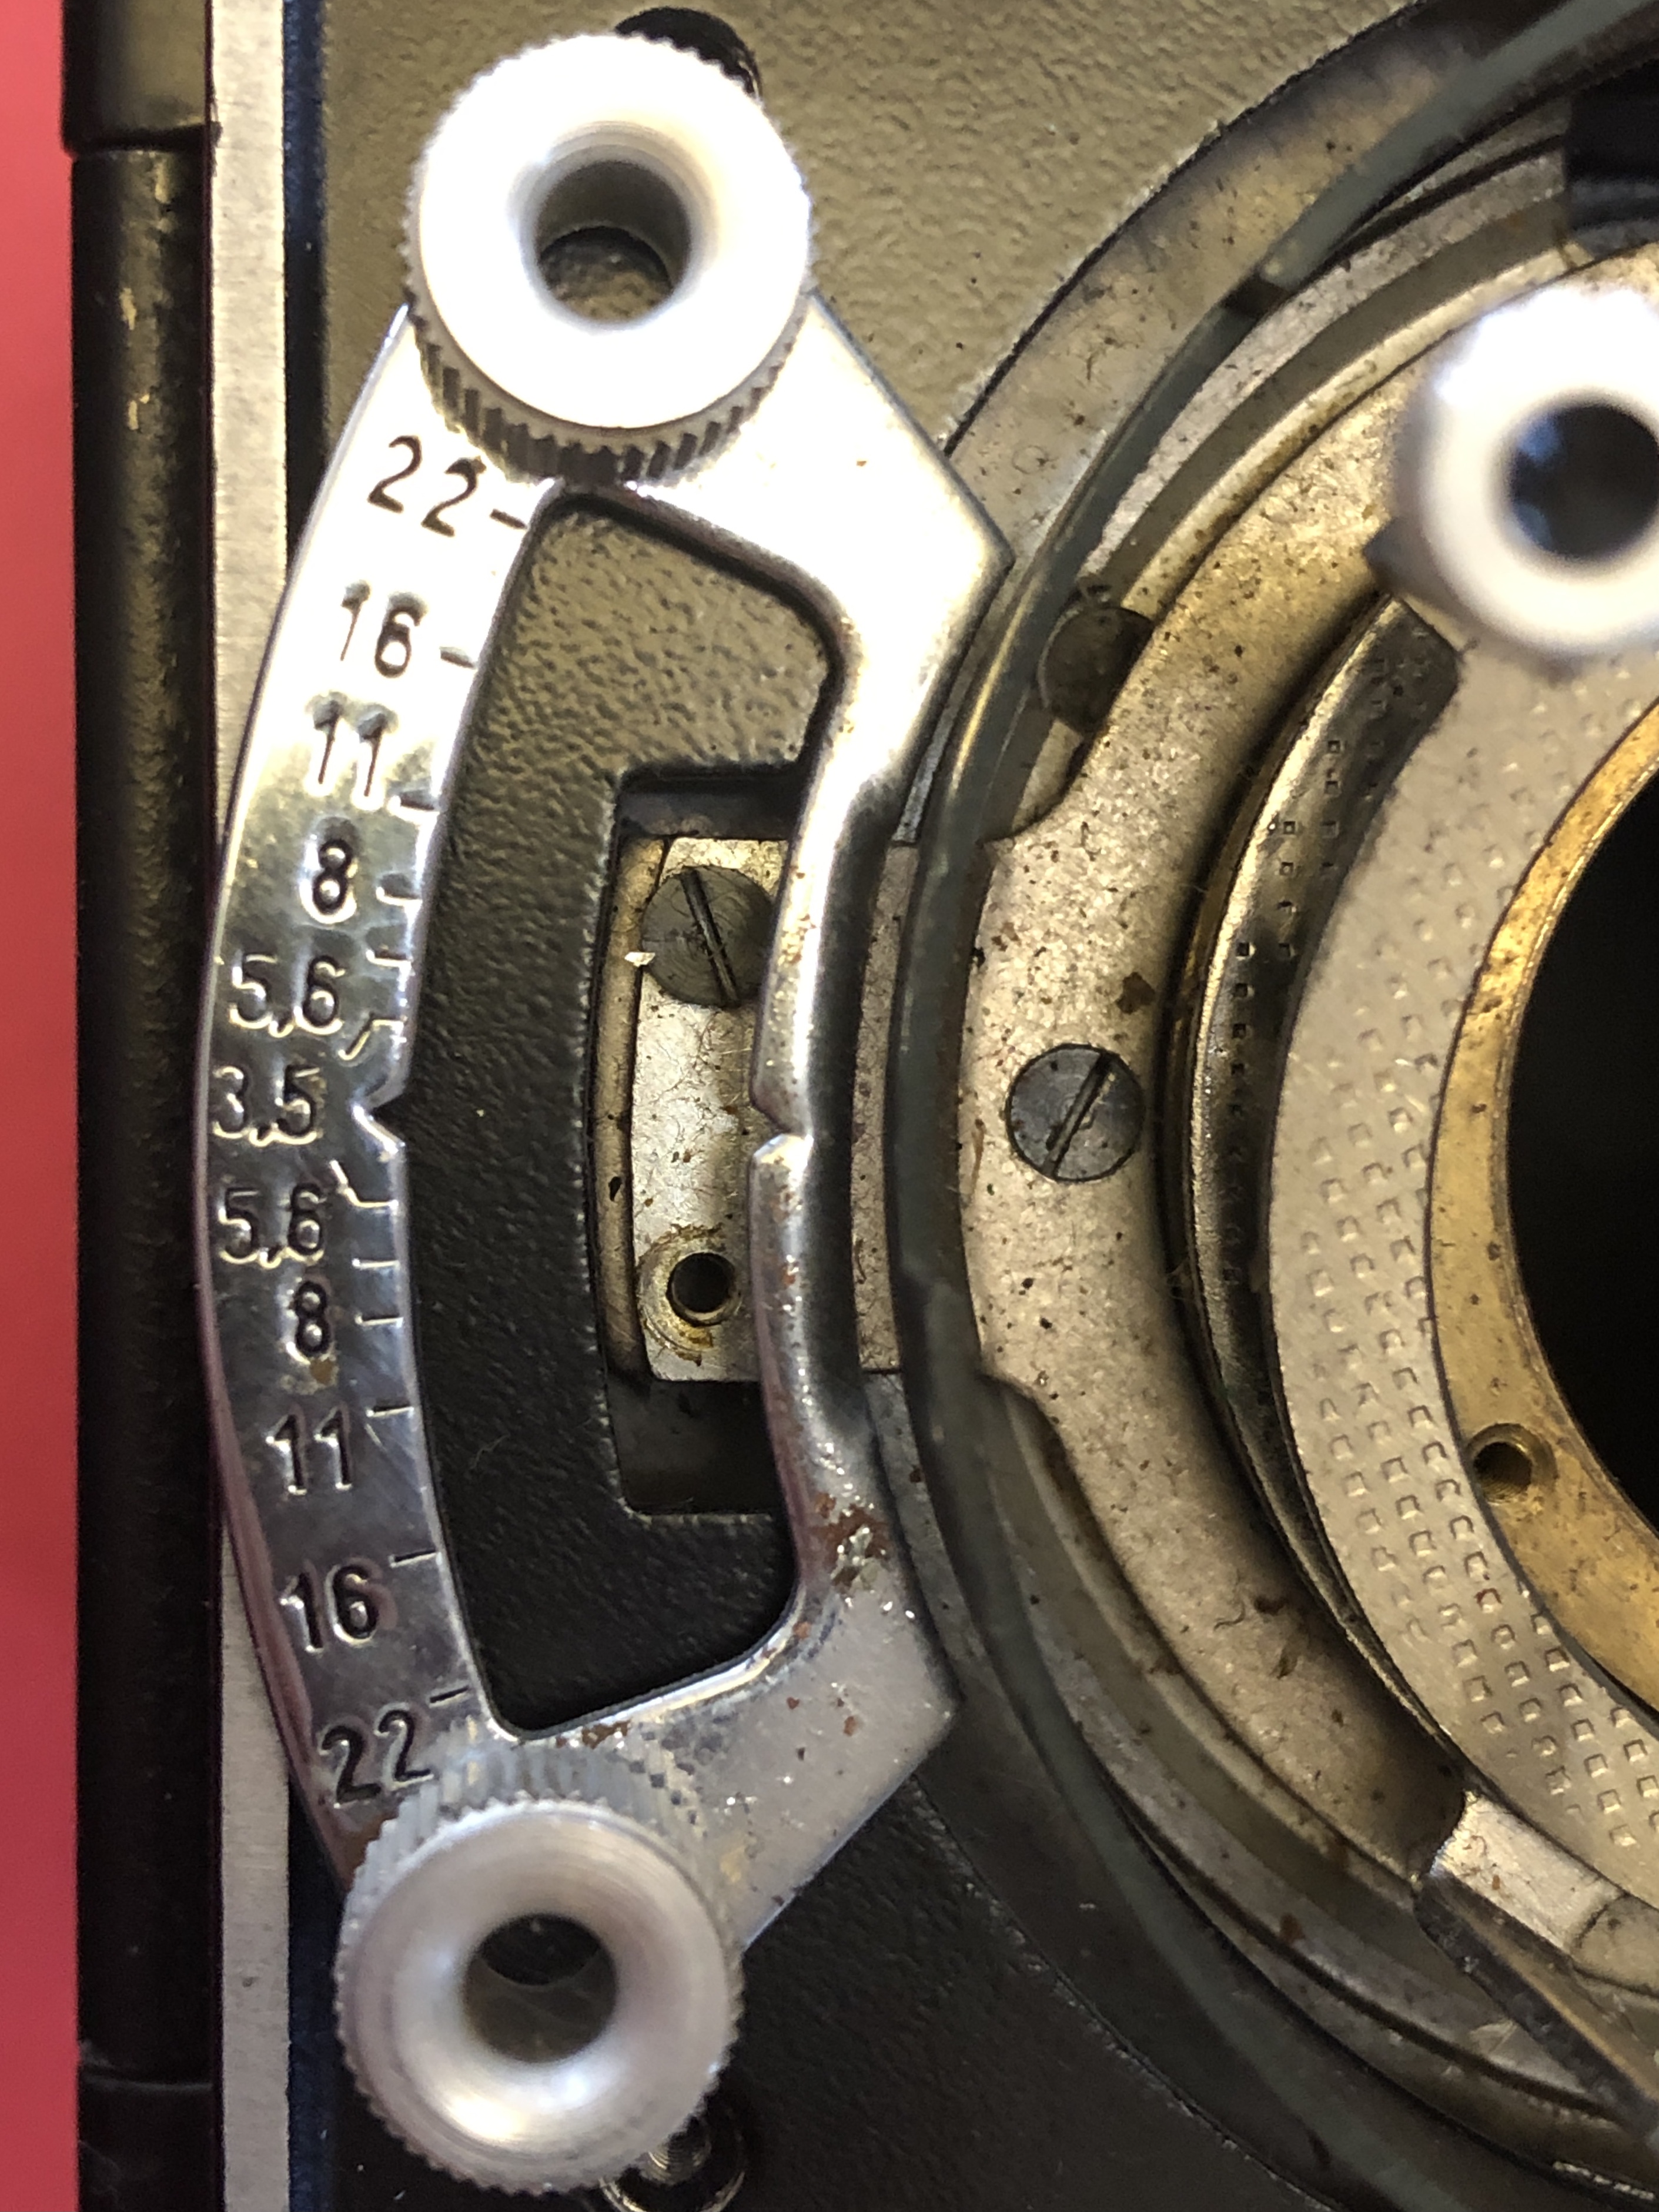
Two springs can be observed around the central ring of the camera. These springs are responsible for returning the winding action and the shutter action in the camera. The two springs are attached to two different rings which sit on top of one another, separated by a large thin washer with some oil surprisingly still on it. The topmost ring has a knob attached to it (a) on a small arm (seen towards the lower left). This ring controls the winding of the leaf shutter which is accomplished when the user rotates the ring counterclockwise using the knob. A tab (b) attached to the right towards the top right interfaces with a tab (c) on the leaf shutter module to transfer the wind into the leaf shutter module. The spring (d) at the middle right returns the disk once the user stops winding.
Underneath this winding ring is another ring, the shutter ring. The shutter ring has a two tabs, one (e) on the middle left which is directed into the camera. This tab interacts with the shutter lever (f) which is controlled by a rod (g) which interfaces with the shutter button (h). The other tab (i) on the shutter ring is on the lower right and it interfaces with the shutter tab (j) on the leaf shutter module. A final spring (k) returns the shutter ring once the user releases the shutter button.
Ok, that was a lot of letters. Basically two rings which sit on top of each other transfer motion from the camera into the leaf shutter module through some little tabs. One of these rings was pulled out of place by its spring when I disassembled the camera and I assumed that was the source of our jammed shutter button problem and that the job was done. With the front plate still off, I pressed the little rod that sits under the shutter button (g in the image above) and everything was working great.
Here’s a video of how the various rings and tabs described above move when you press the shutter button:
Before I put everything together again, I decided to give the glass a little bit of love. I cleaned both exposed faces of the leaf shutter module with isopropyl and q-tips, then with a microfiber cloth to remove any remaining dust or q-tip fibers. The internal surfaces of the leaf shutter module appeared to be quite clean, so I didn’t venture any further inside.
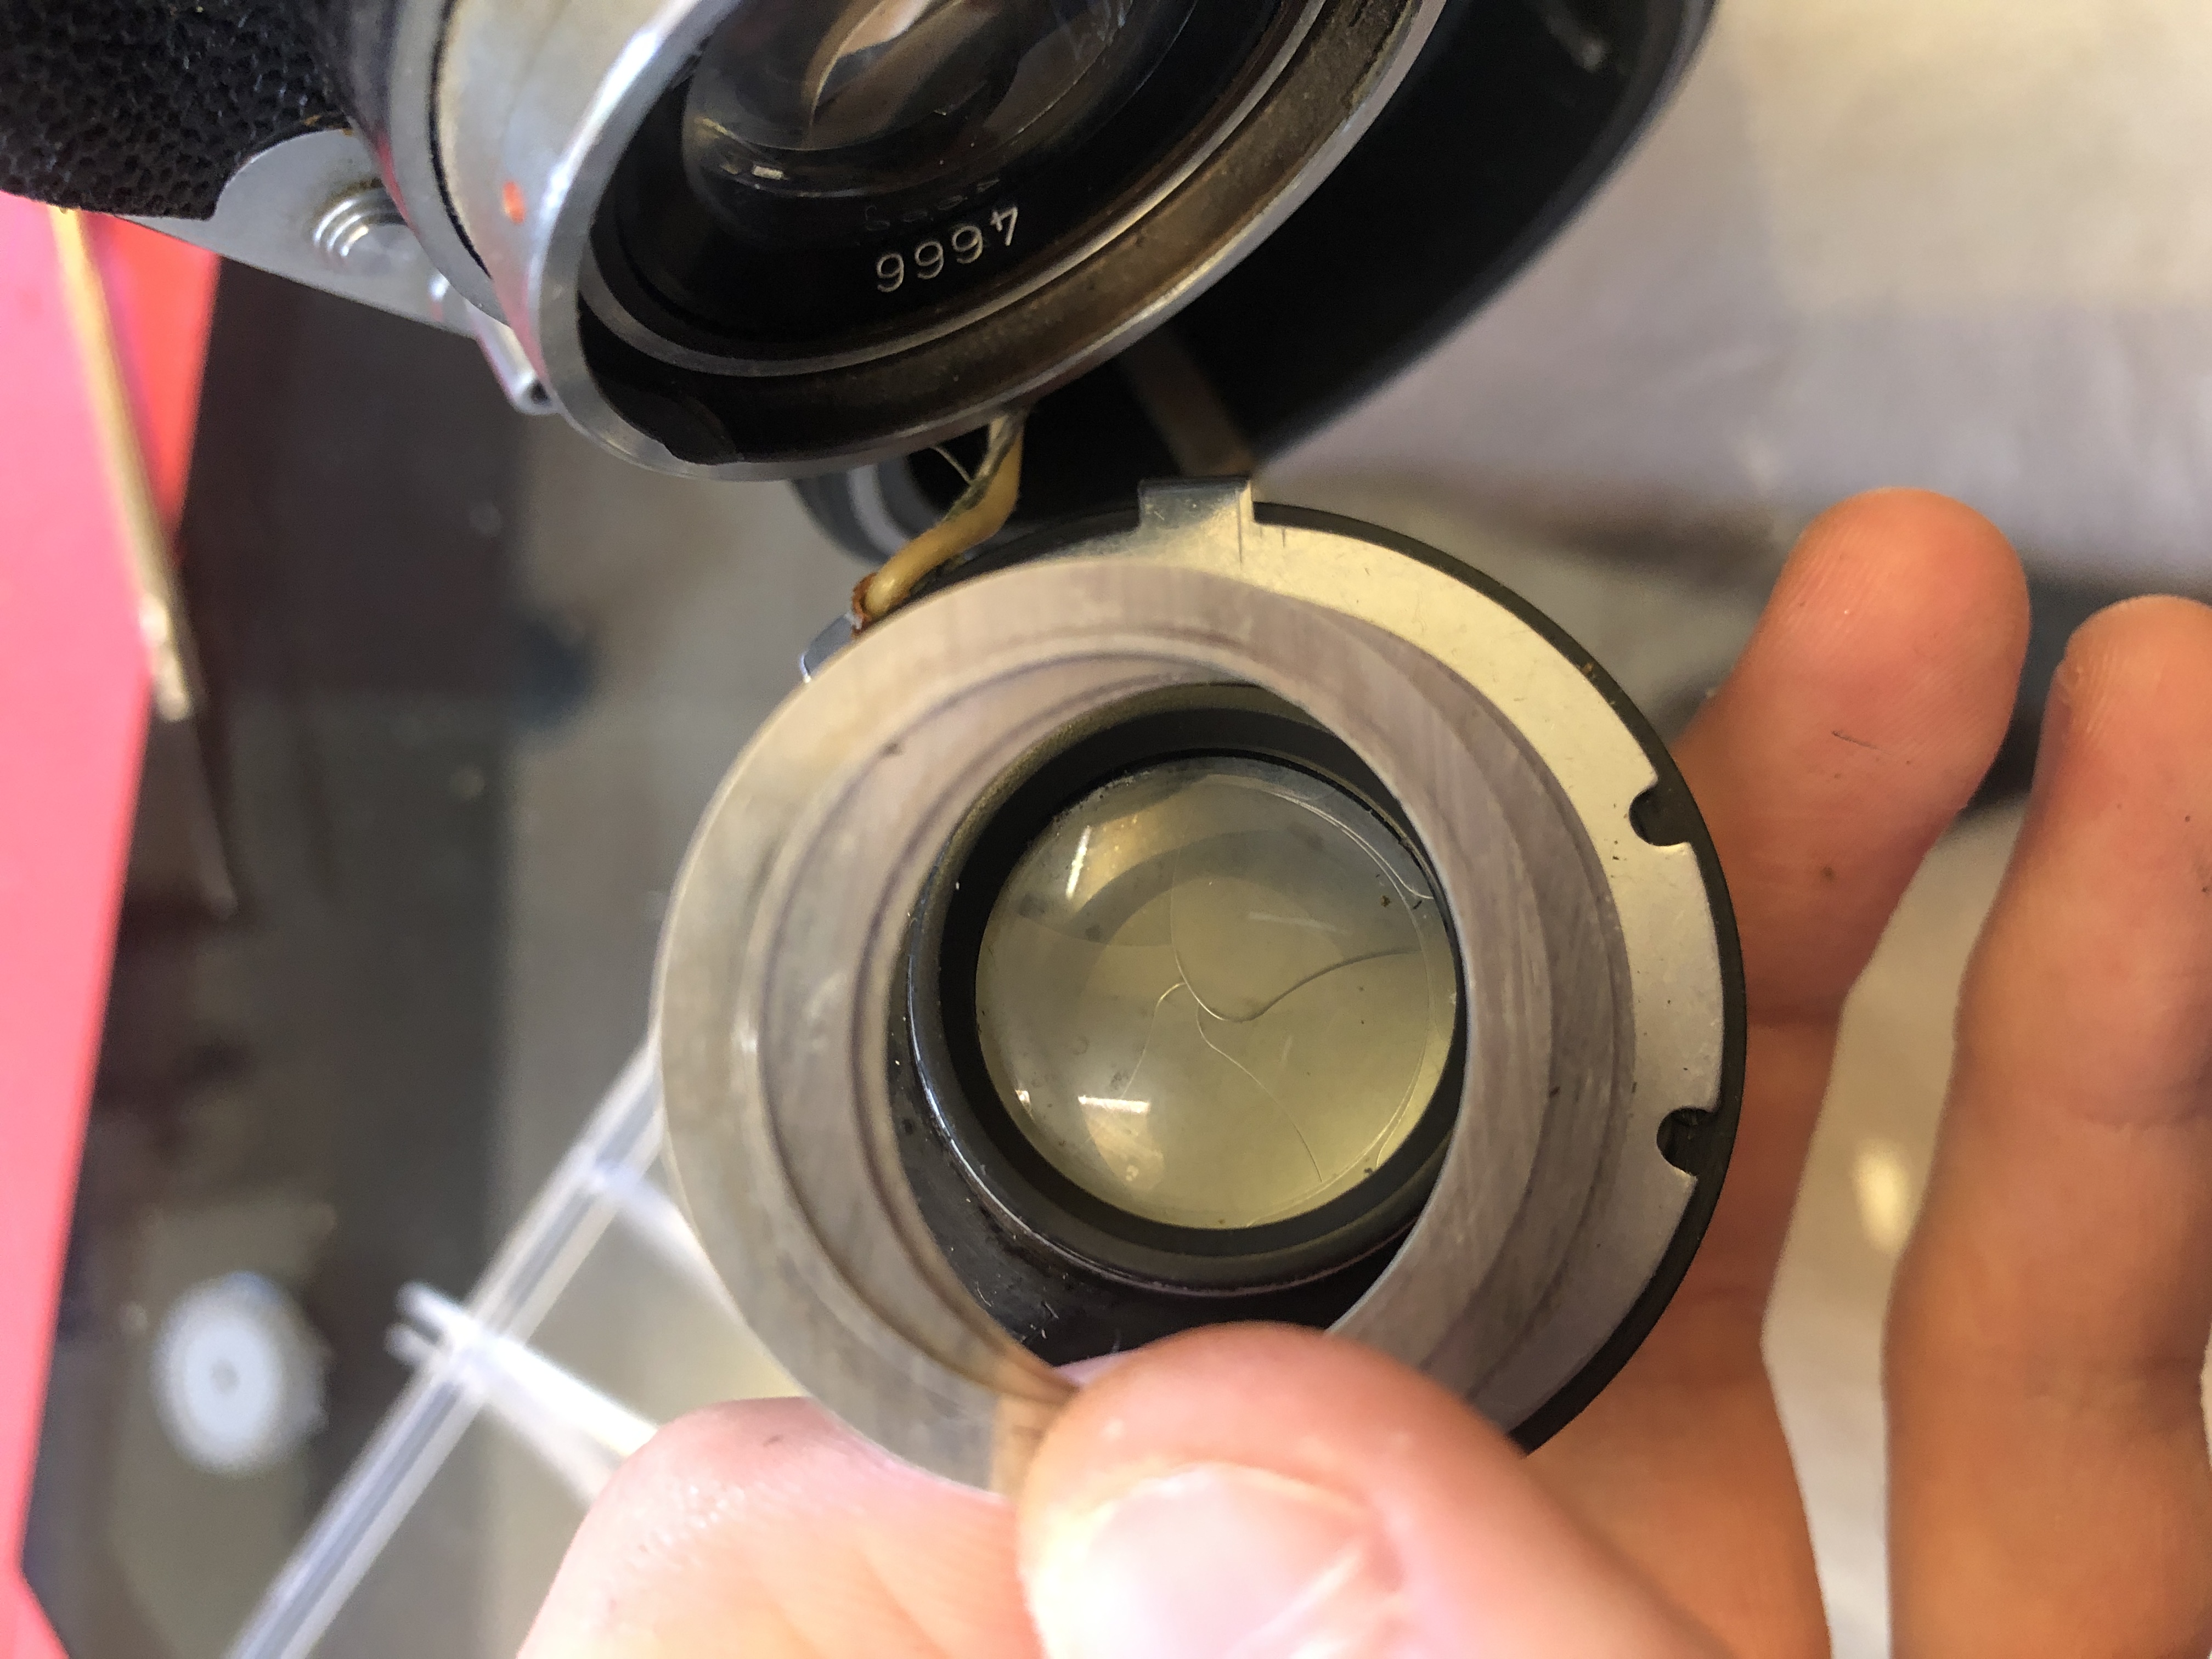
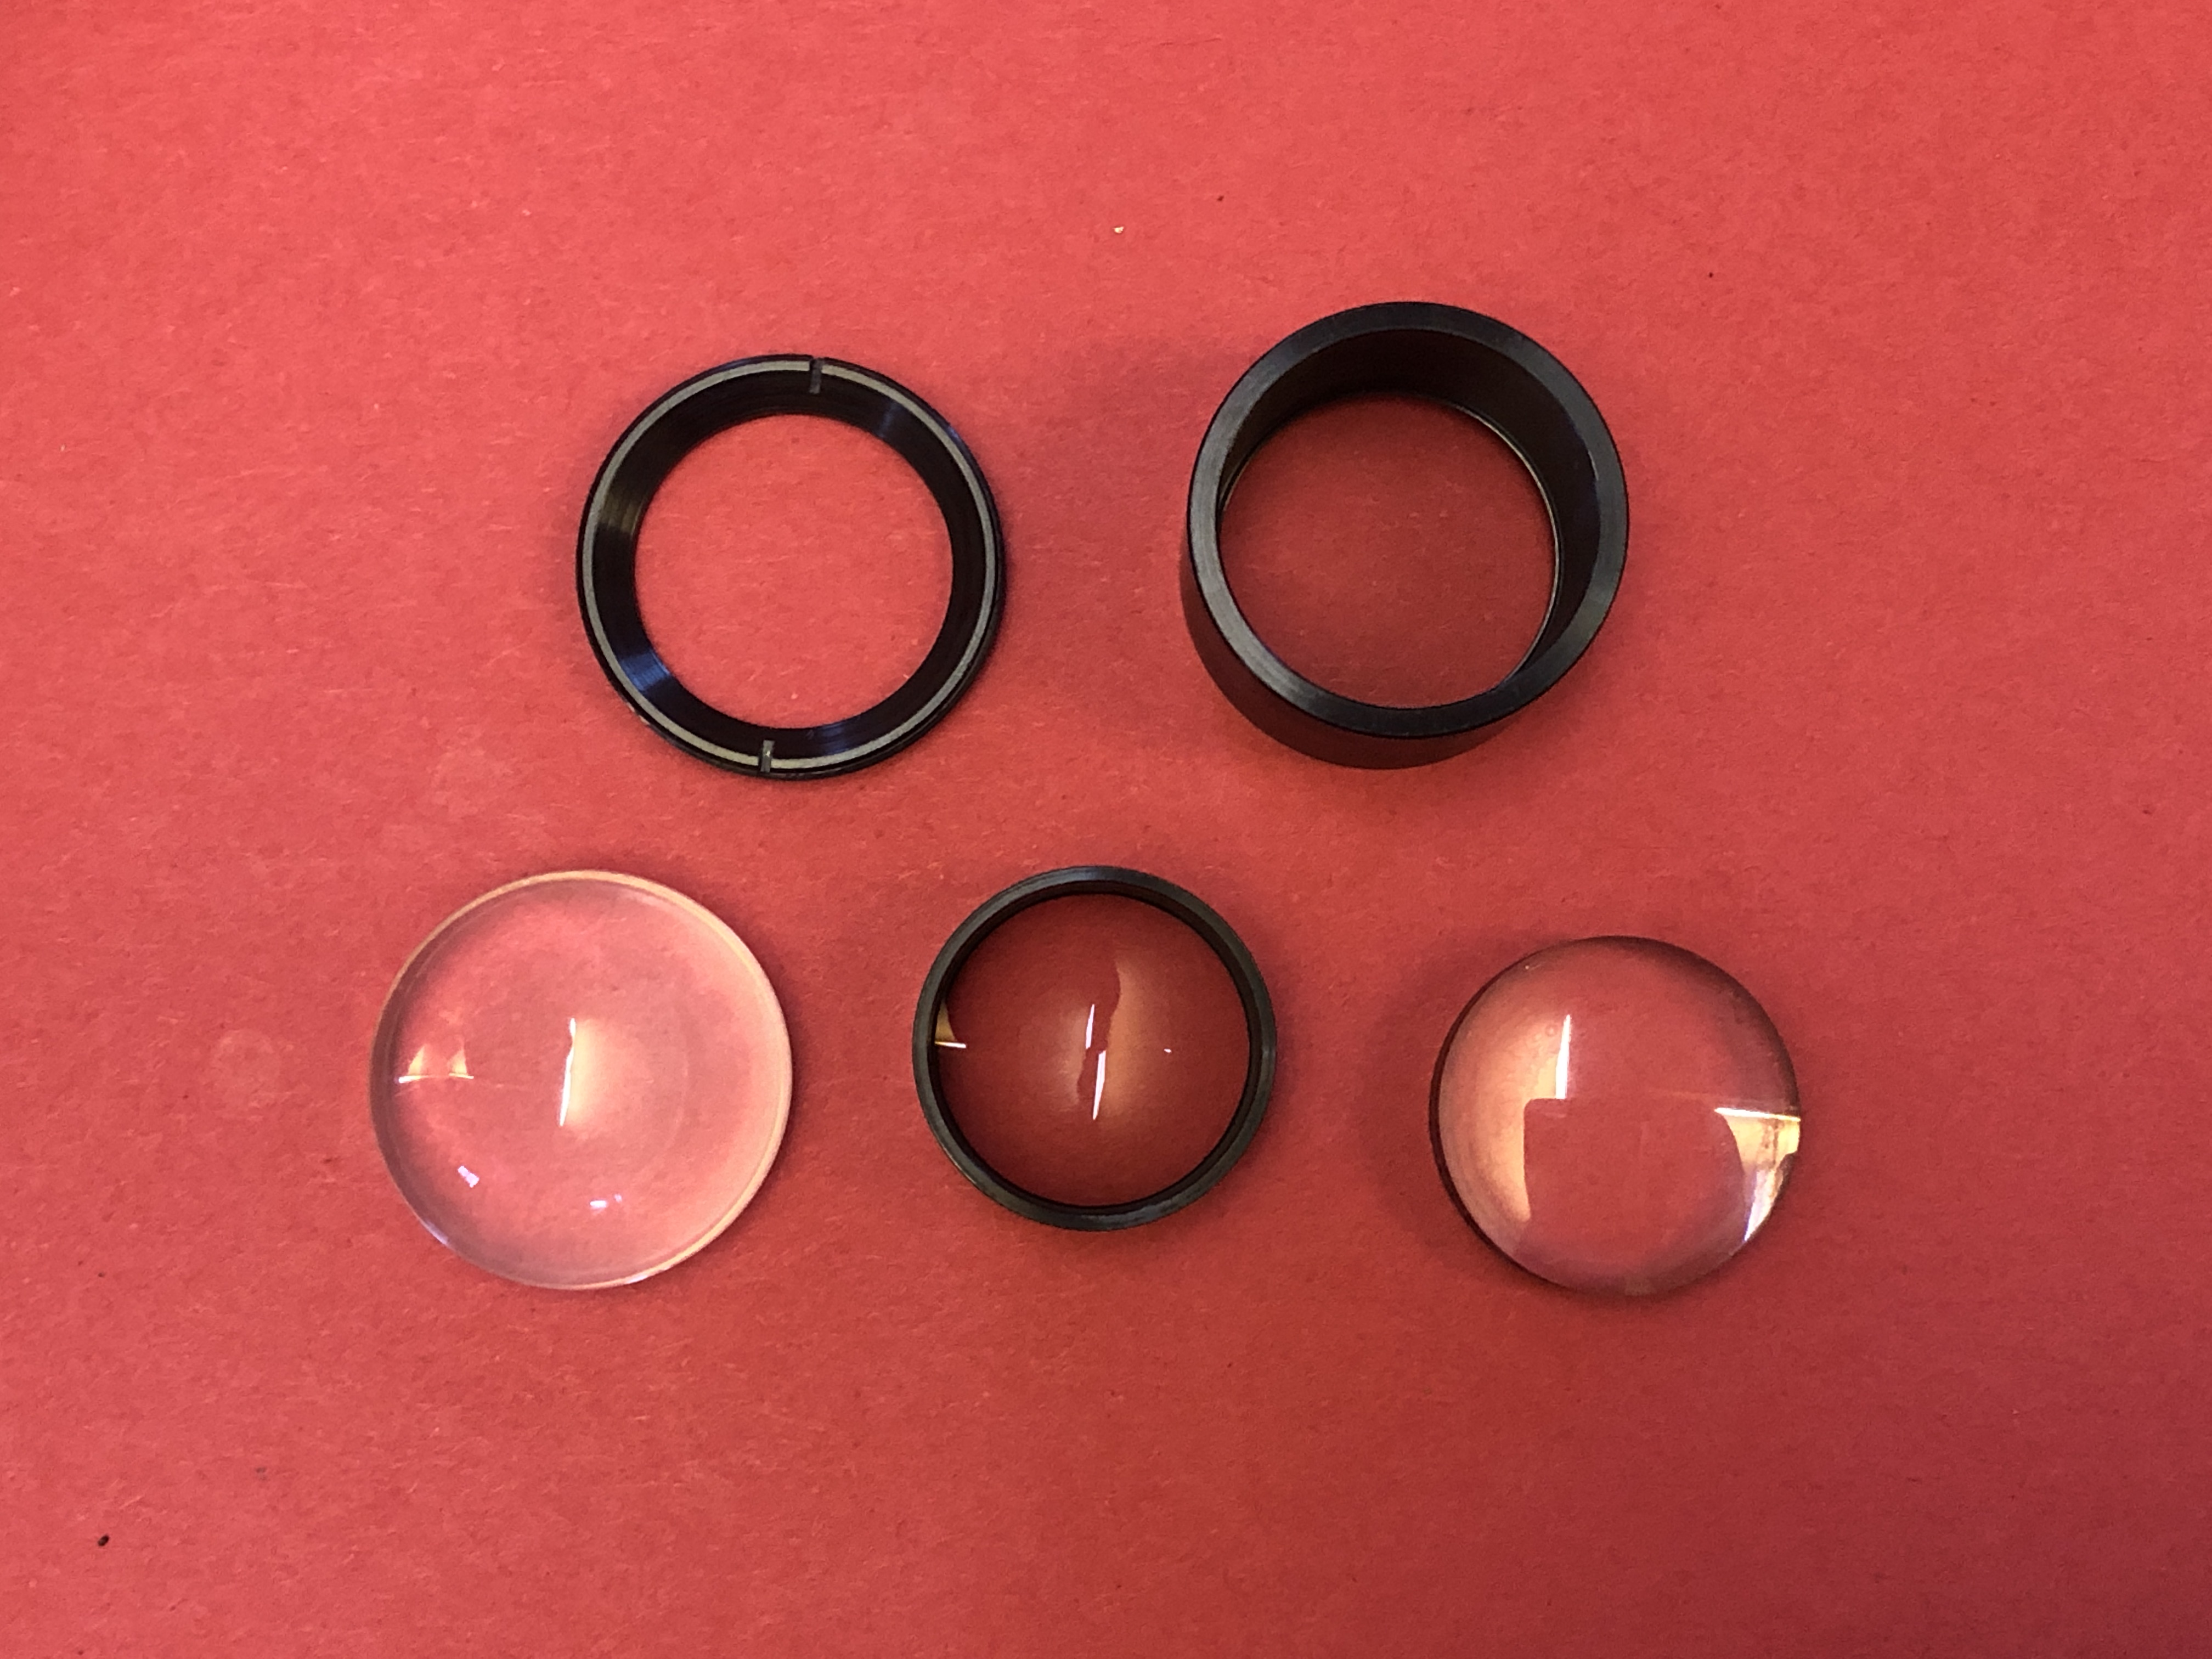
The viewfinder optics were significantly dirtier, so I took off the retaining ring using the same adjustable lens spanner as before and got cleaning. Here’s what the viewfinder stack looked like all taken apart:
With everything cleaned up, it was time to put it all back together and take some pictures. Unfortunately, once back together, I was faced with the same issue, the shutter release button was just as jammed as before. So I took everything apart again and revealed what a dummy I had been. I knew that the shutter mechanism inside the camera body and inside the leaf shutter worked, so that meant that the problem was inside the button. The button was just attached to the front plate (it’s the letter h in the image above). With the front plate detached, I pushed the button again and it wouldn’t budge. Turns out it was being held from moving by a little piece of bend sheet metal. After much poking and prodding, I realized that this was a shutter guard and it could be slid out of the way to allow the shutter to act.
In all likelihood, having the shutter lock on was the problem the whole time and any misalignment of the shutter ring I found was just a result of springs releasing during my disassembly. The camera was likely working the whole time, but it definitely benefitted from a deep clean, and I definitely benefitted from seeing how it worked! As it turns out, the camera is very pleasant to use. It has no metering capability, but a light metering app on the phone can easily do the job.
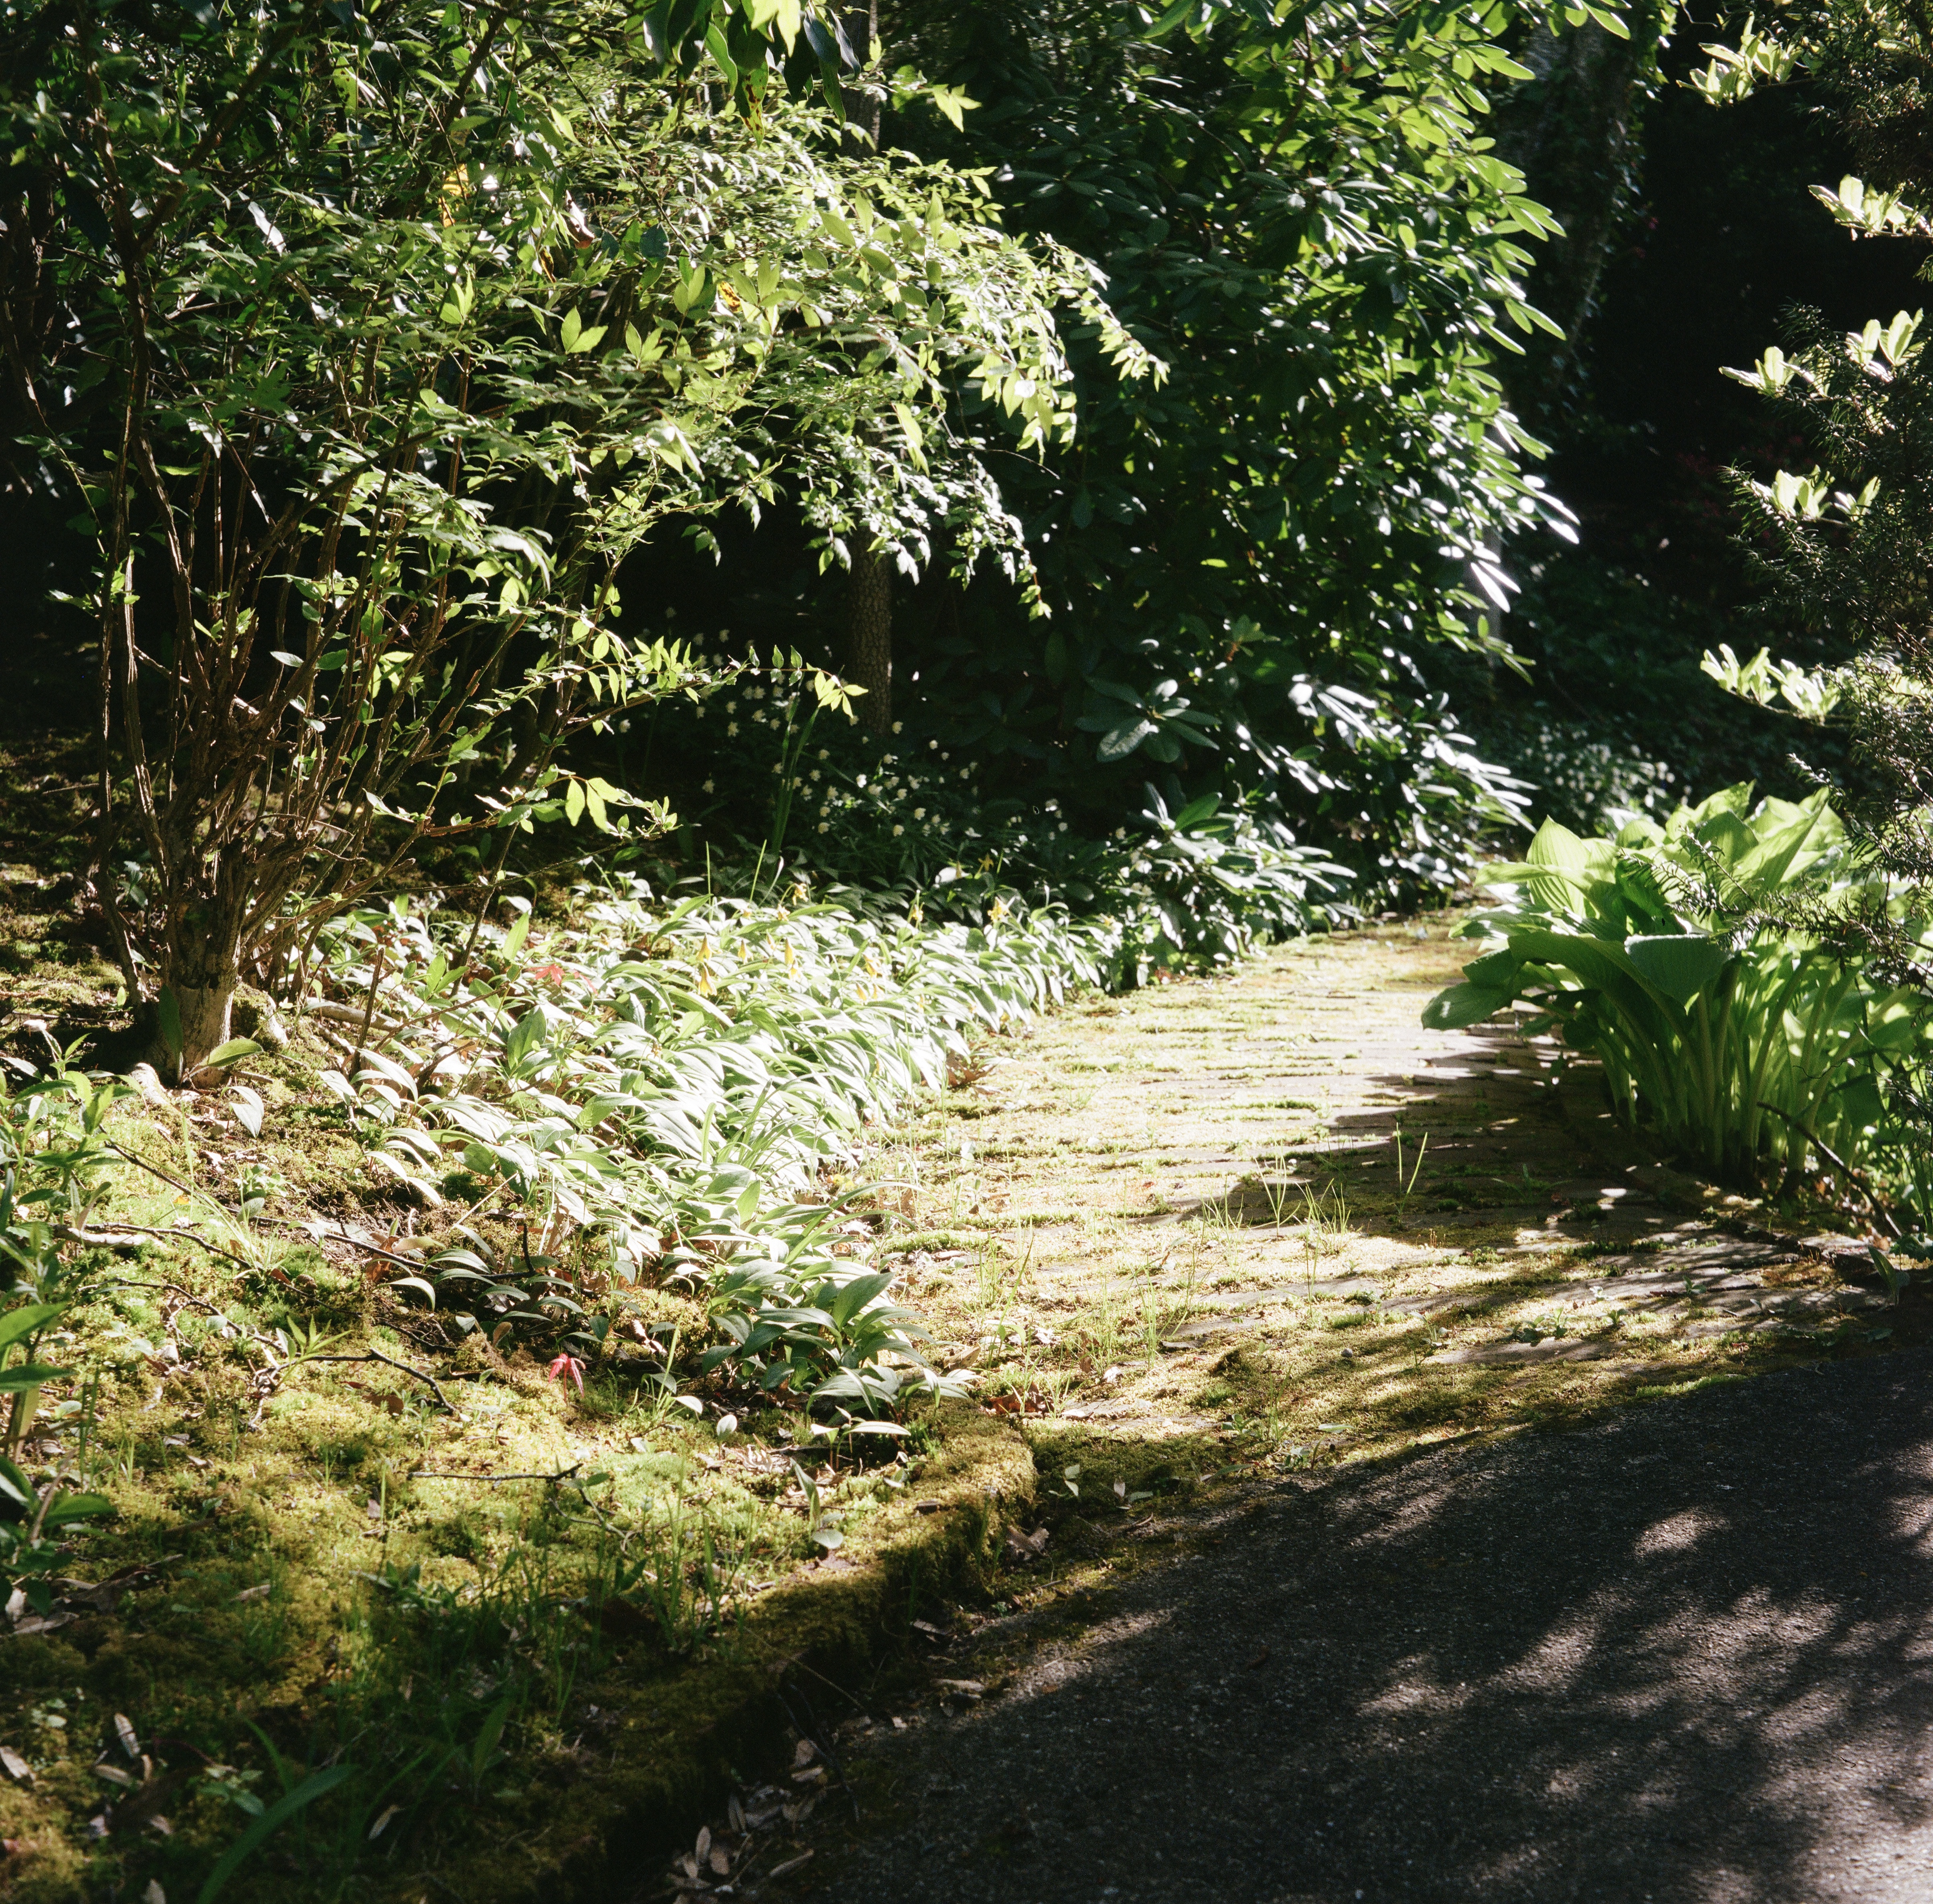
Here are som photos taken on the camera. Eleanor took the color ones and I took the black and white ones: