A wooden christmas gift
I wanted to make a special baren as a christmas gift. A baren is a tool for applying even pressure while making prints. This baren will be used to press linoleum stamps onto paper. I made it using hand tools out of a scrap of cherry wood.
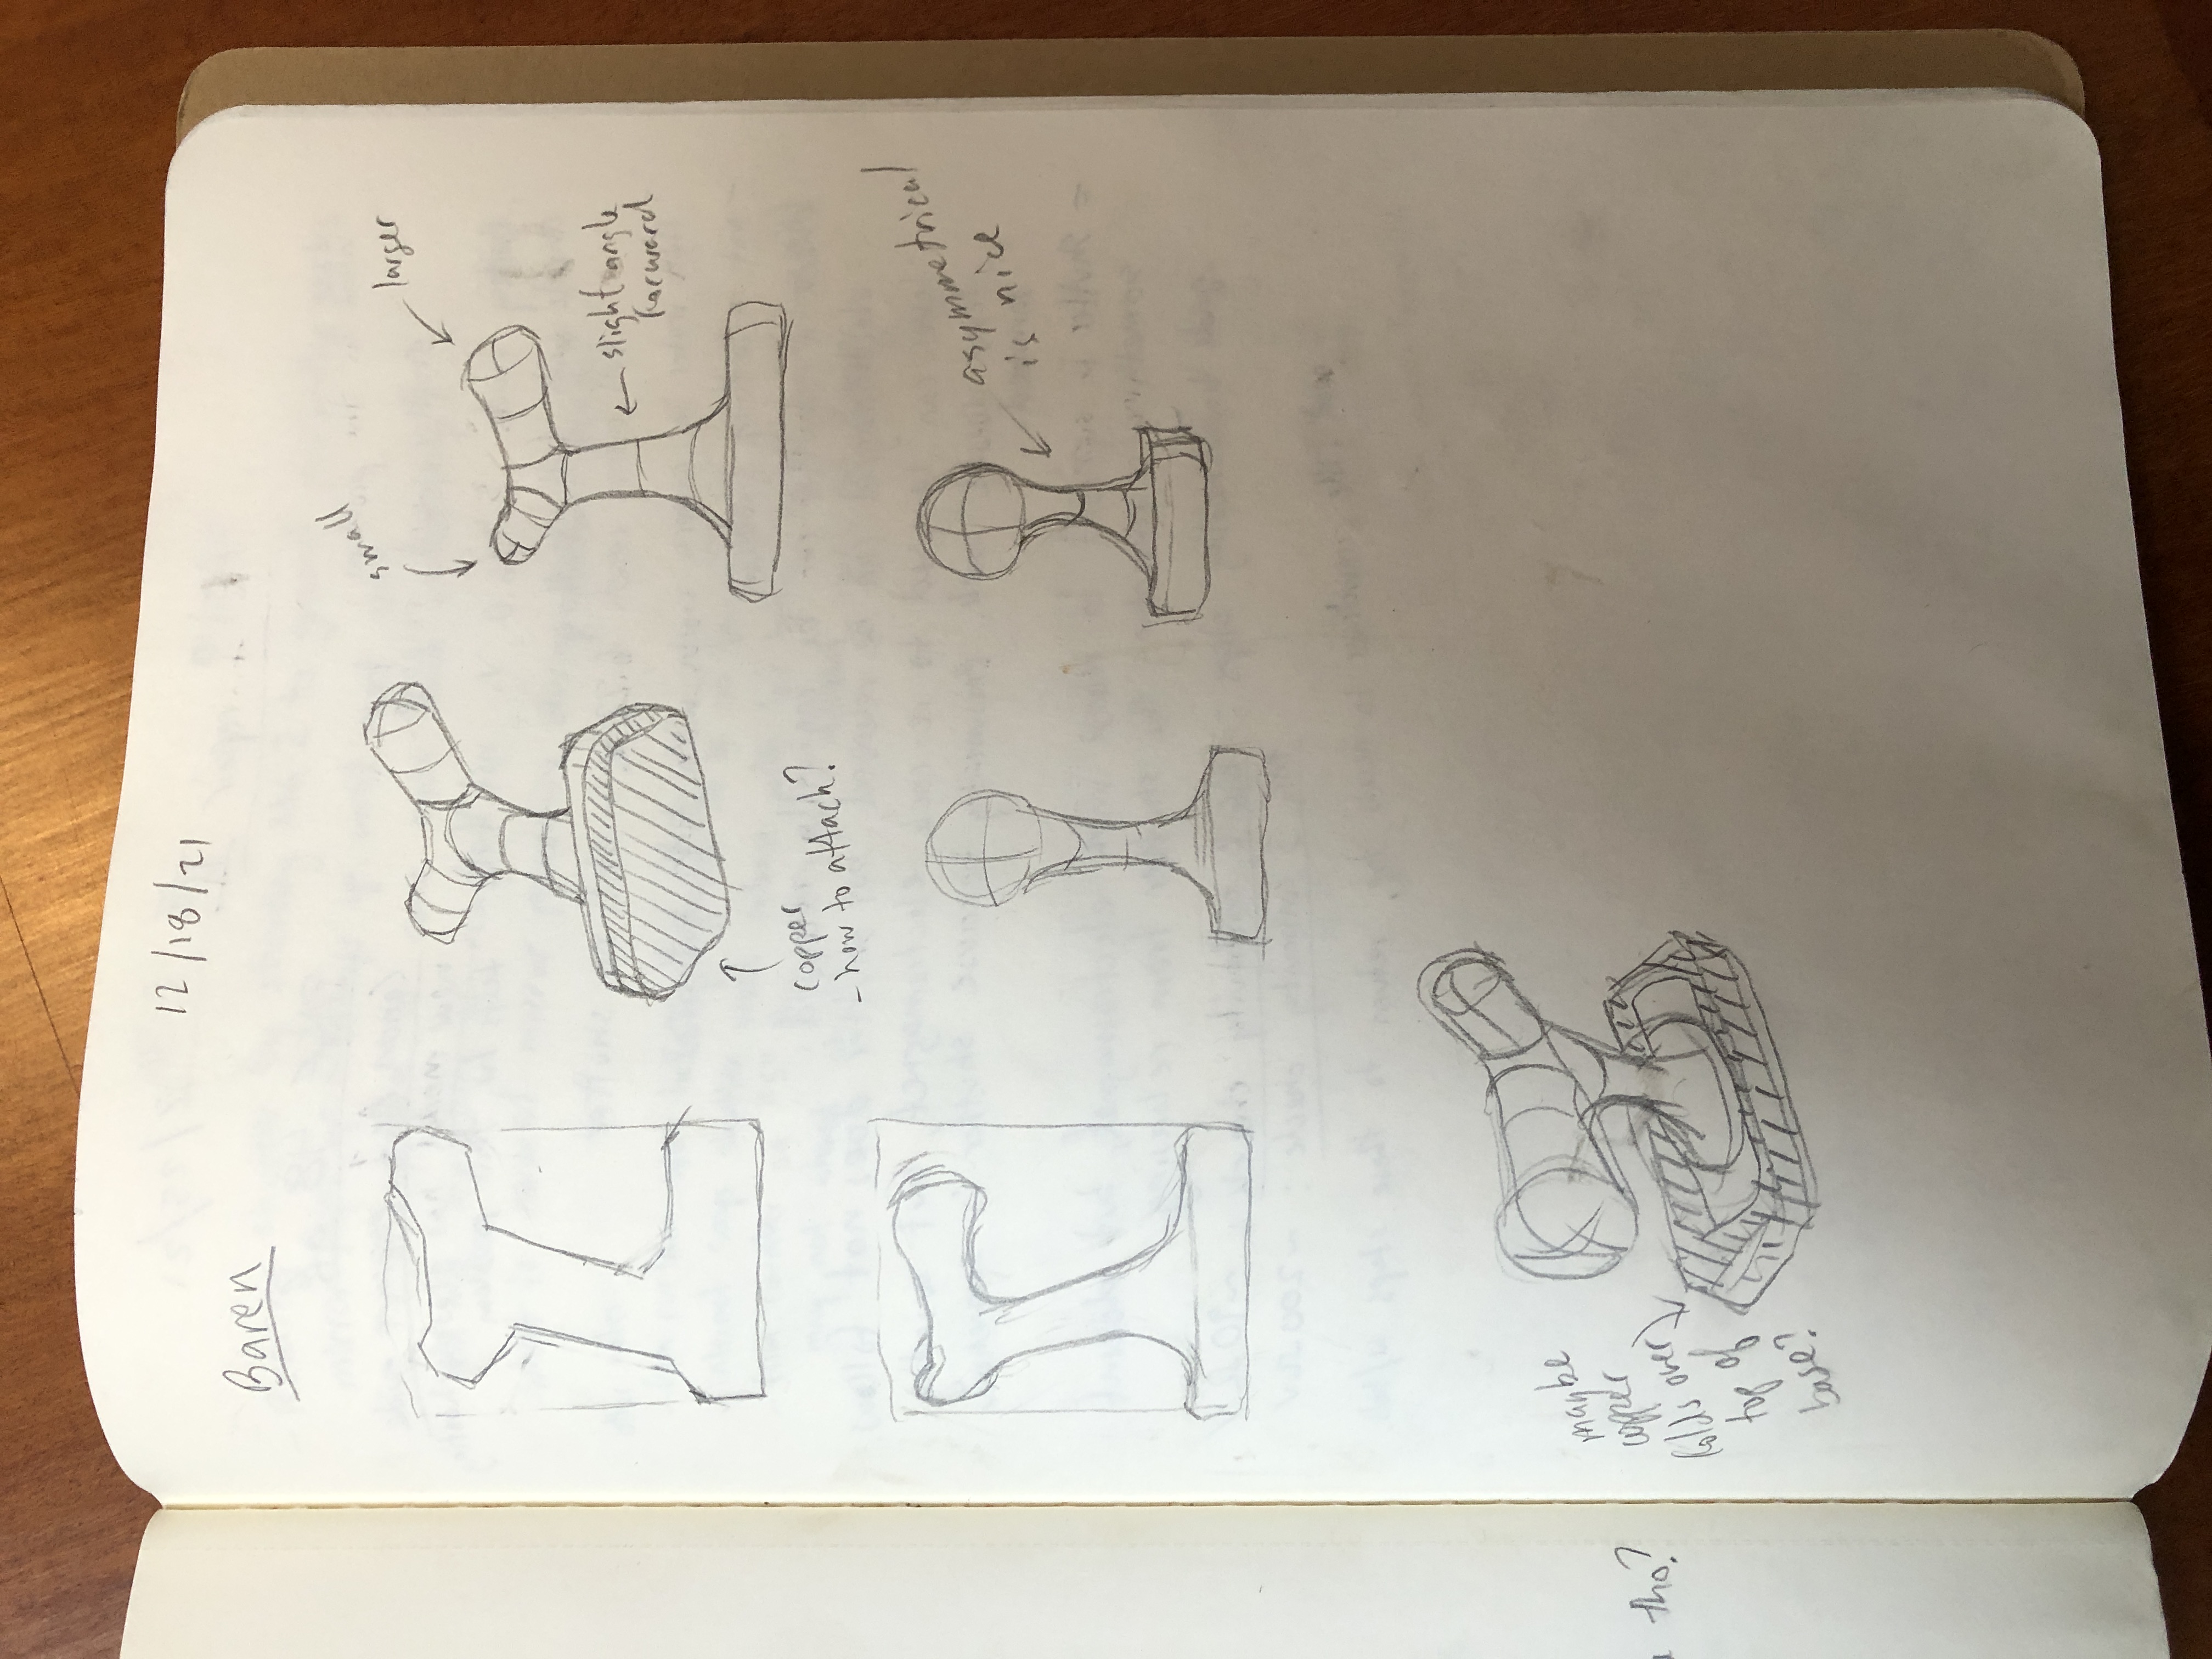
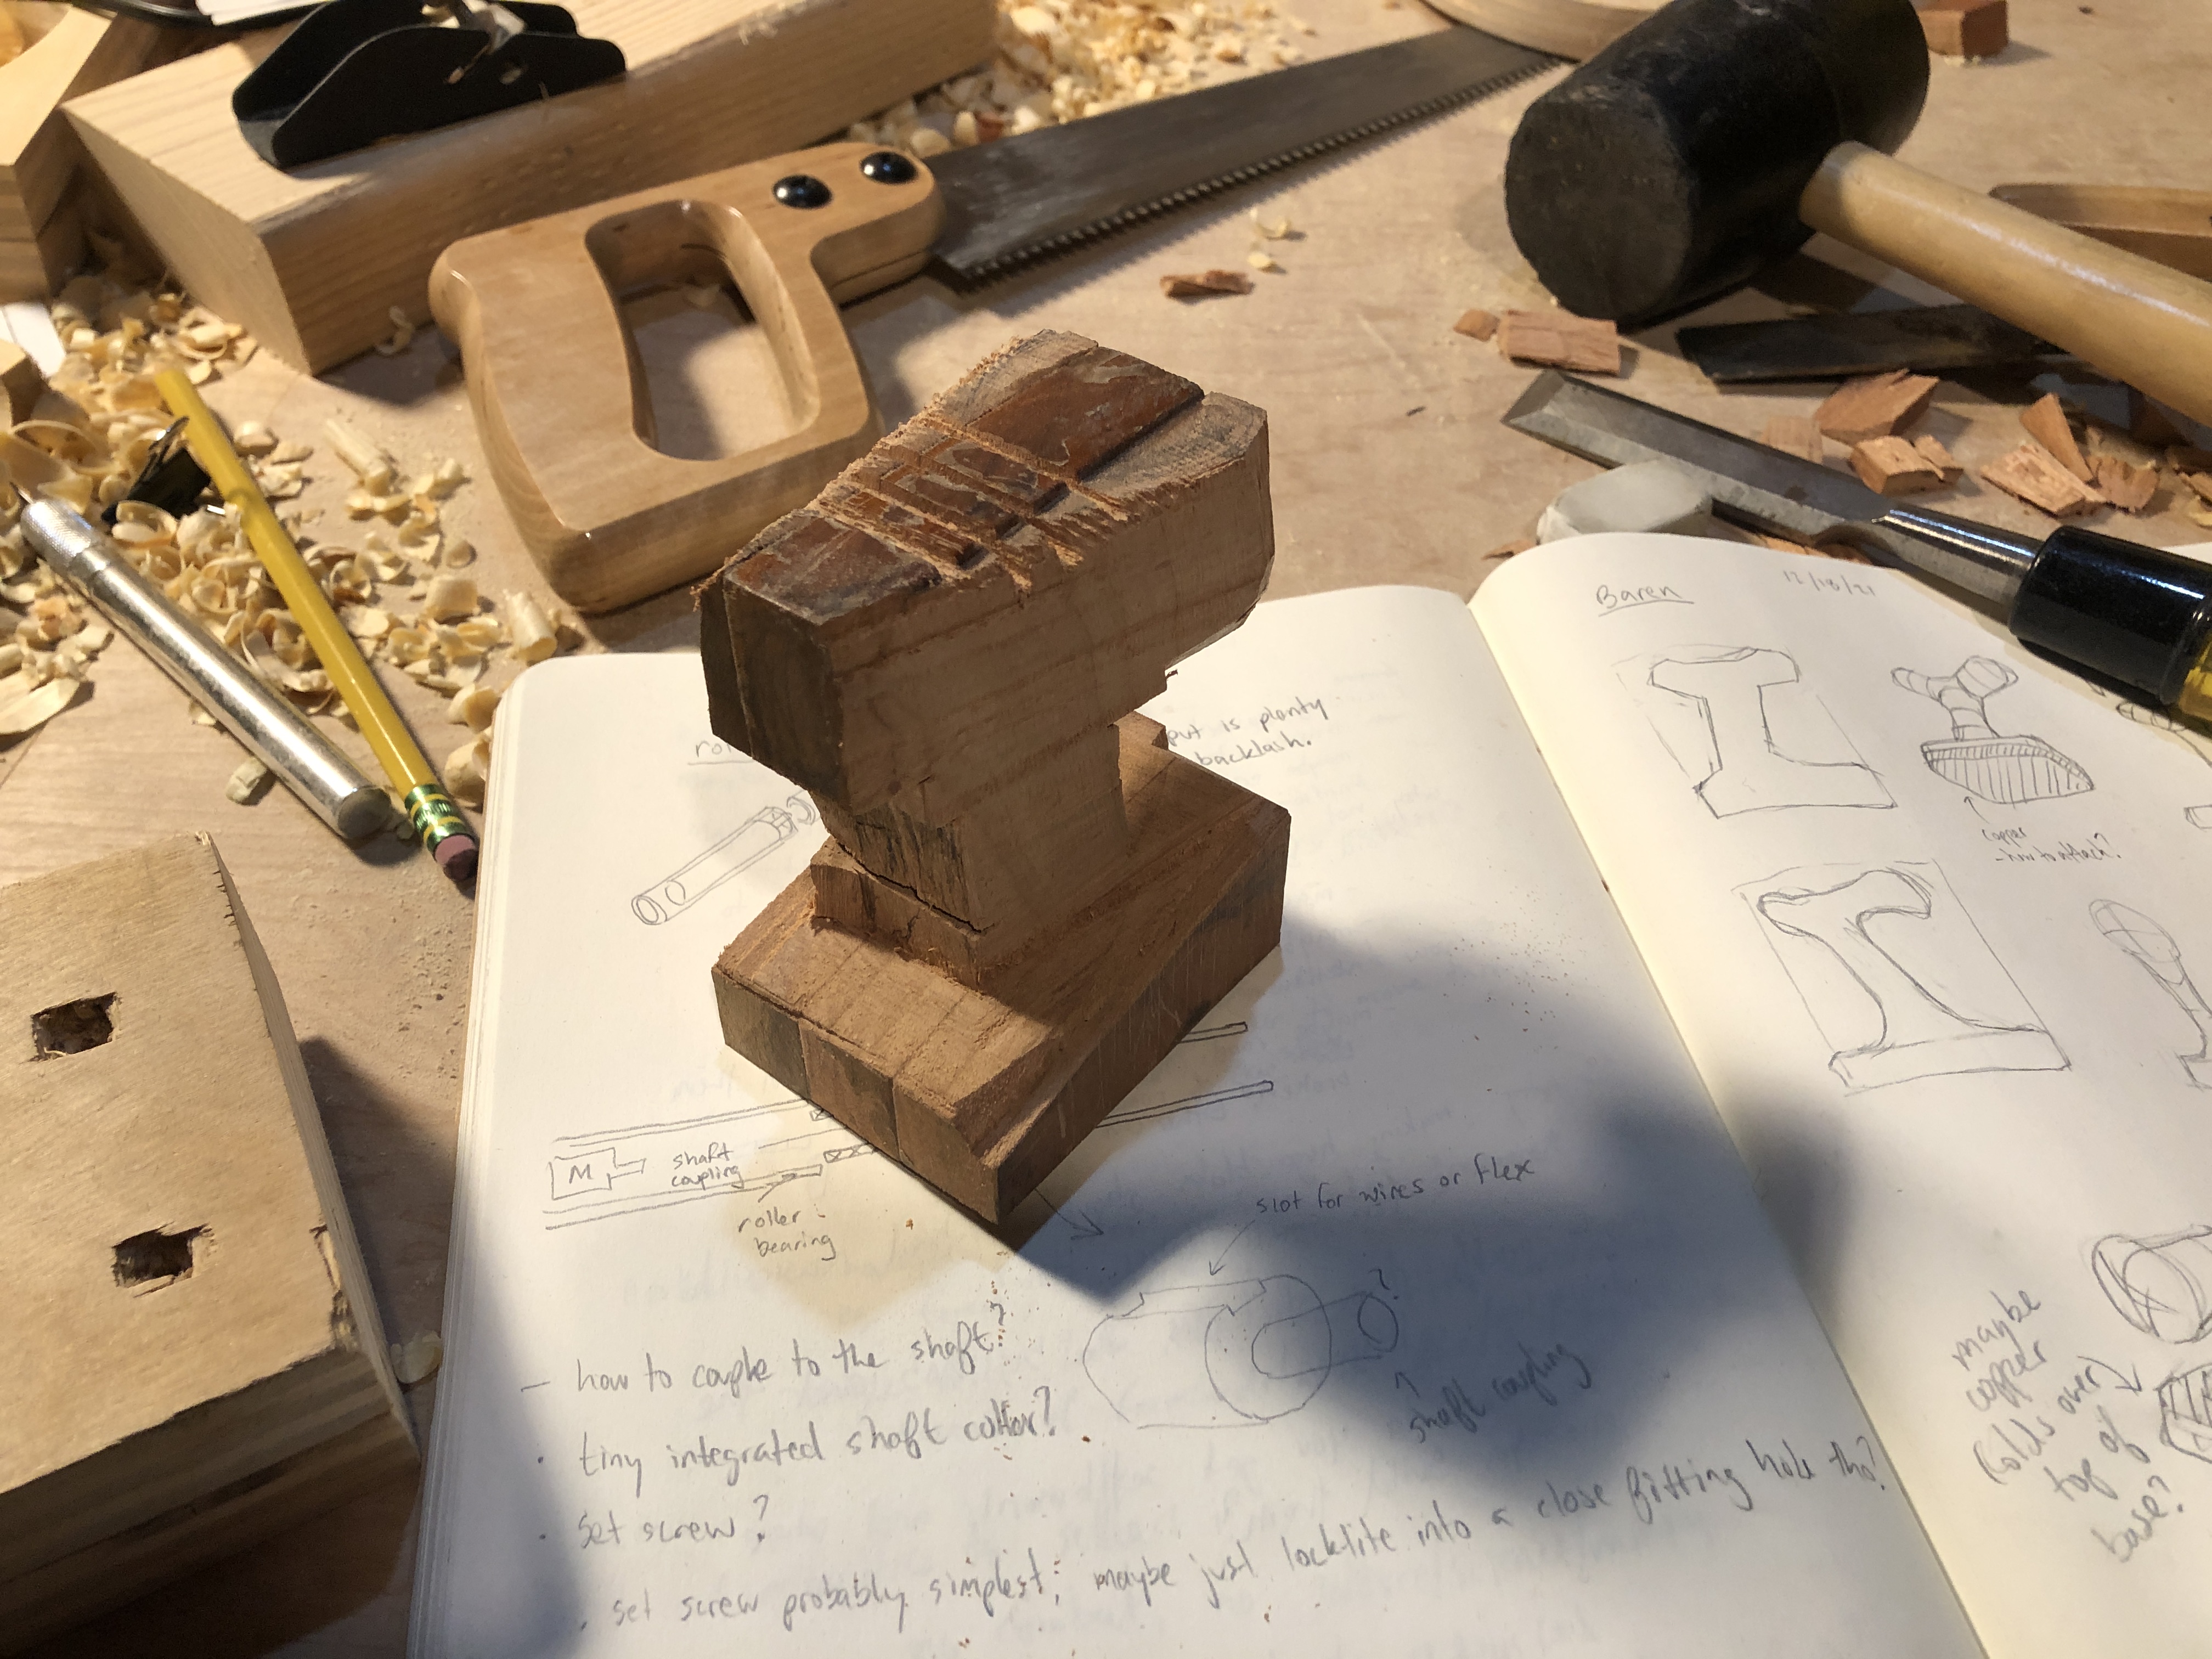
First I drew some designs. All the barens I’ve seen are little circular presses with a horizontal handle across the top. I wanted to see if I could make a shape that was a bit more interesting and maybe more ergonomic as well. Something that would be fun to use. The idea was to make use of the fact that I wasn’t going to be mass producing these, so I could make a nice curvy shape. Here are the sketches I made while planning the baren. I had dreams of making a copper base because the weight of the object would feel nice, but in the end went with linoleum for the base because the softer material would be more gentle on the stamps, and the baren didn’t feel like it was lacking in heft.
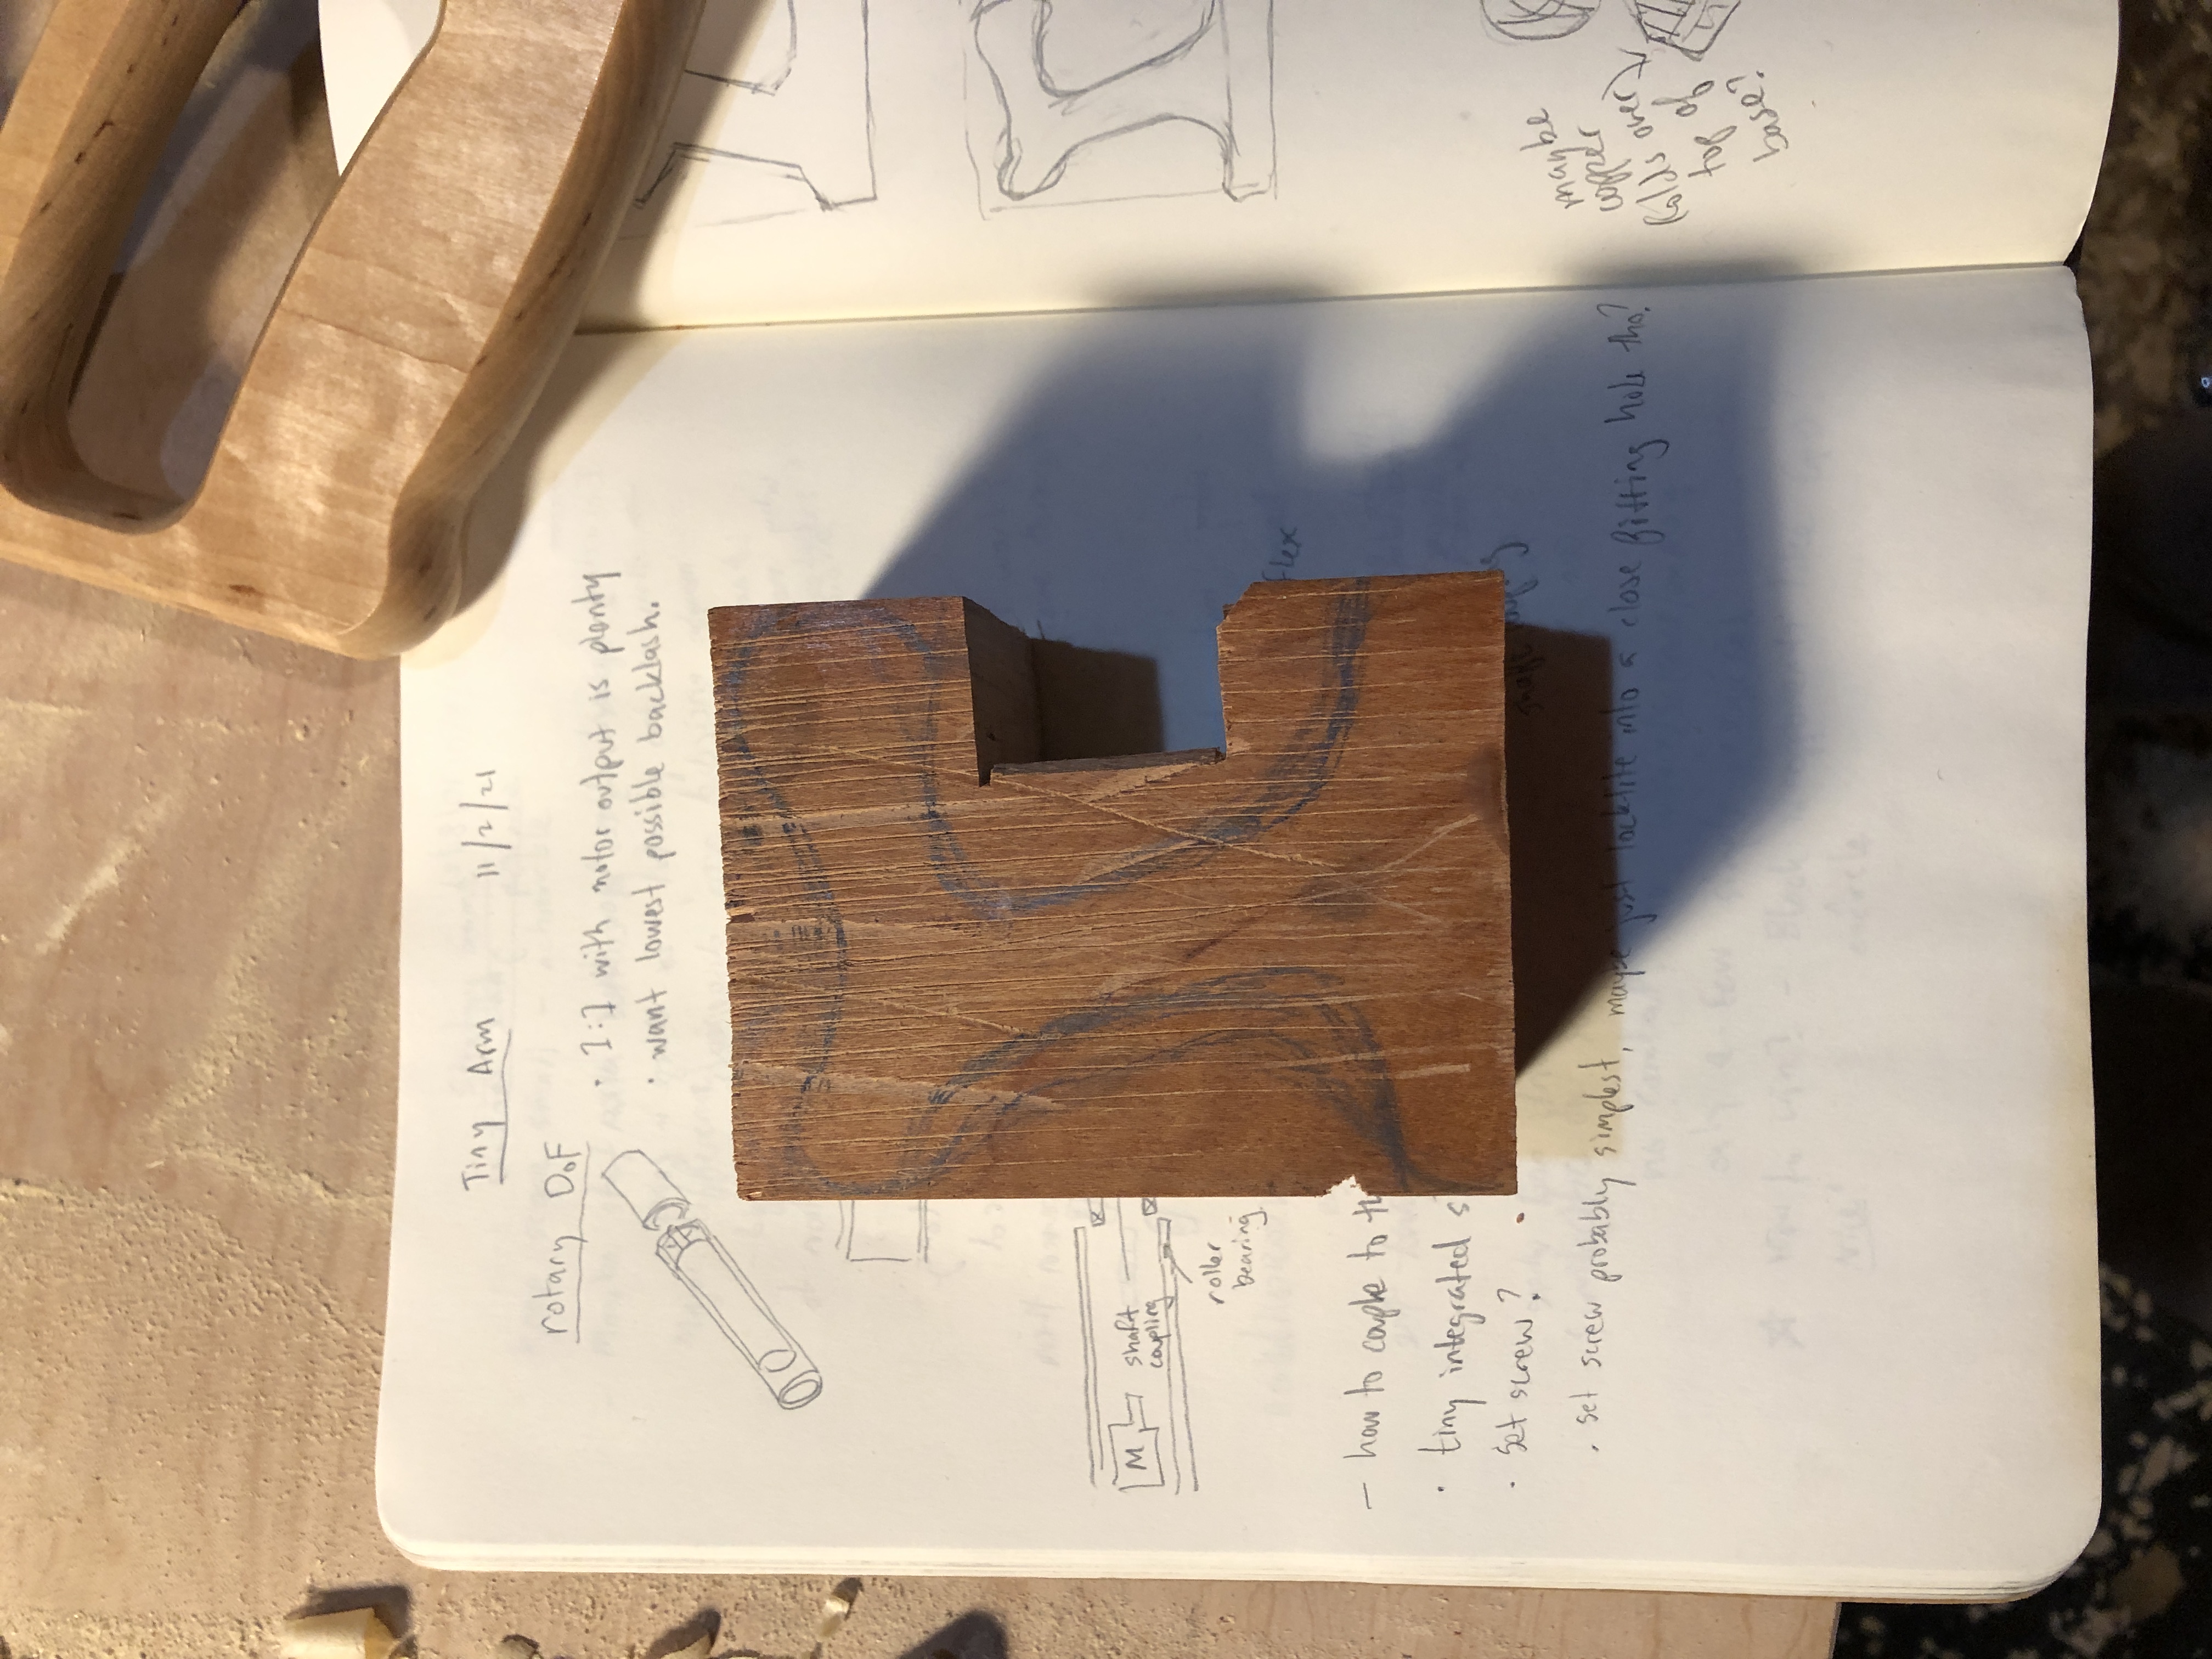
The first step in making the tool was to cut the board into three pieces and glue them together to make the stock for the handle. I roughed up the surface in hopes of getting a stronger joint, but I still had problems with the glue (as we will learn later). After the glue had dried, I sketched the outline of the tool on the side to help with shaping. Here is the final design on the wooden block. This outline didn’t last long after I started hacking at it, but drawing on the wood was a useful tool for guiding the chisel as I worked.
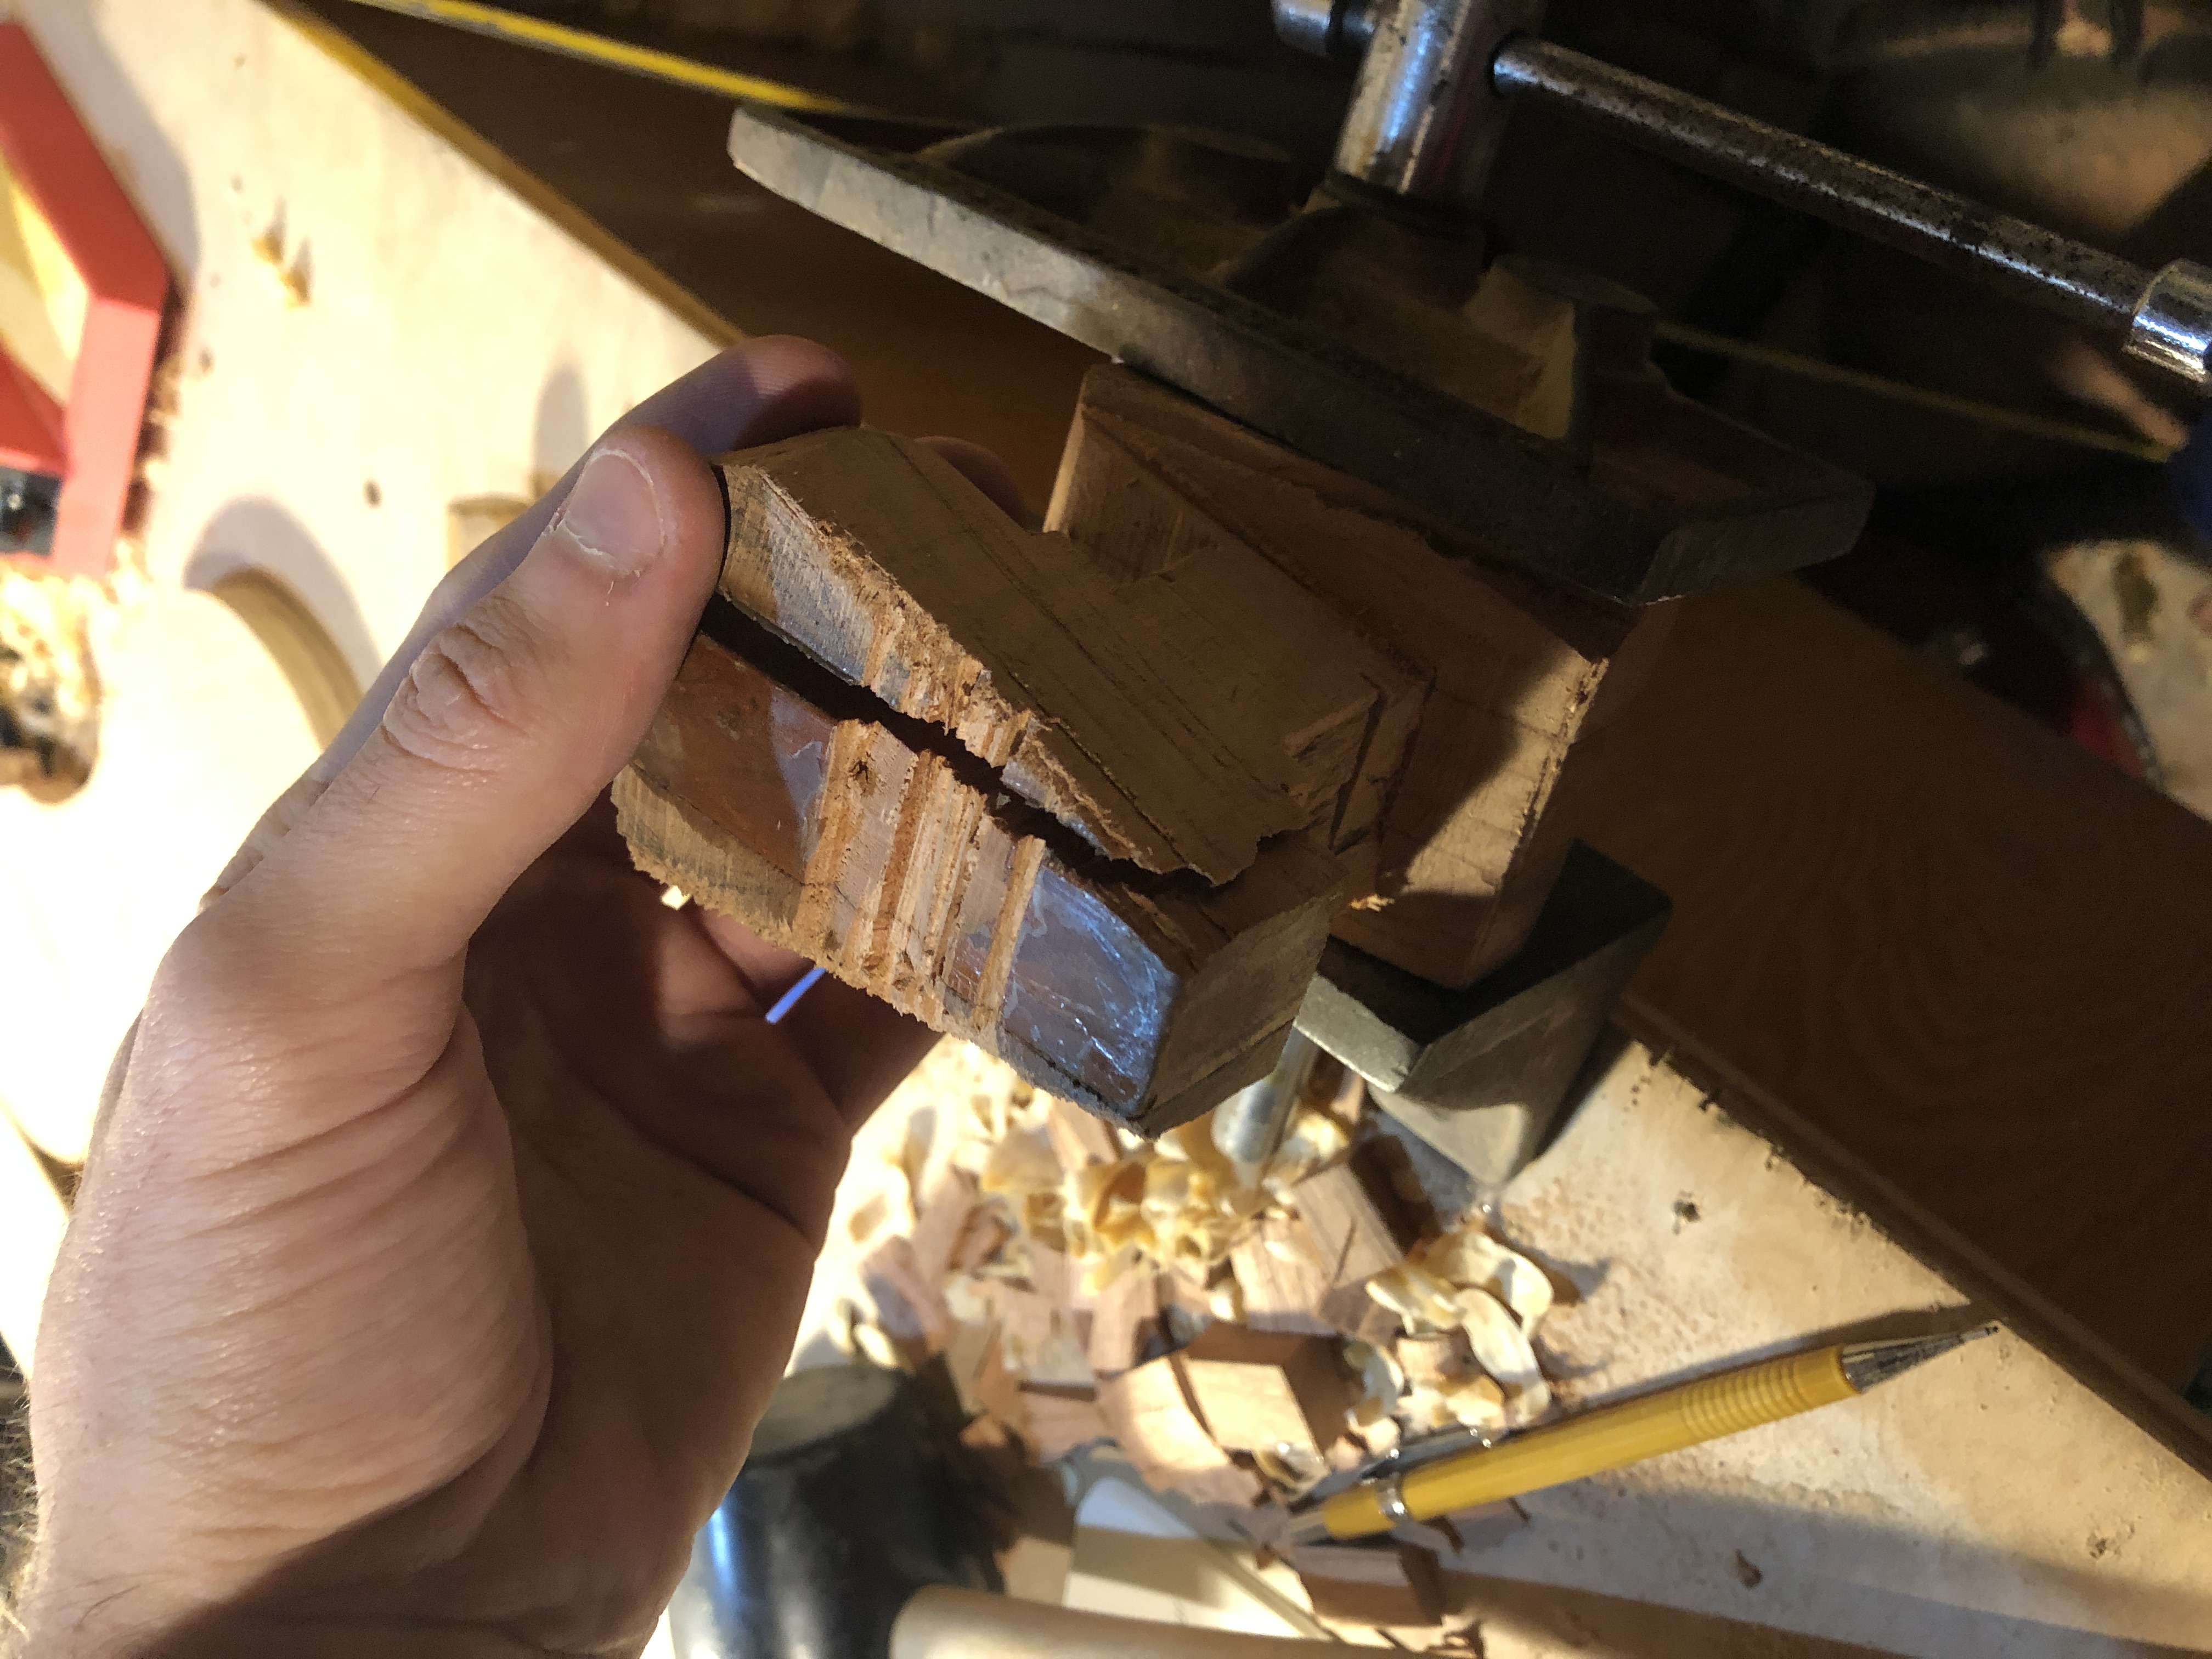
Next step was rough shaping (and when I say rough, I mean rough). I did this with a hand saw and a mallet and chisel, holding the work in a vise on the bench. I had to be careful not to get carried away with the chisel because the wood split easily. At this point, it did not look pretty.
This was also my first run in with the glue failing. A small part of the palm rest broke off. I applied more glue this time and tried to maintain better clamping when it dried.
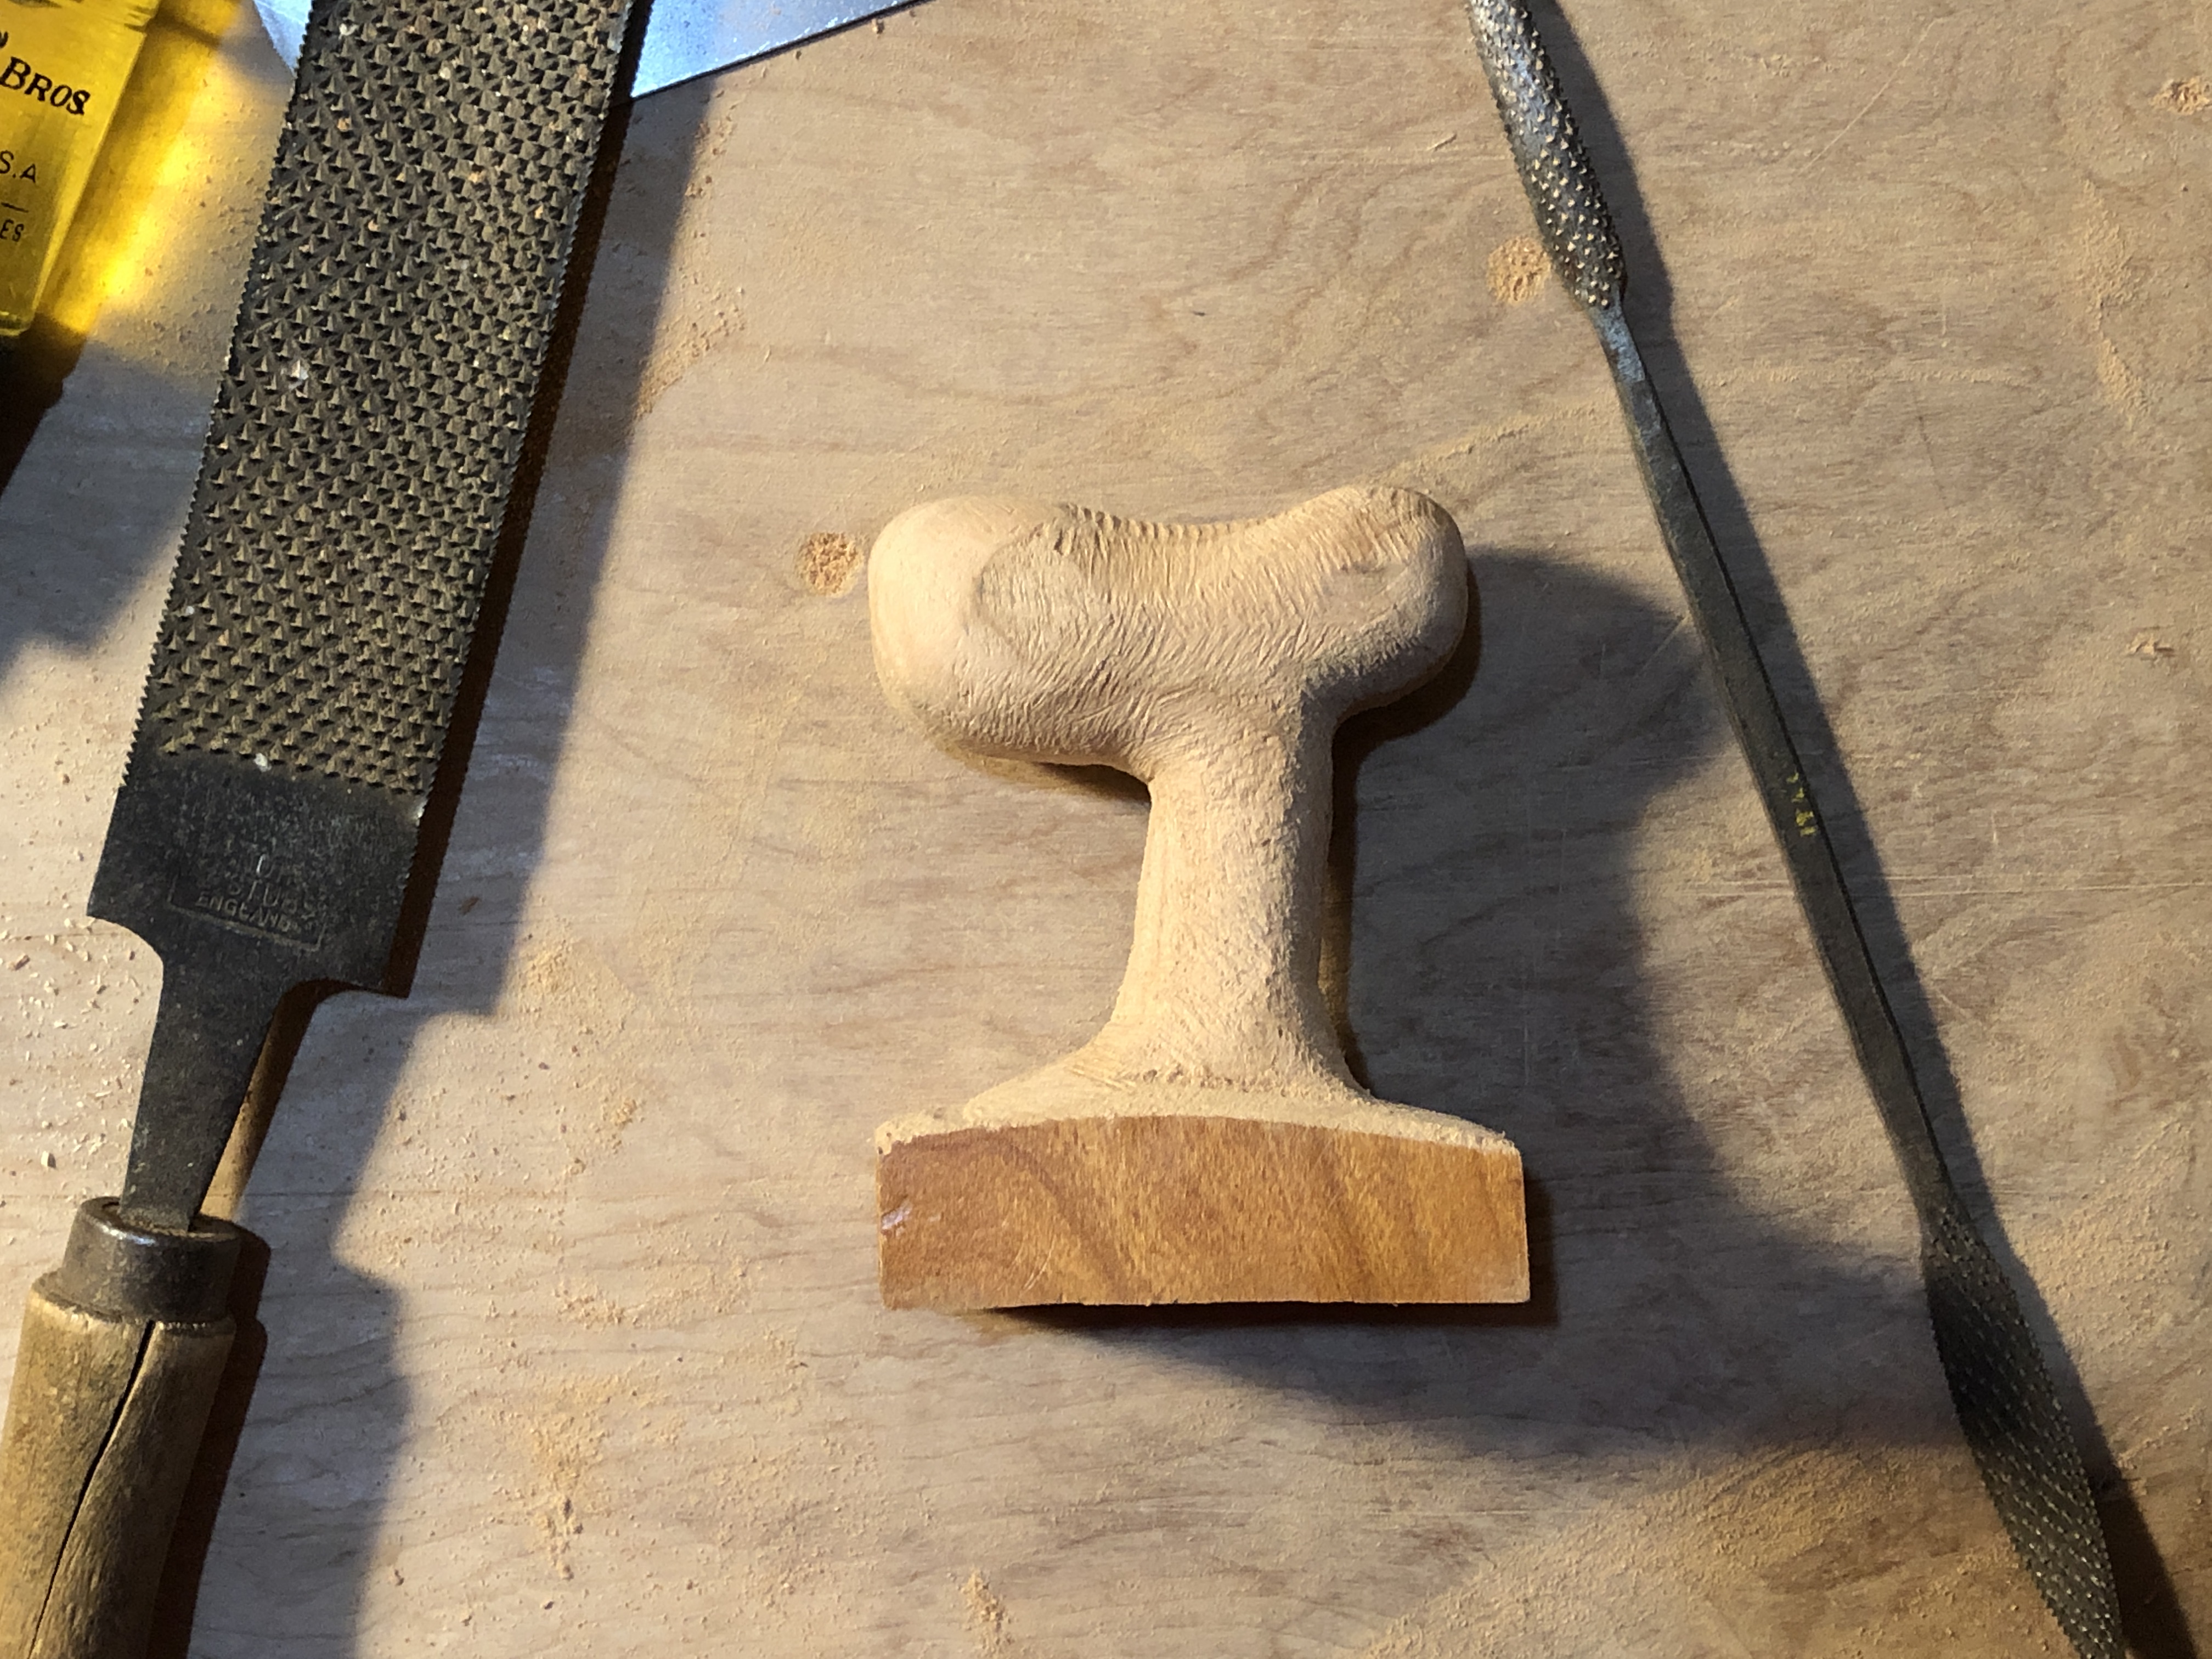
Next up was more shaping, this time with a big file and a couple of smaller rifflers. The rifflers were especially nice for blending the curves of the palm rest into the stem which connects it to the base.
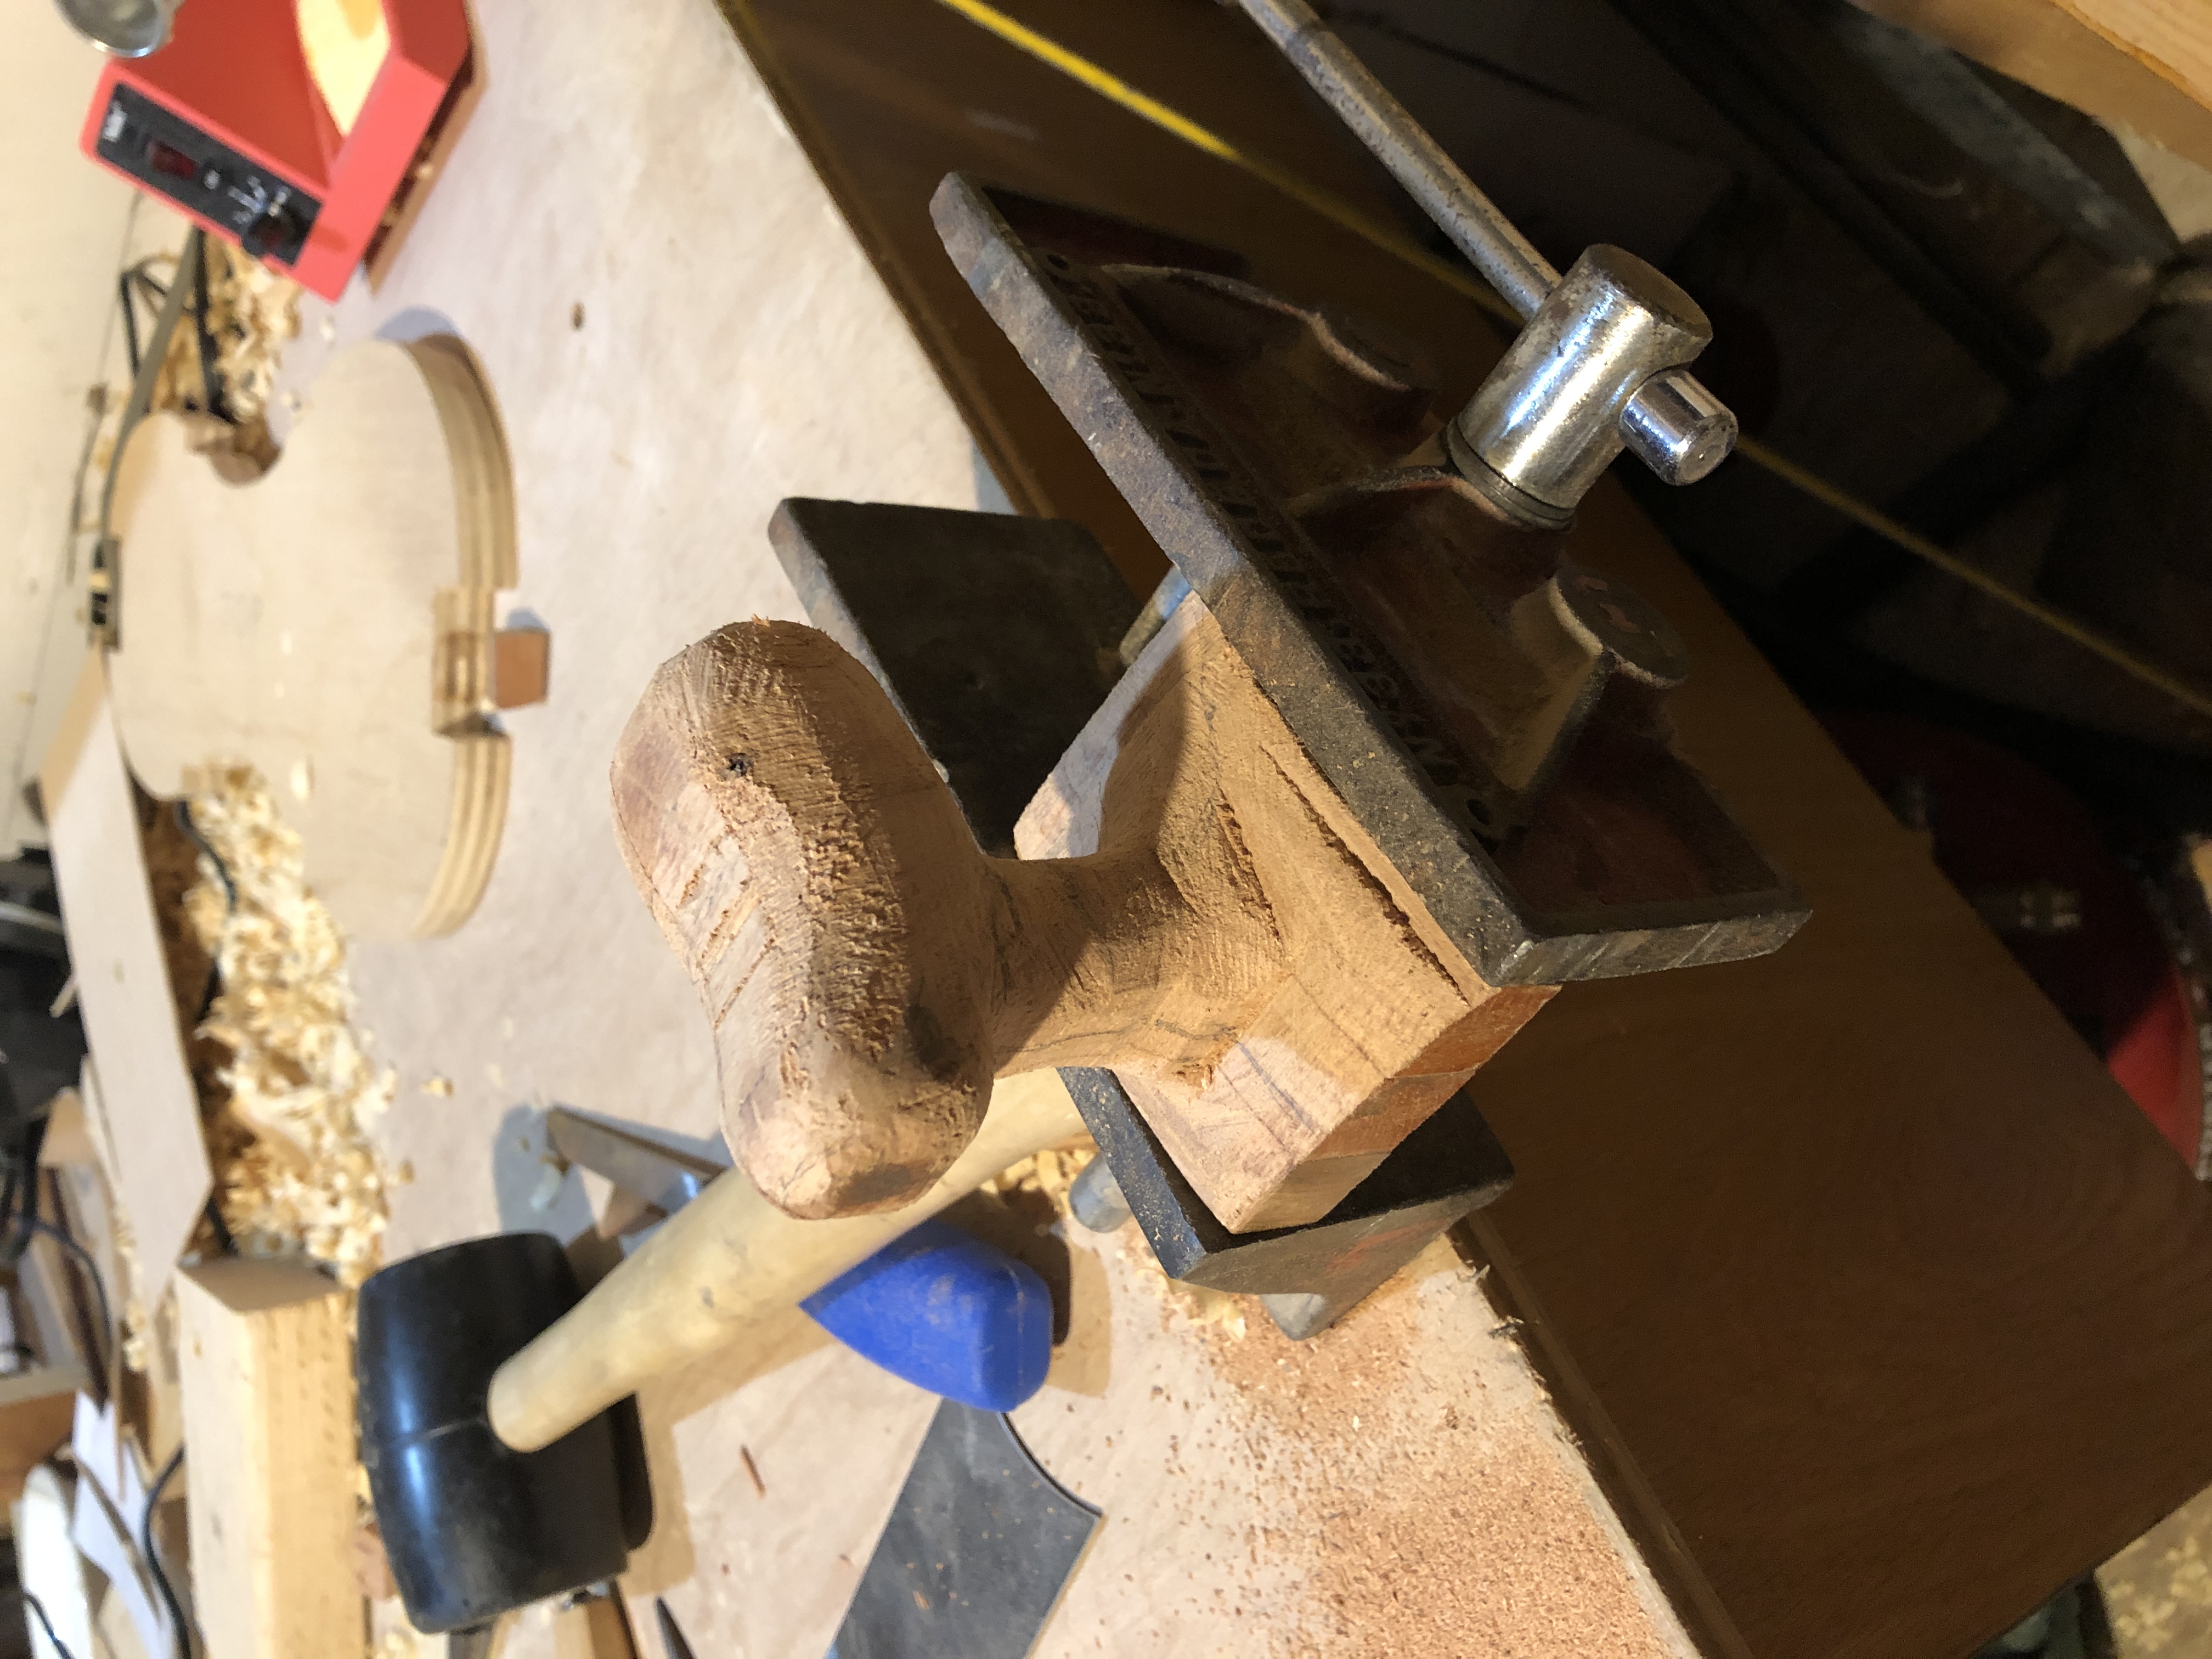
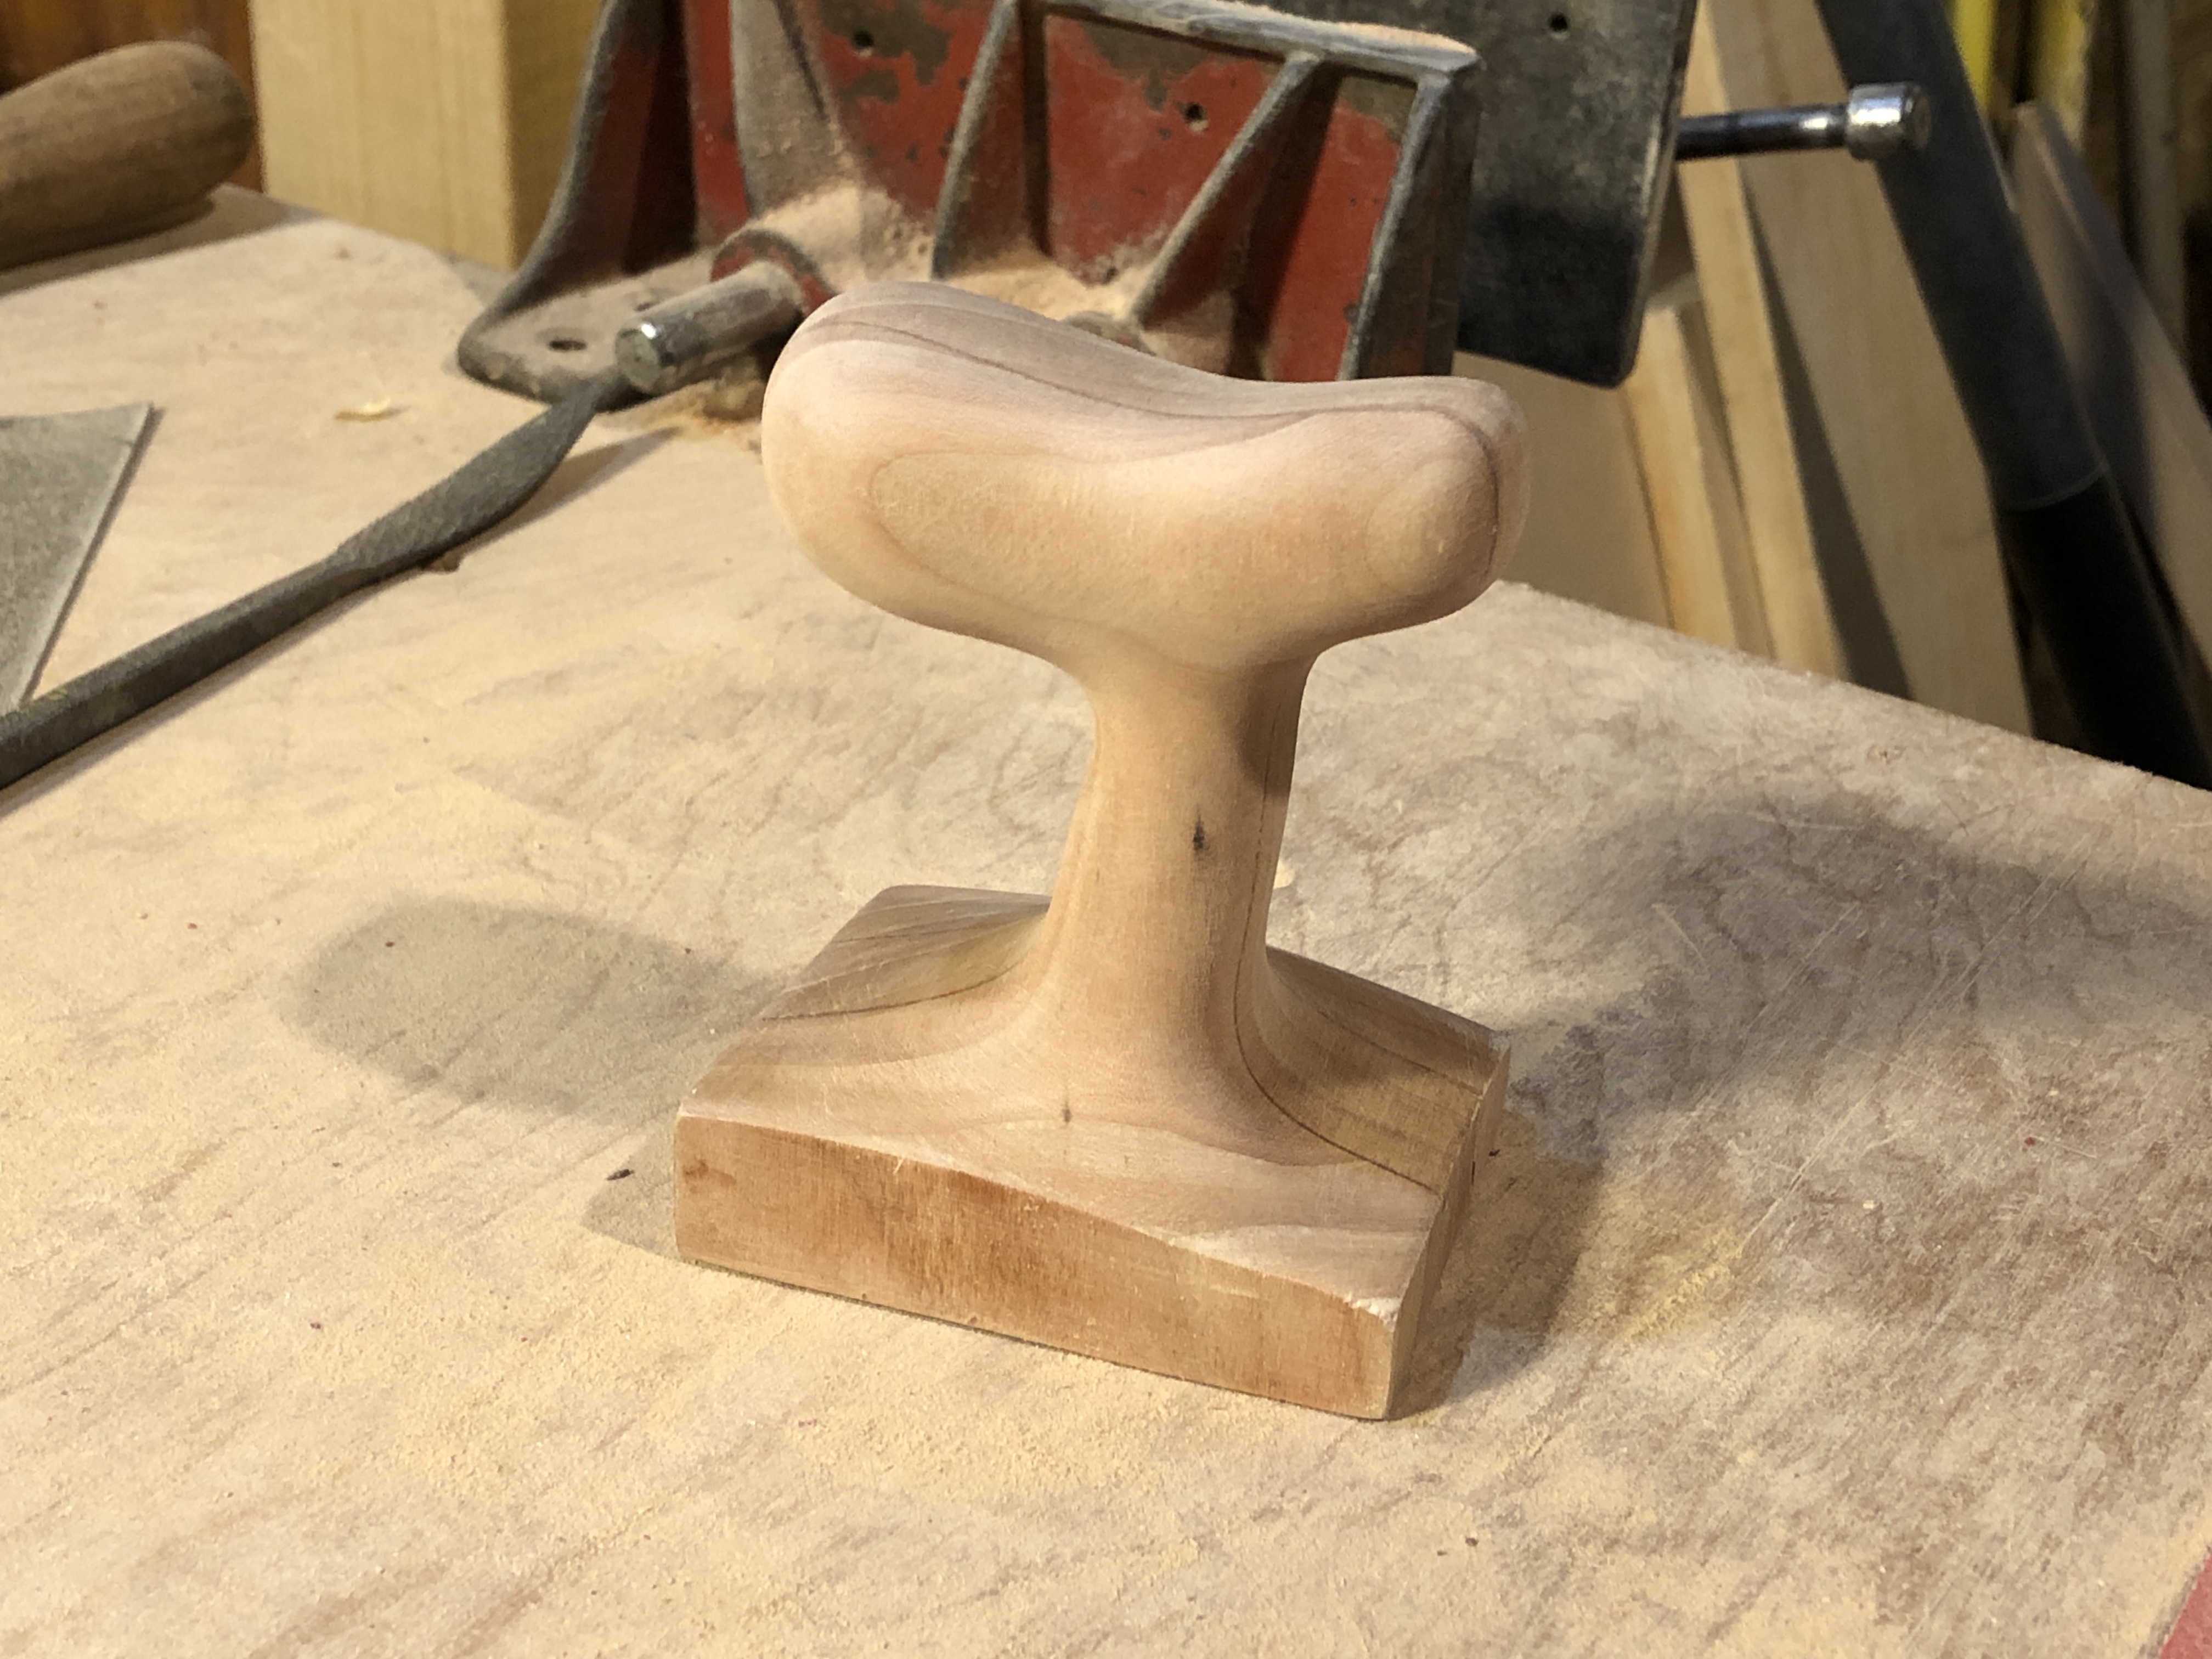
The shaping is now complete.
After shaping came hours and hours of sanding. I used 80 grit for some final fine shaping and to get out any of the large gouges left by the files. Next was 120 grit which made it easier to focus on the form, rather than how rough the surface was. I went back and forth between these two grits doing some final shaping. Then I moved on to 220 grit and finally 400 grit. This set of papers worked well, although maybe some intermediate grits would have made the process shorter, I am not sure. The final grit left the surface looking very smooth, so I didnt feel the need to go any finer.
After sanding it was time to finish the surface. I decided to go with pure tung oil because I liked the idea of a natural finish, and this tool didn’t need any particularly impenetrable protective layer against mechanical damage or liquids. I applied it with a foam brush and waited a few days.
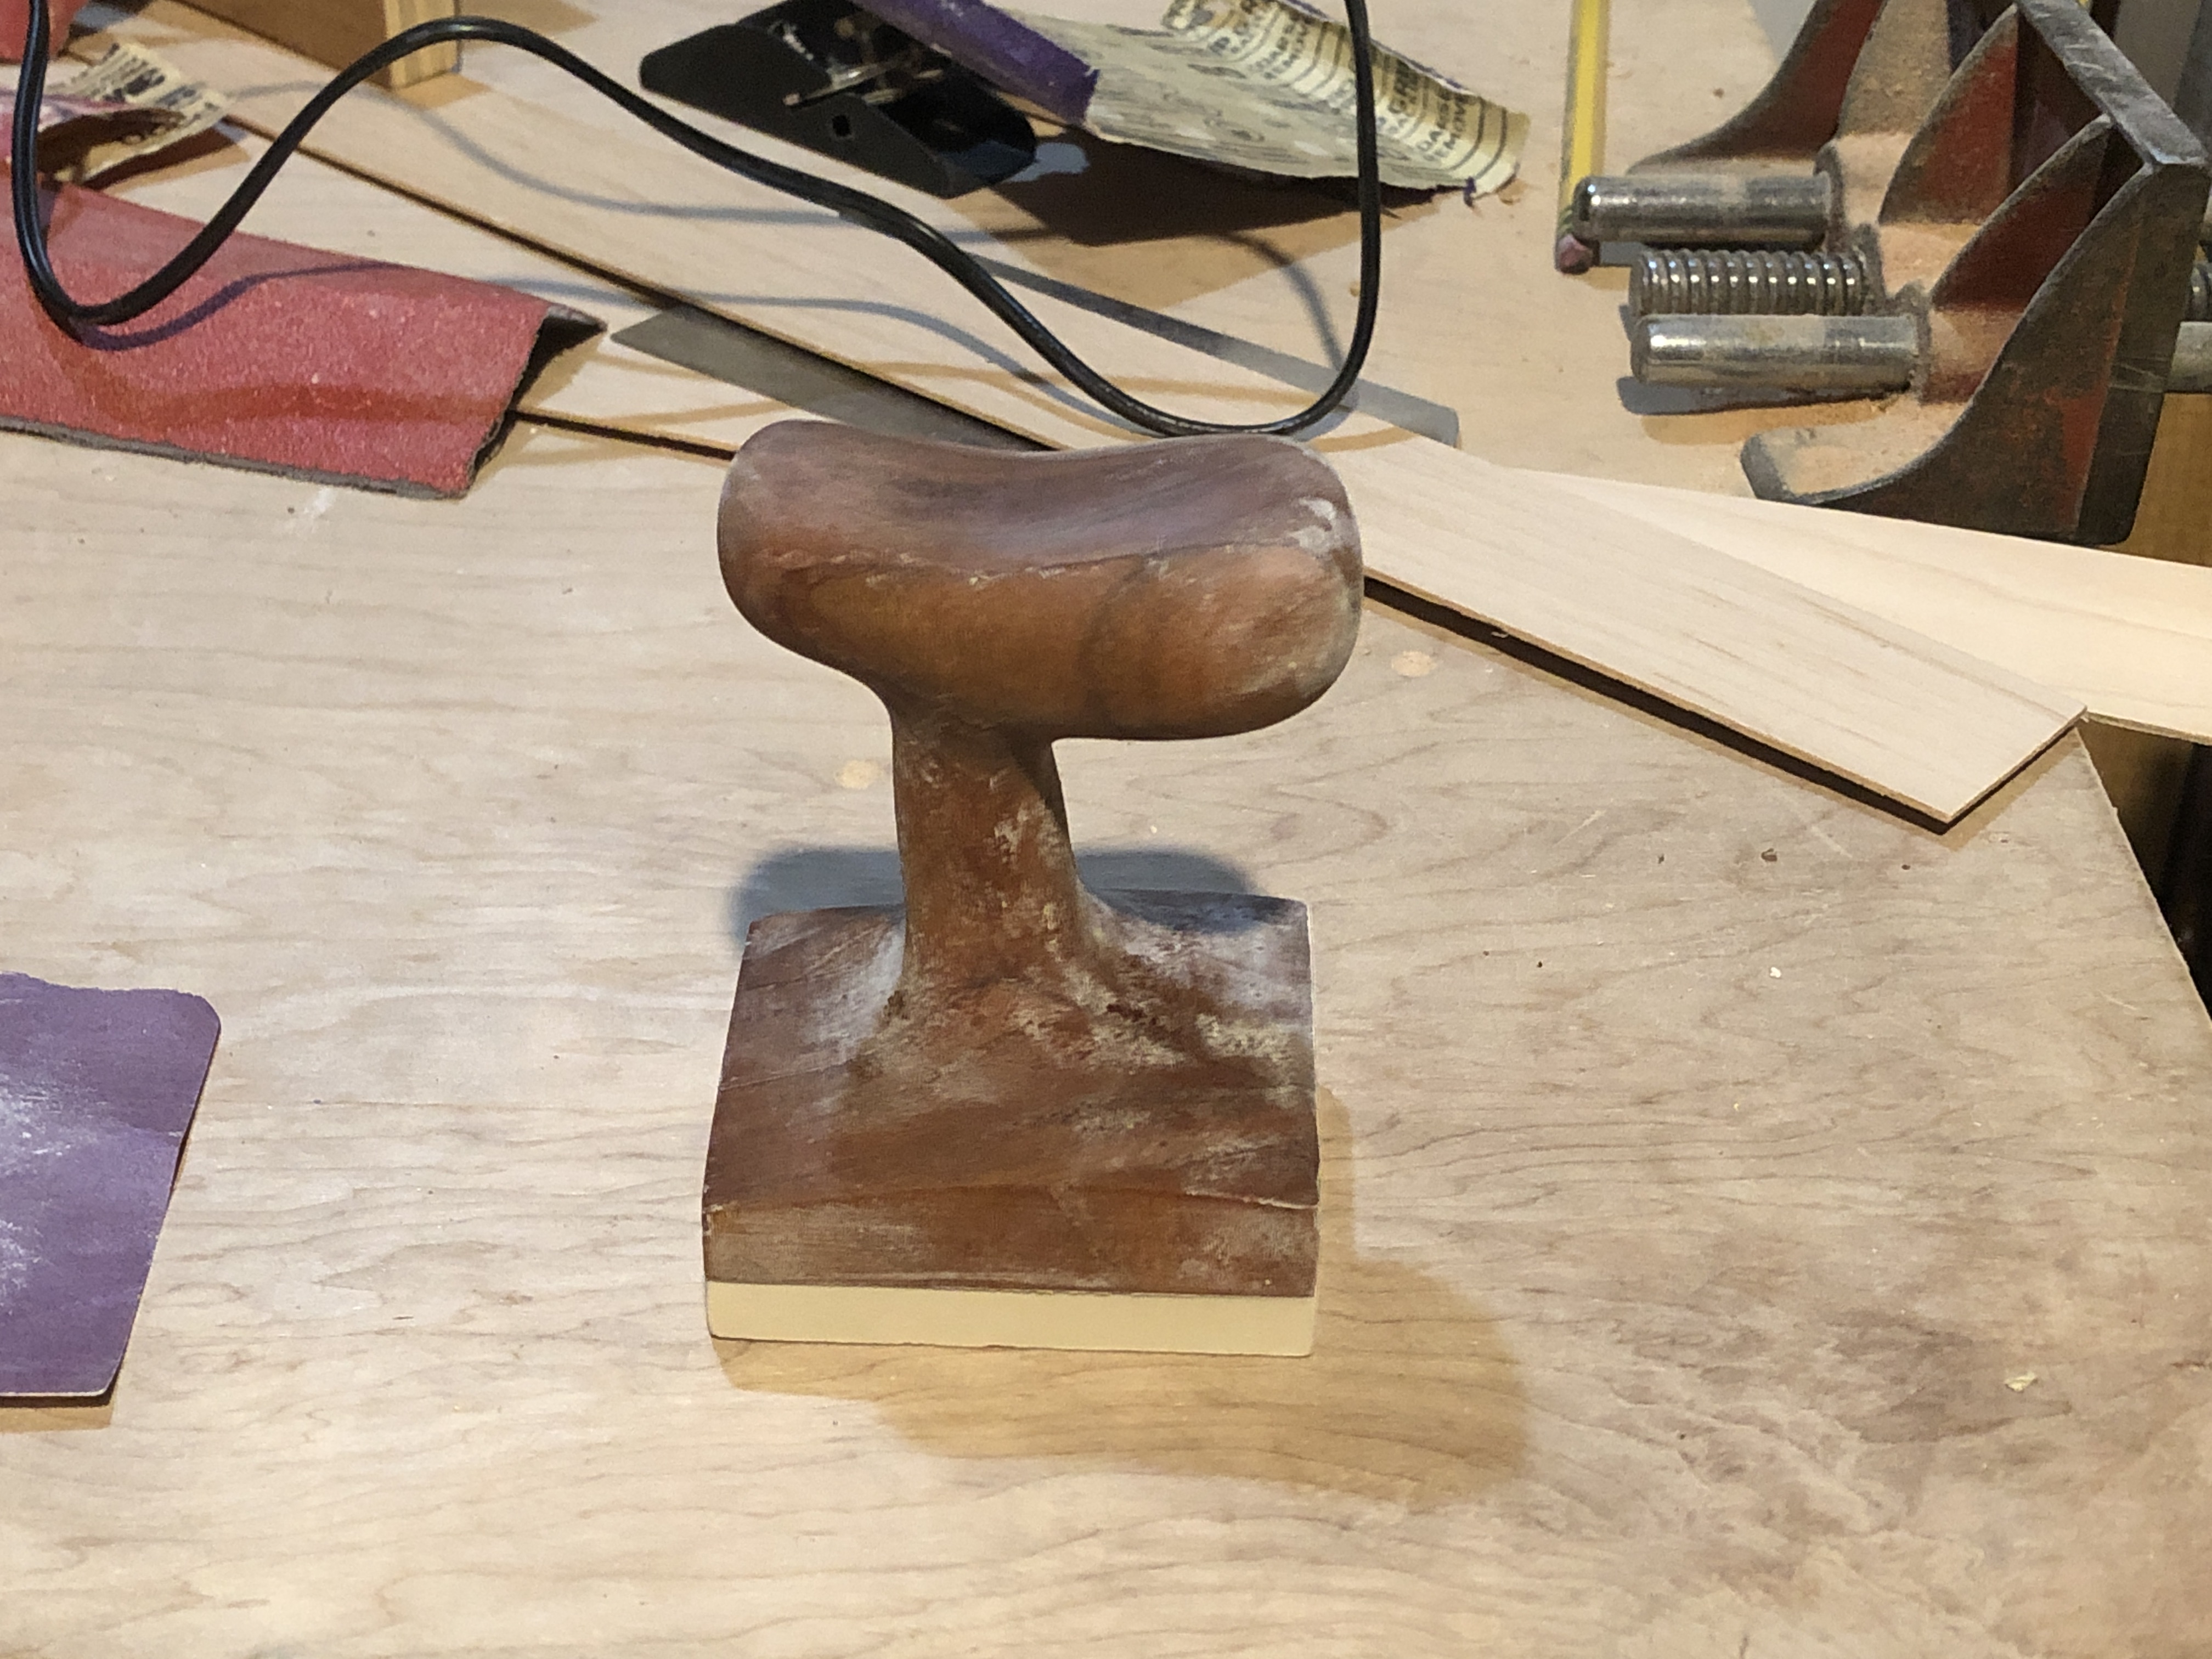
The tung oil developed this strange white cakey substance on the surface which I can only assume was excess tung oil that the wood sweated out and subsequently dried on the surface. This stuff was surprisingly hard to remove even with sandpaper, and I didn’t particularly want to repeat the same set of papers as before. It turns out that the scouring pad on the back of a kitchen sponge works moderately well for removing the gunk without damaging the smooth surface beneath.
Finally, I used a small square of linoleum on the bottom for the soft, pressing surface. Despite roughing both surfaces and using moderately strong superglue, I anticipate having to re-glue the linoleum after some use.
The final piece:
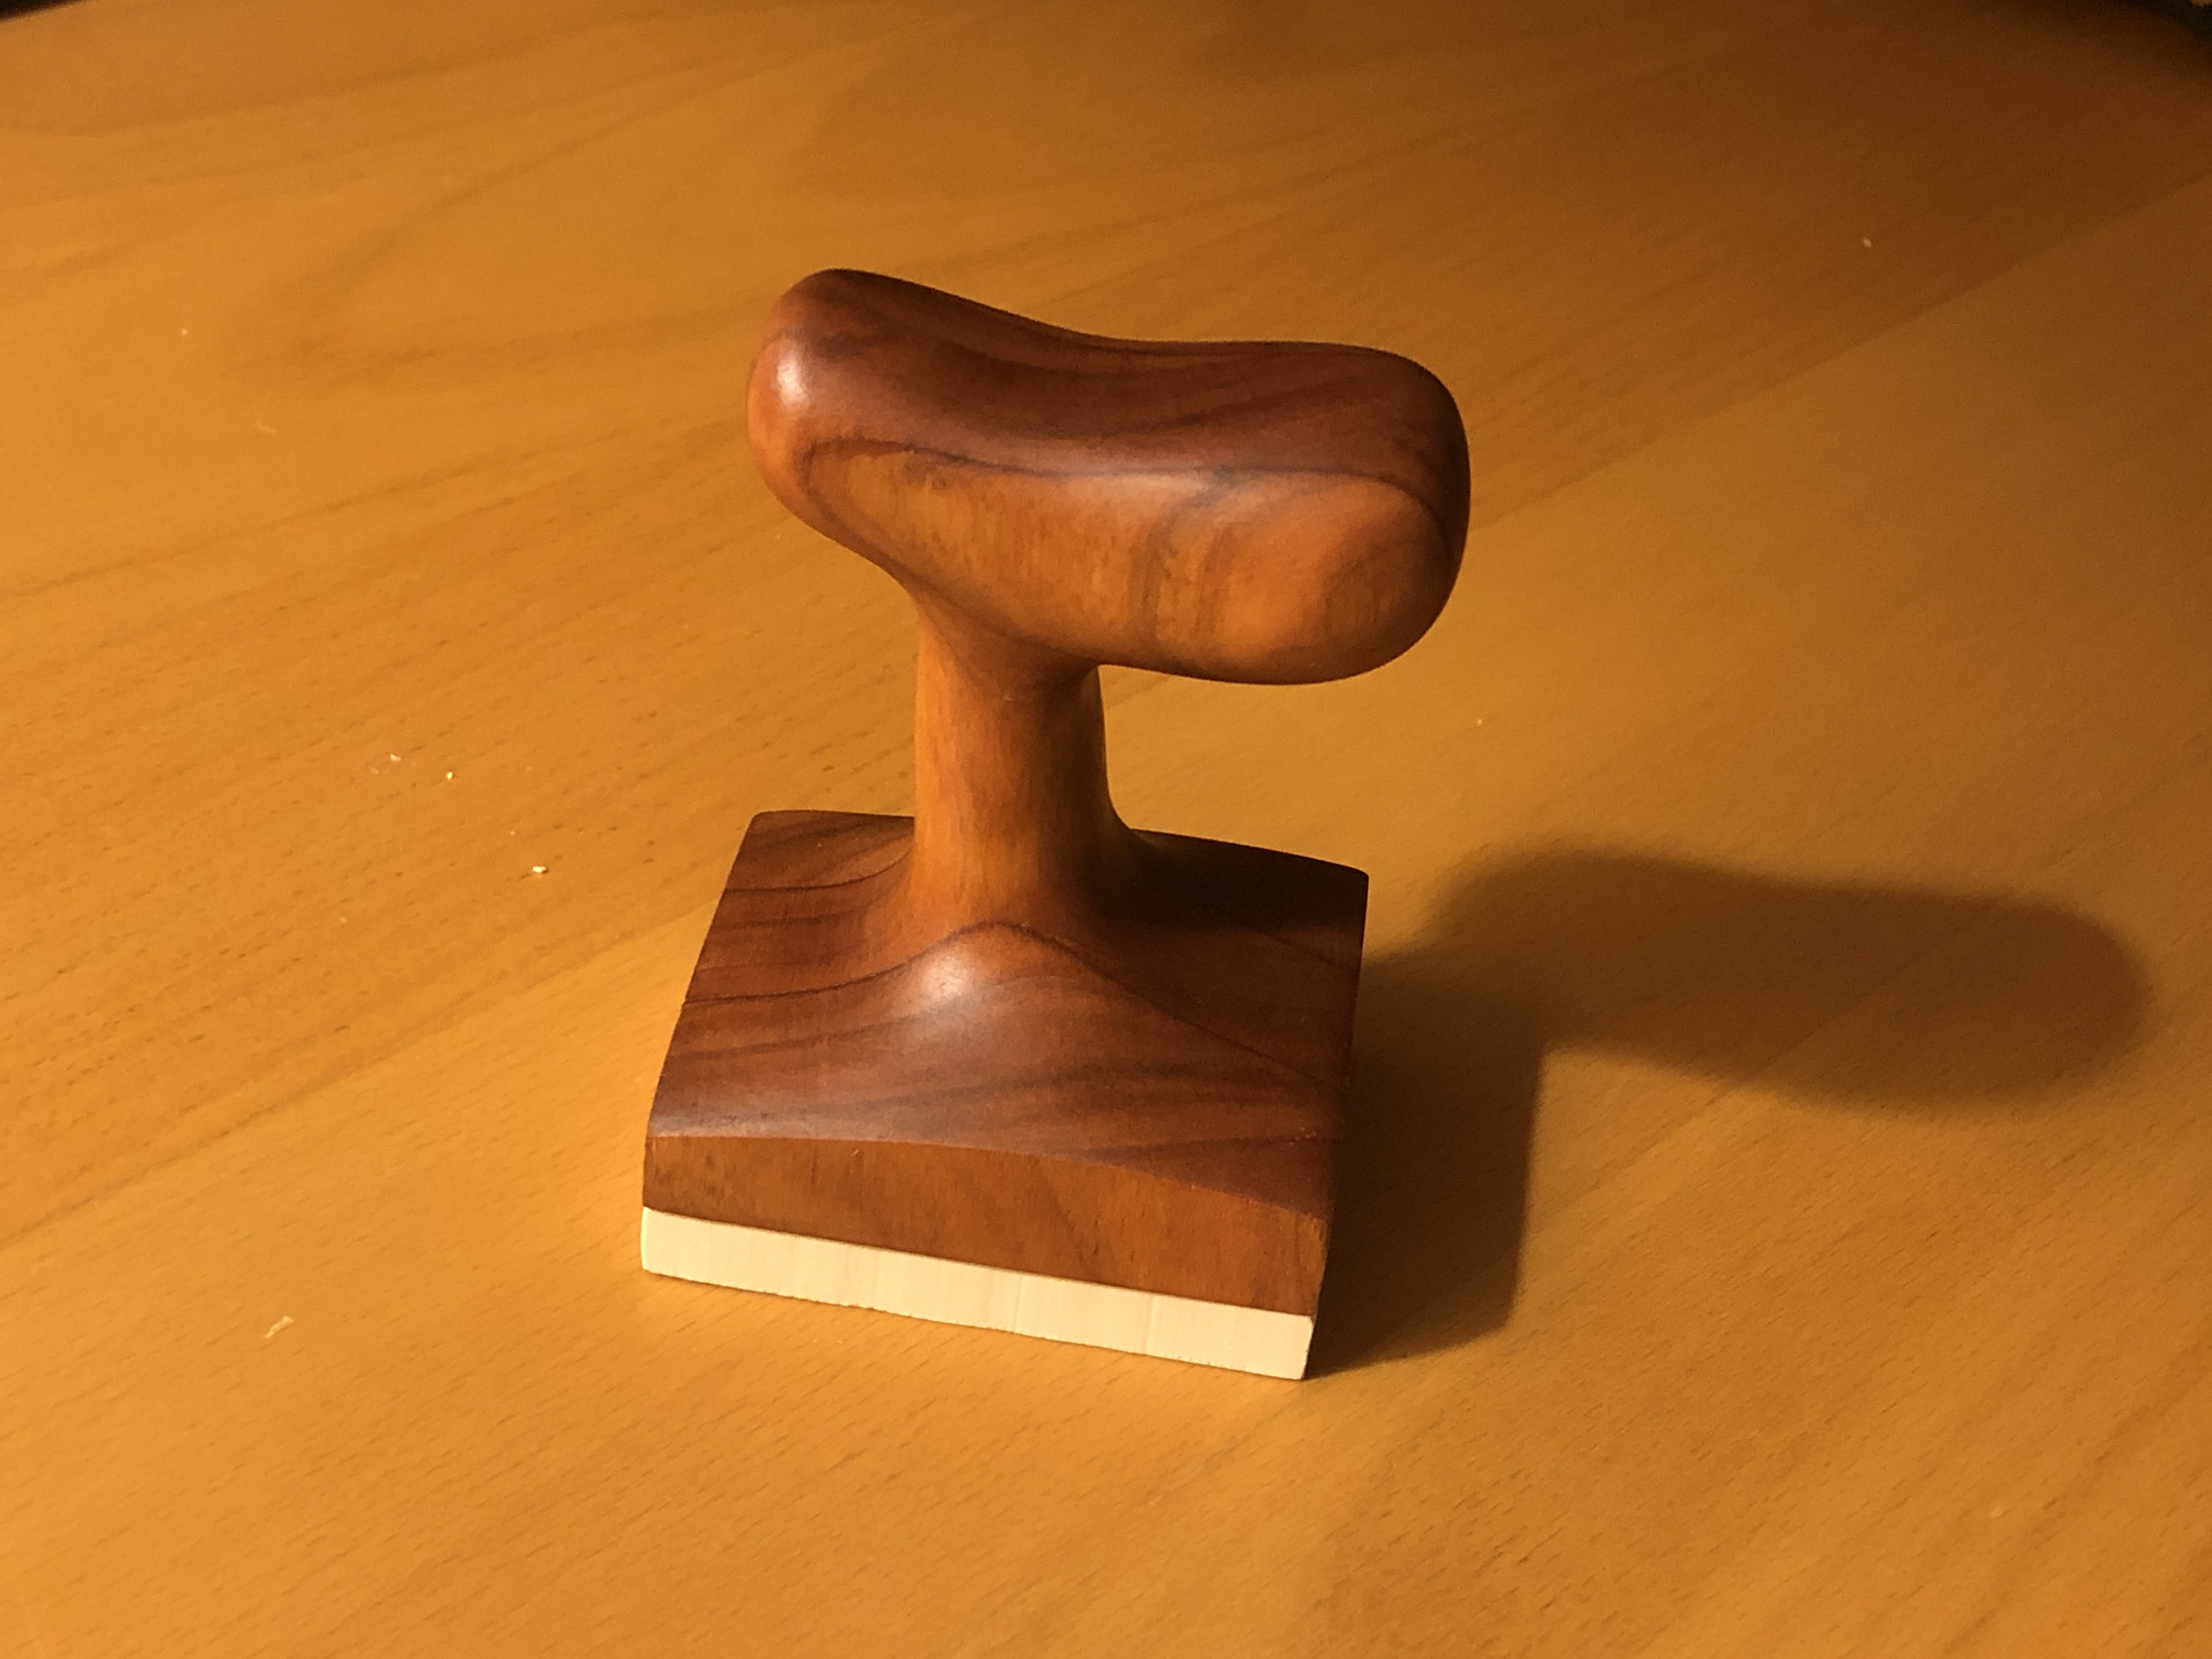
The shape of the handle feels good in the hand and the surface is smooth and pleasant to the touch. I am pleasantly surprised by how well the sketch translated to the final object considering that it was challenging to use dimensions meaningfully for this process.
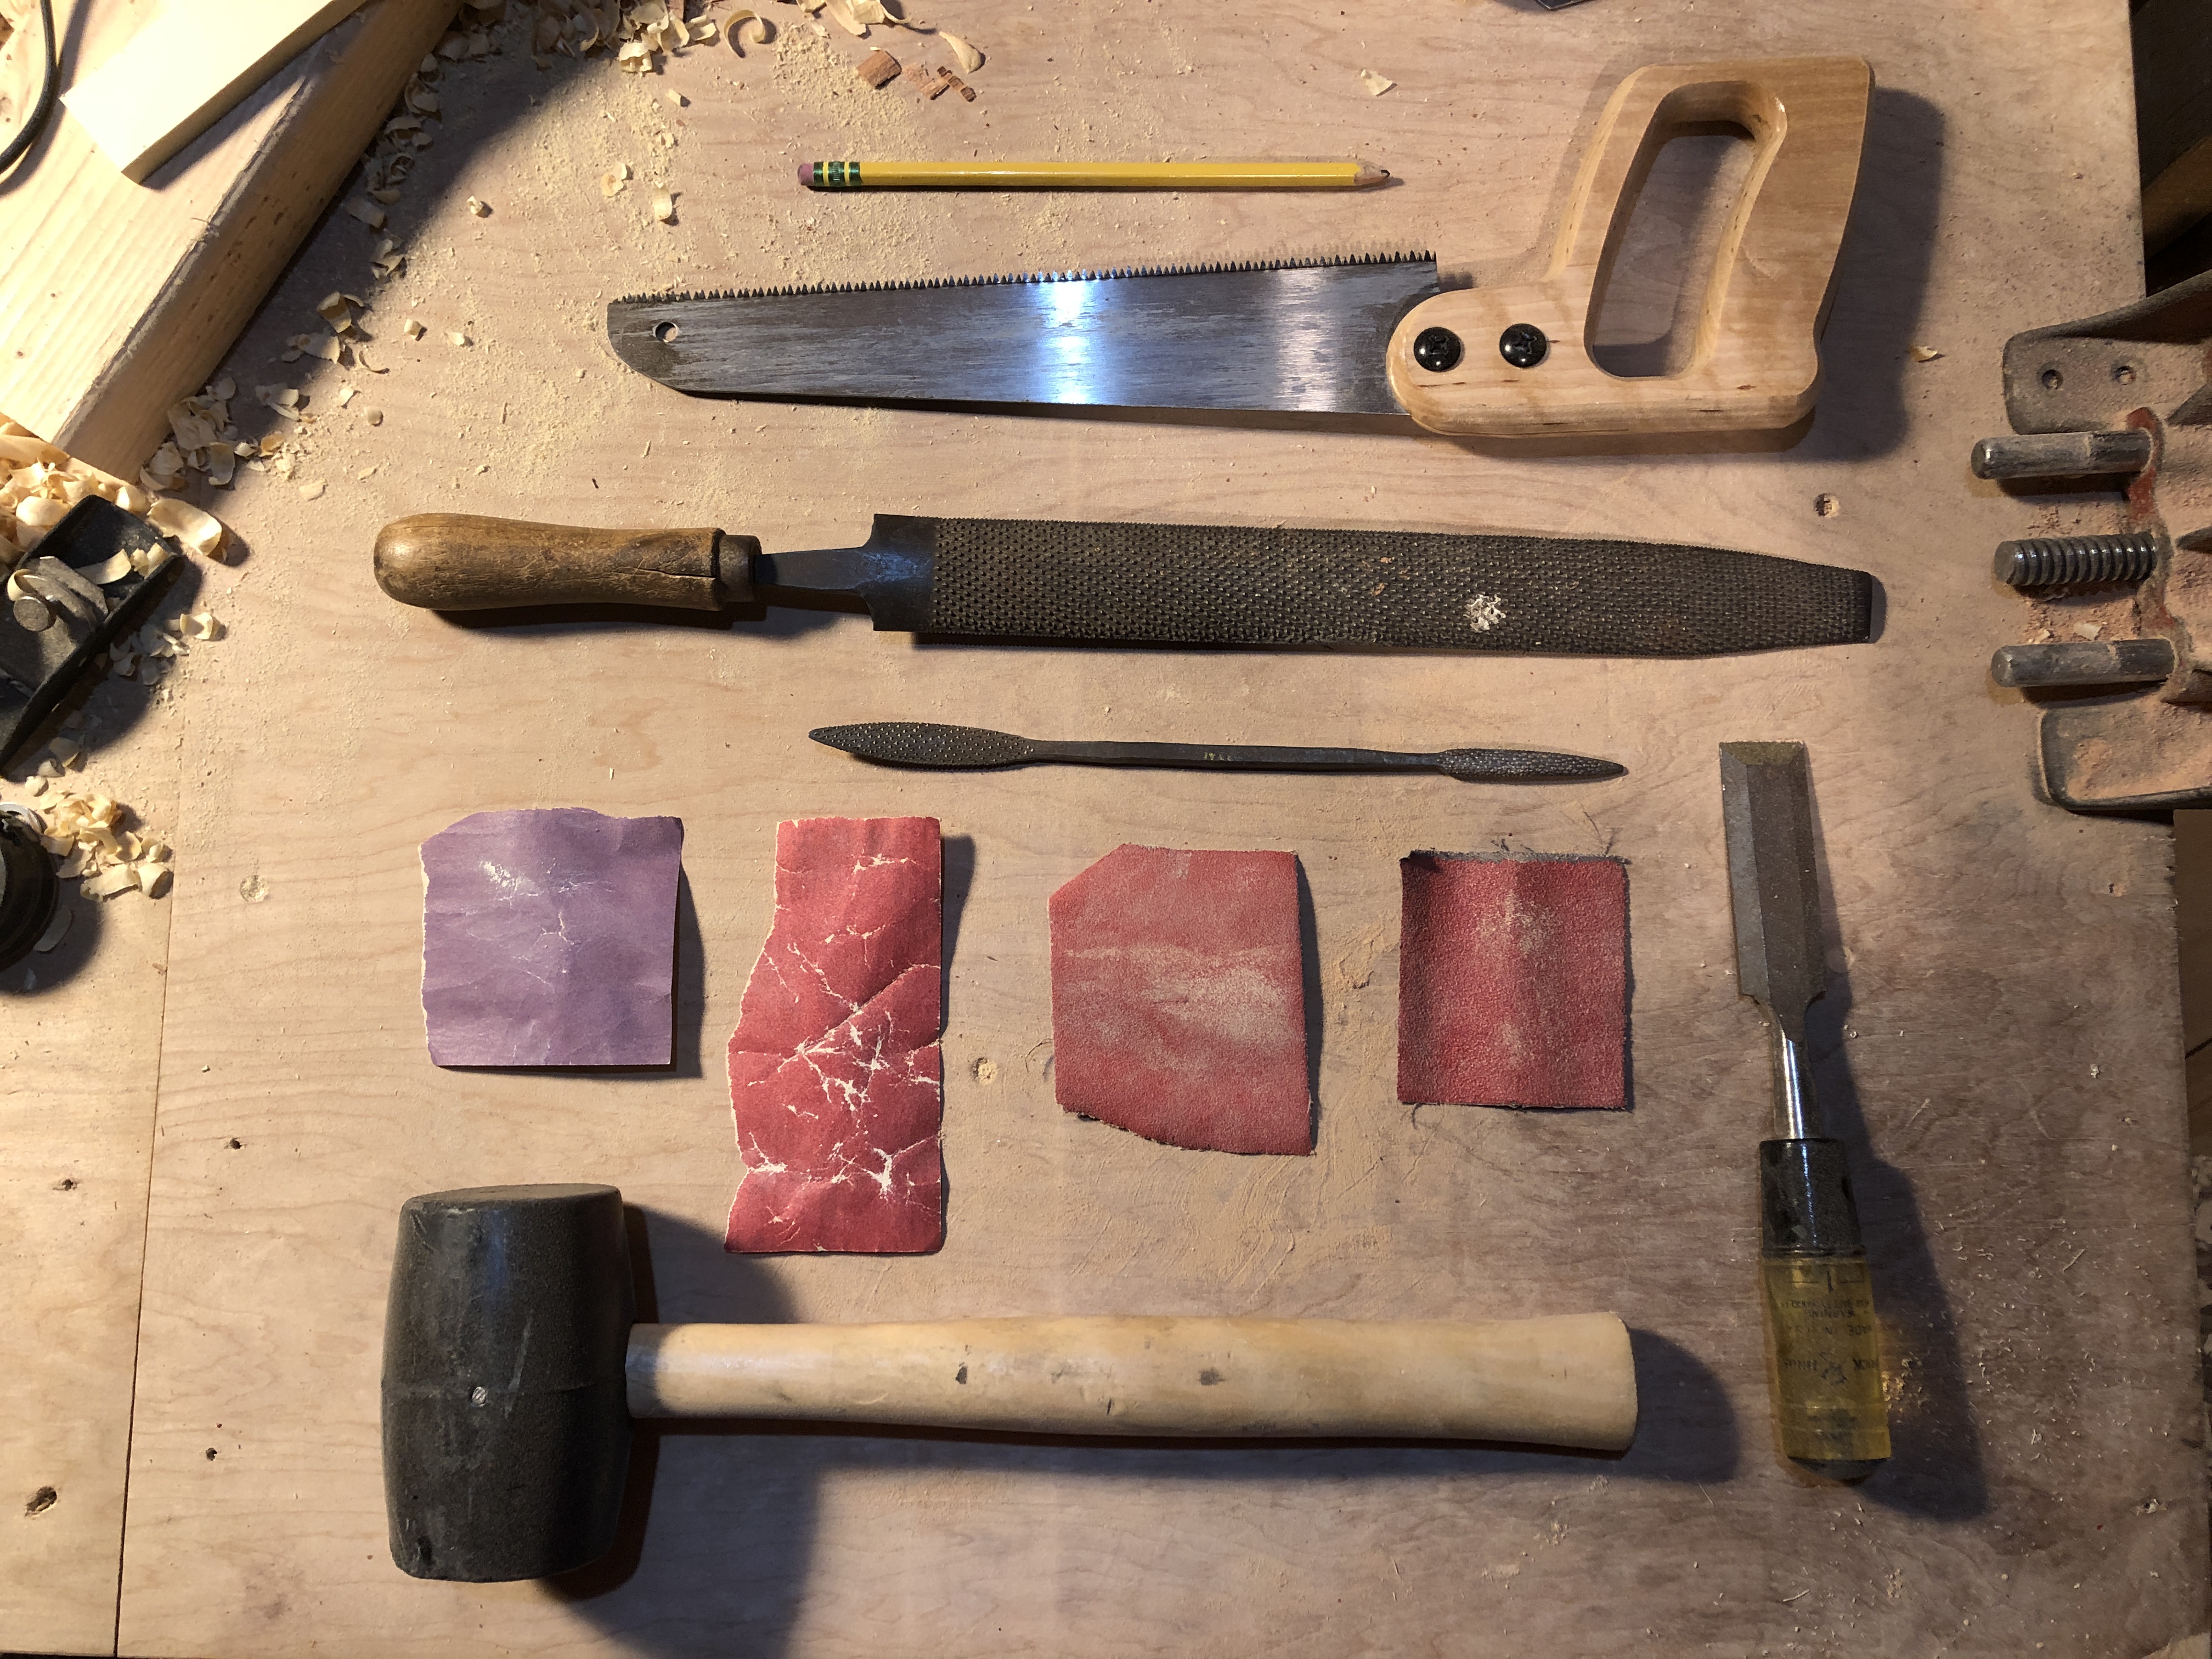
I used the following tools for this project:
- A rubber mallet
- A framing chisel
- Sandpaper (400, 220, 120, 80)
- A small riffler
- A rough cut, half-round file
- A crosscut hand saw
- Not pictured: knife, foam brush, and pure tung oil.