AE-1 Repair
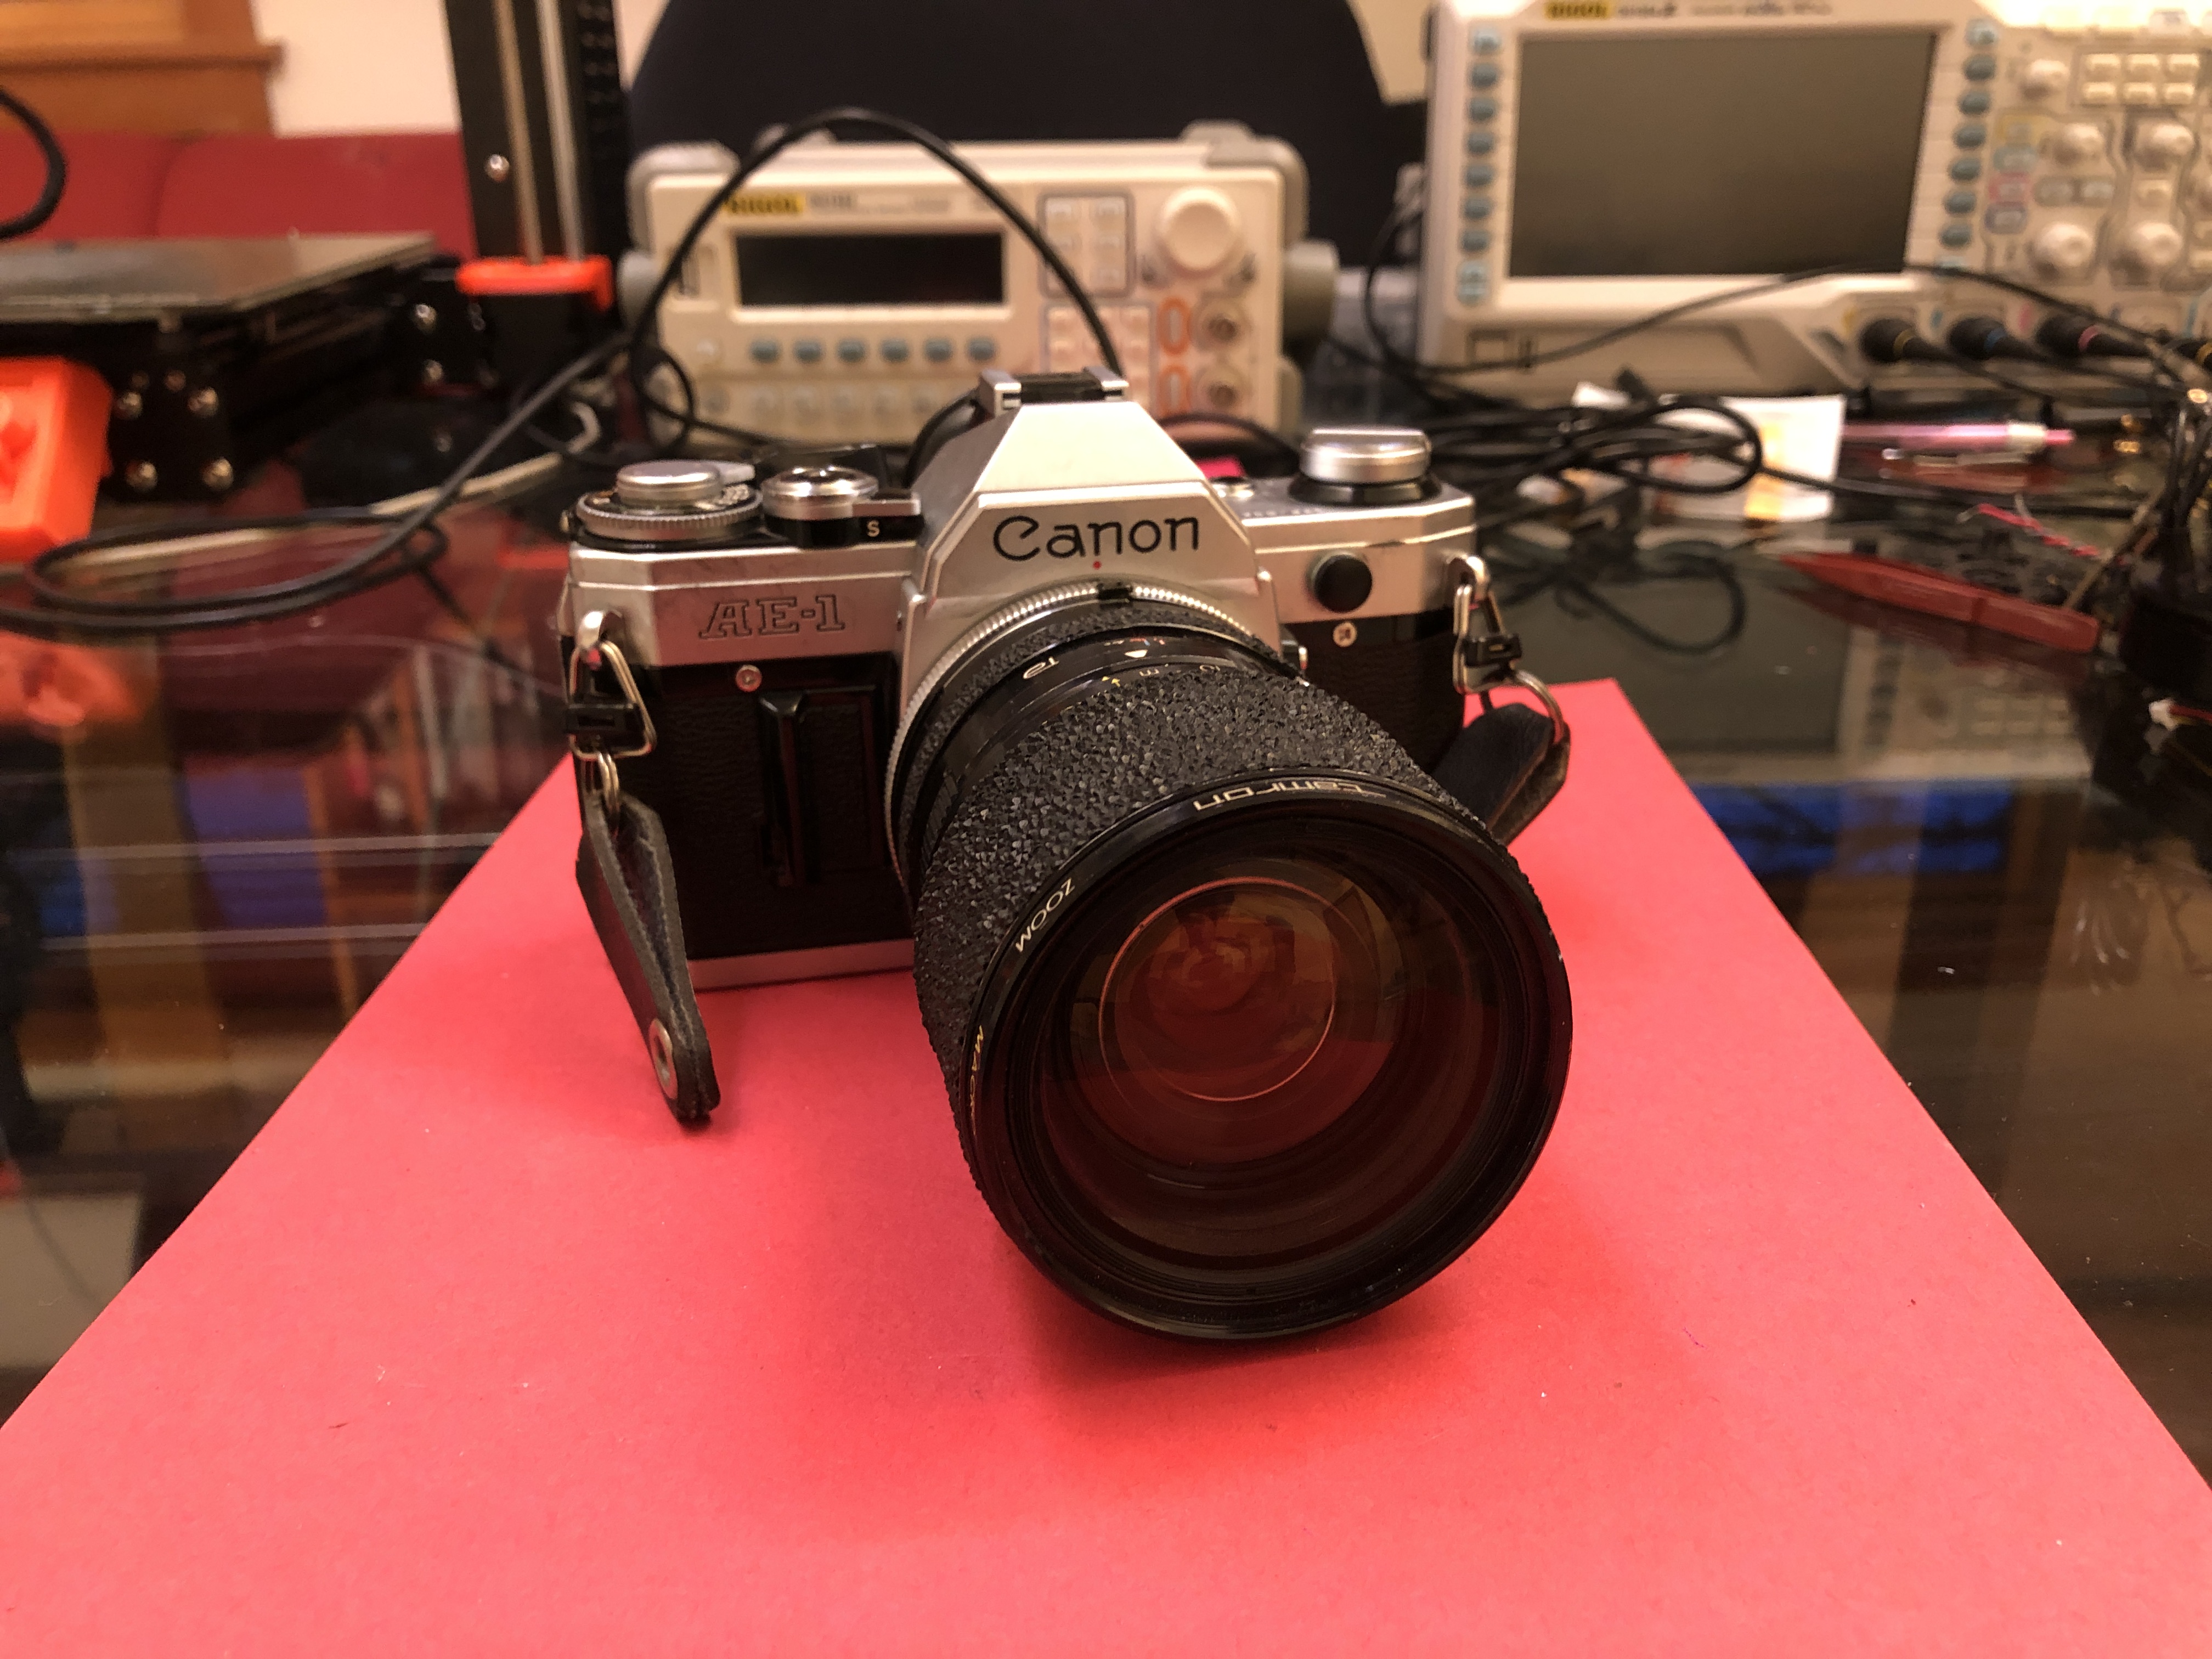
Right at the beginning of the pandemic, Theo gave me this Canon AE-1 with a really nice Tamron Adaptall 35-80mm lens and a stuck shutter.
After removing the bottom panel, the shutter could be mechanically released by pushing the small trapezoidal magnet (under the clear plastic cover) away from the electromagnet. This meant that the camera was mechanically sound.
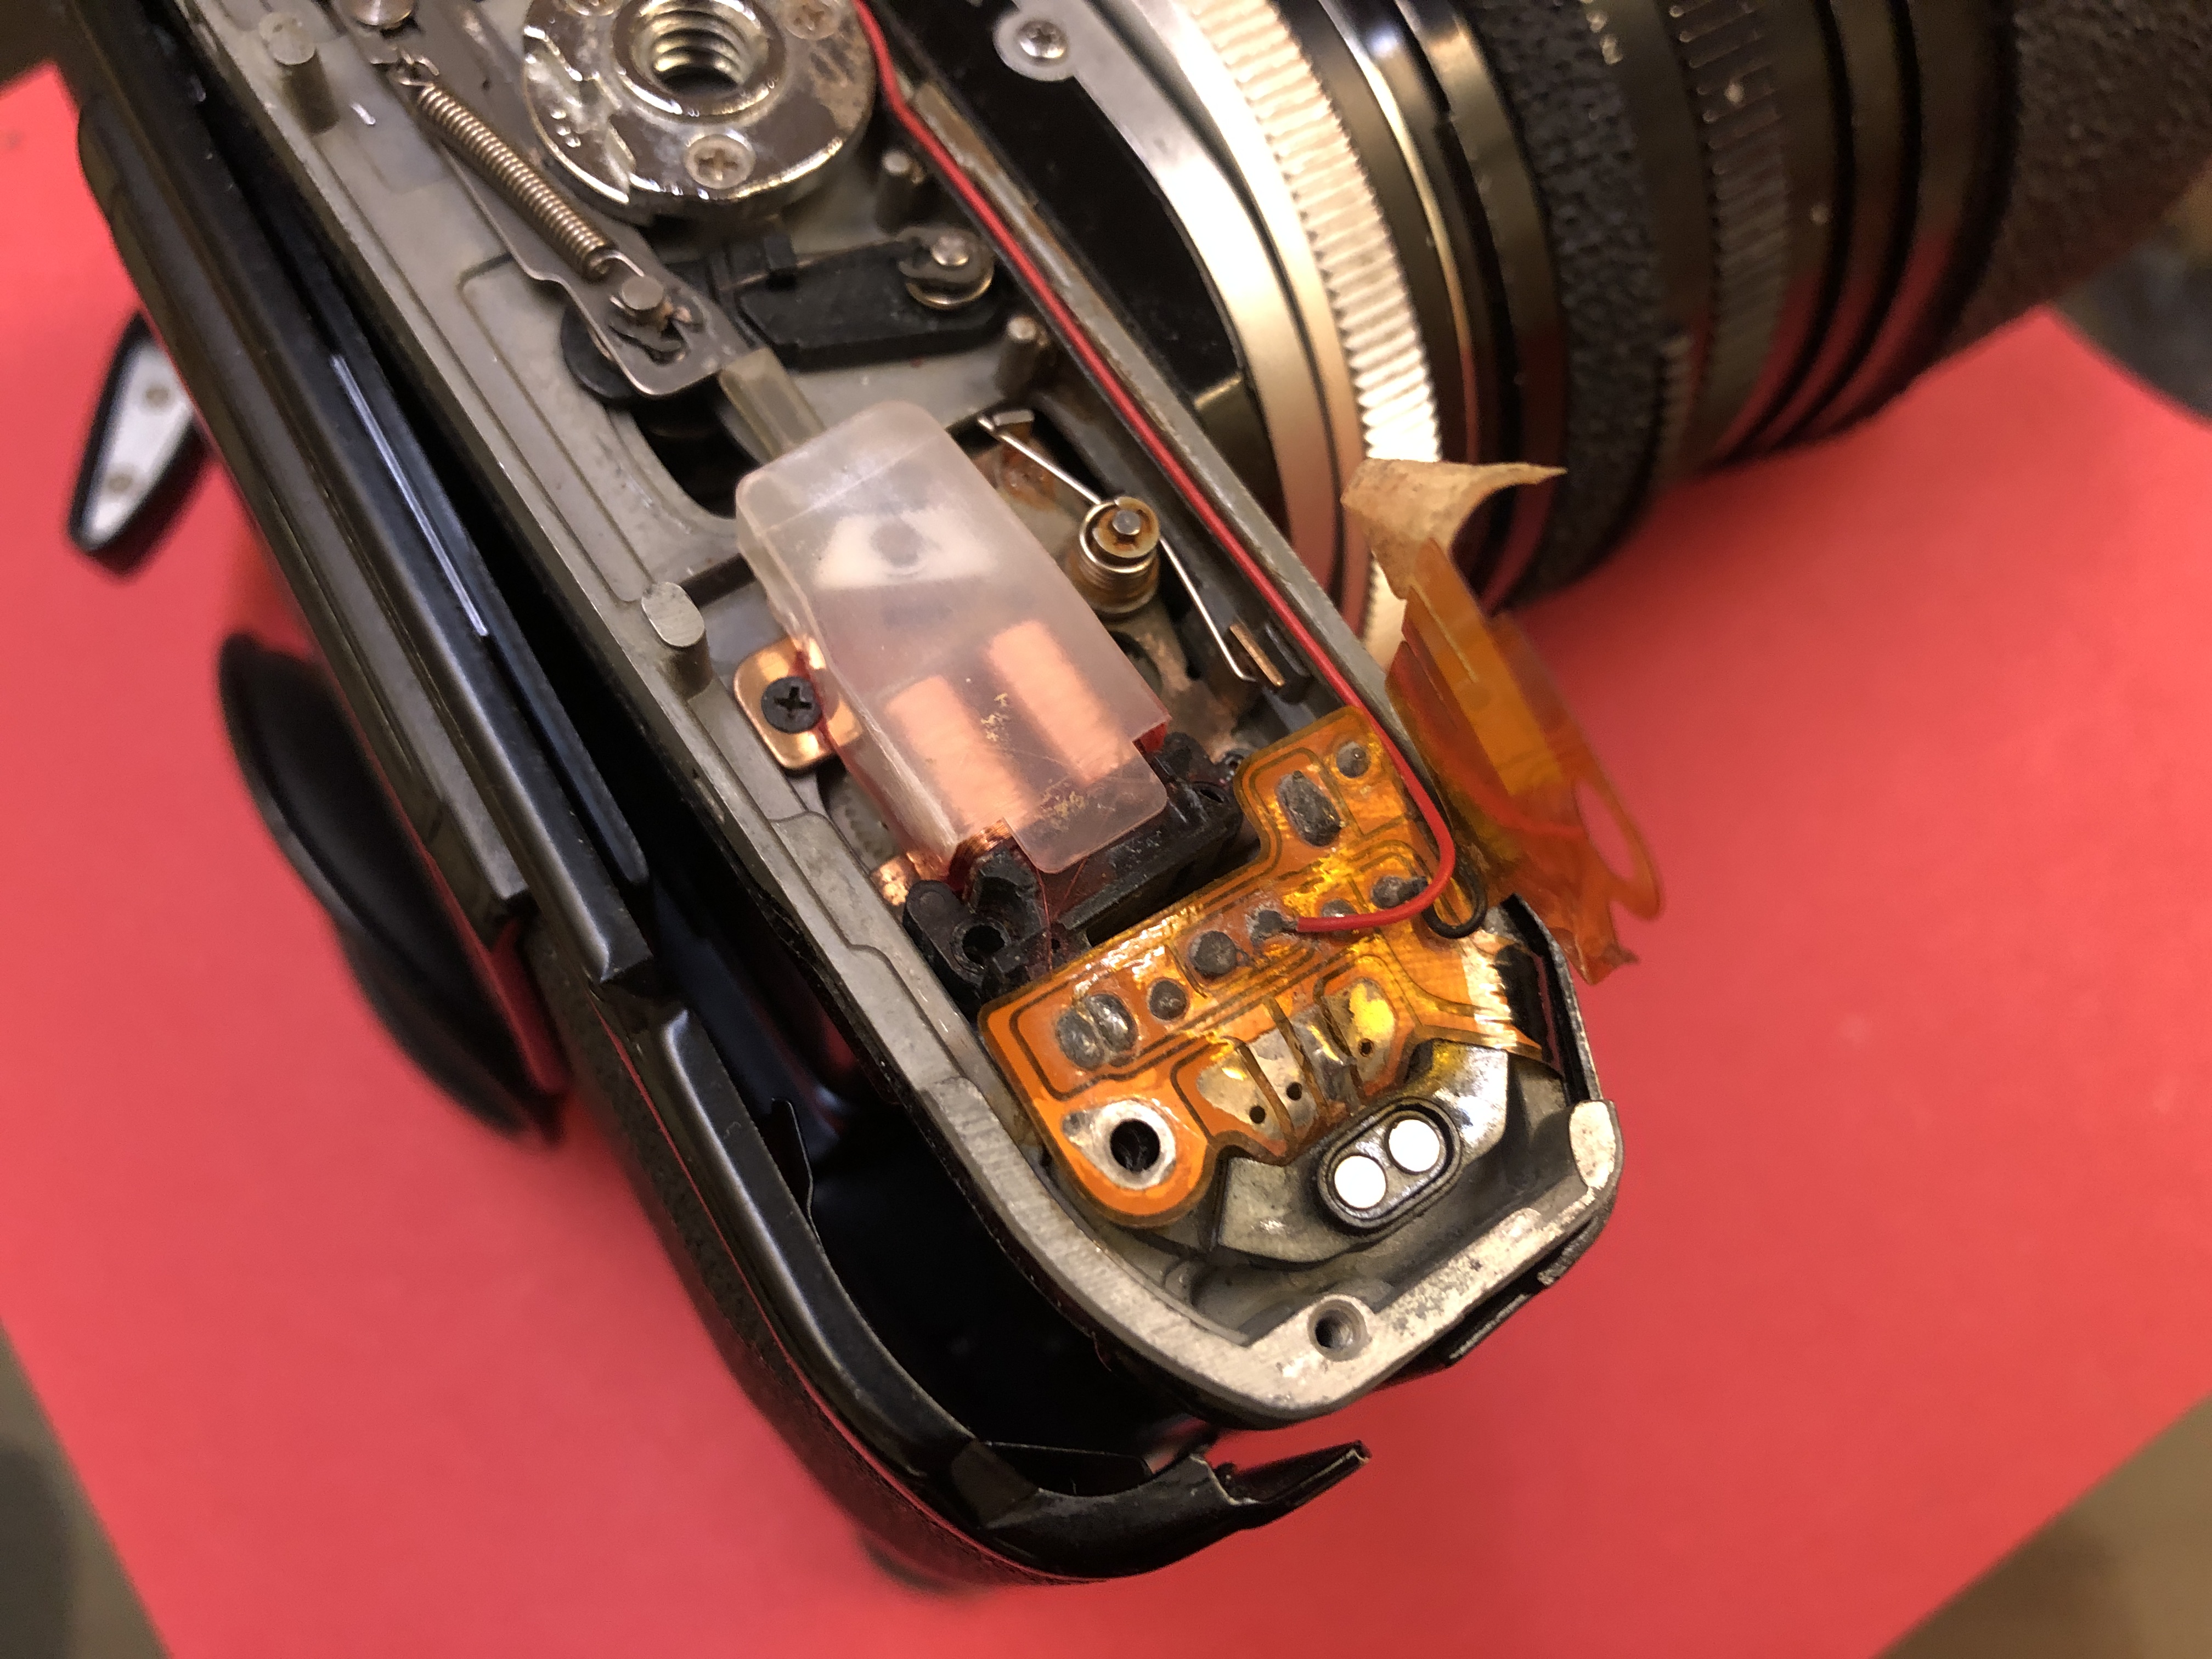
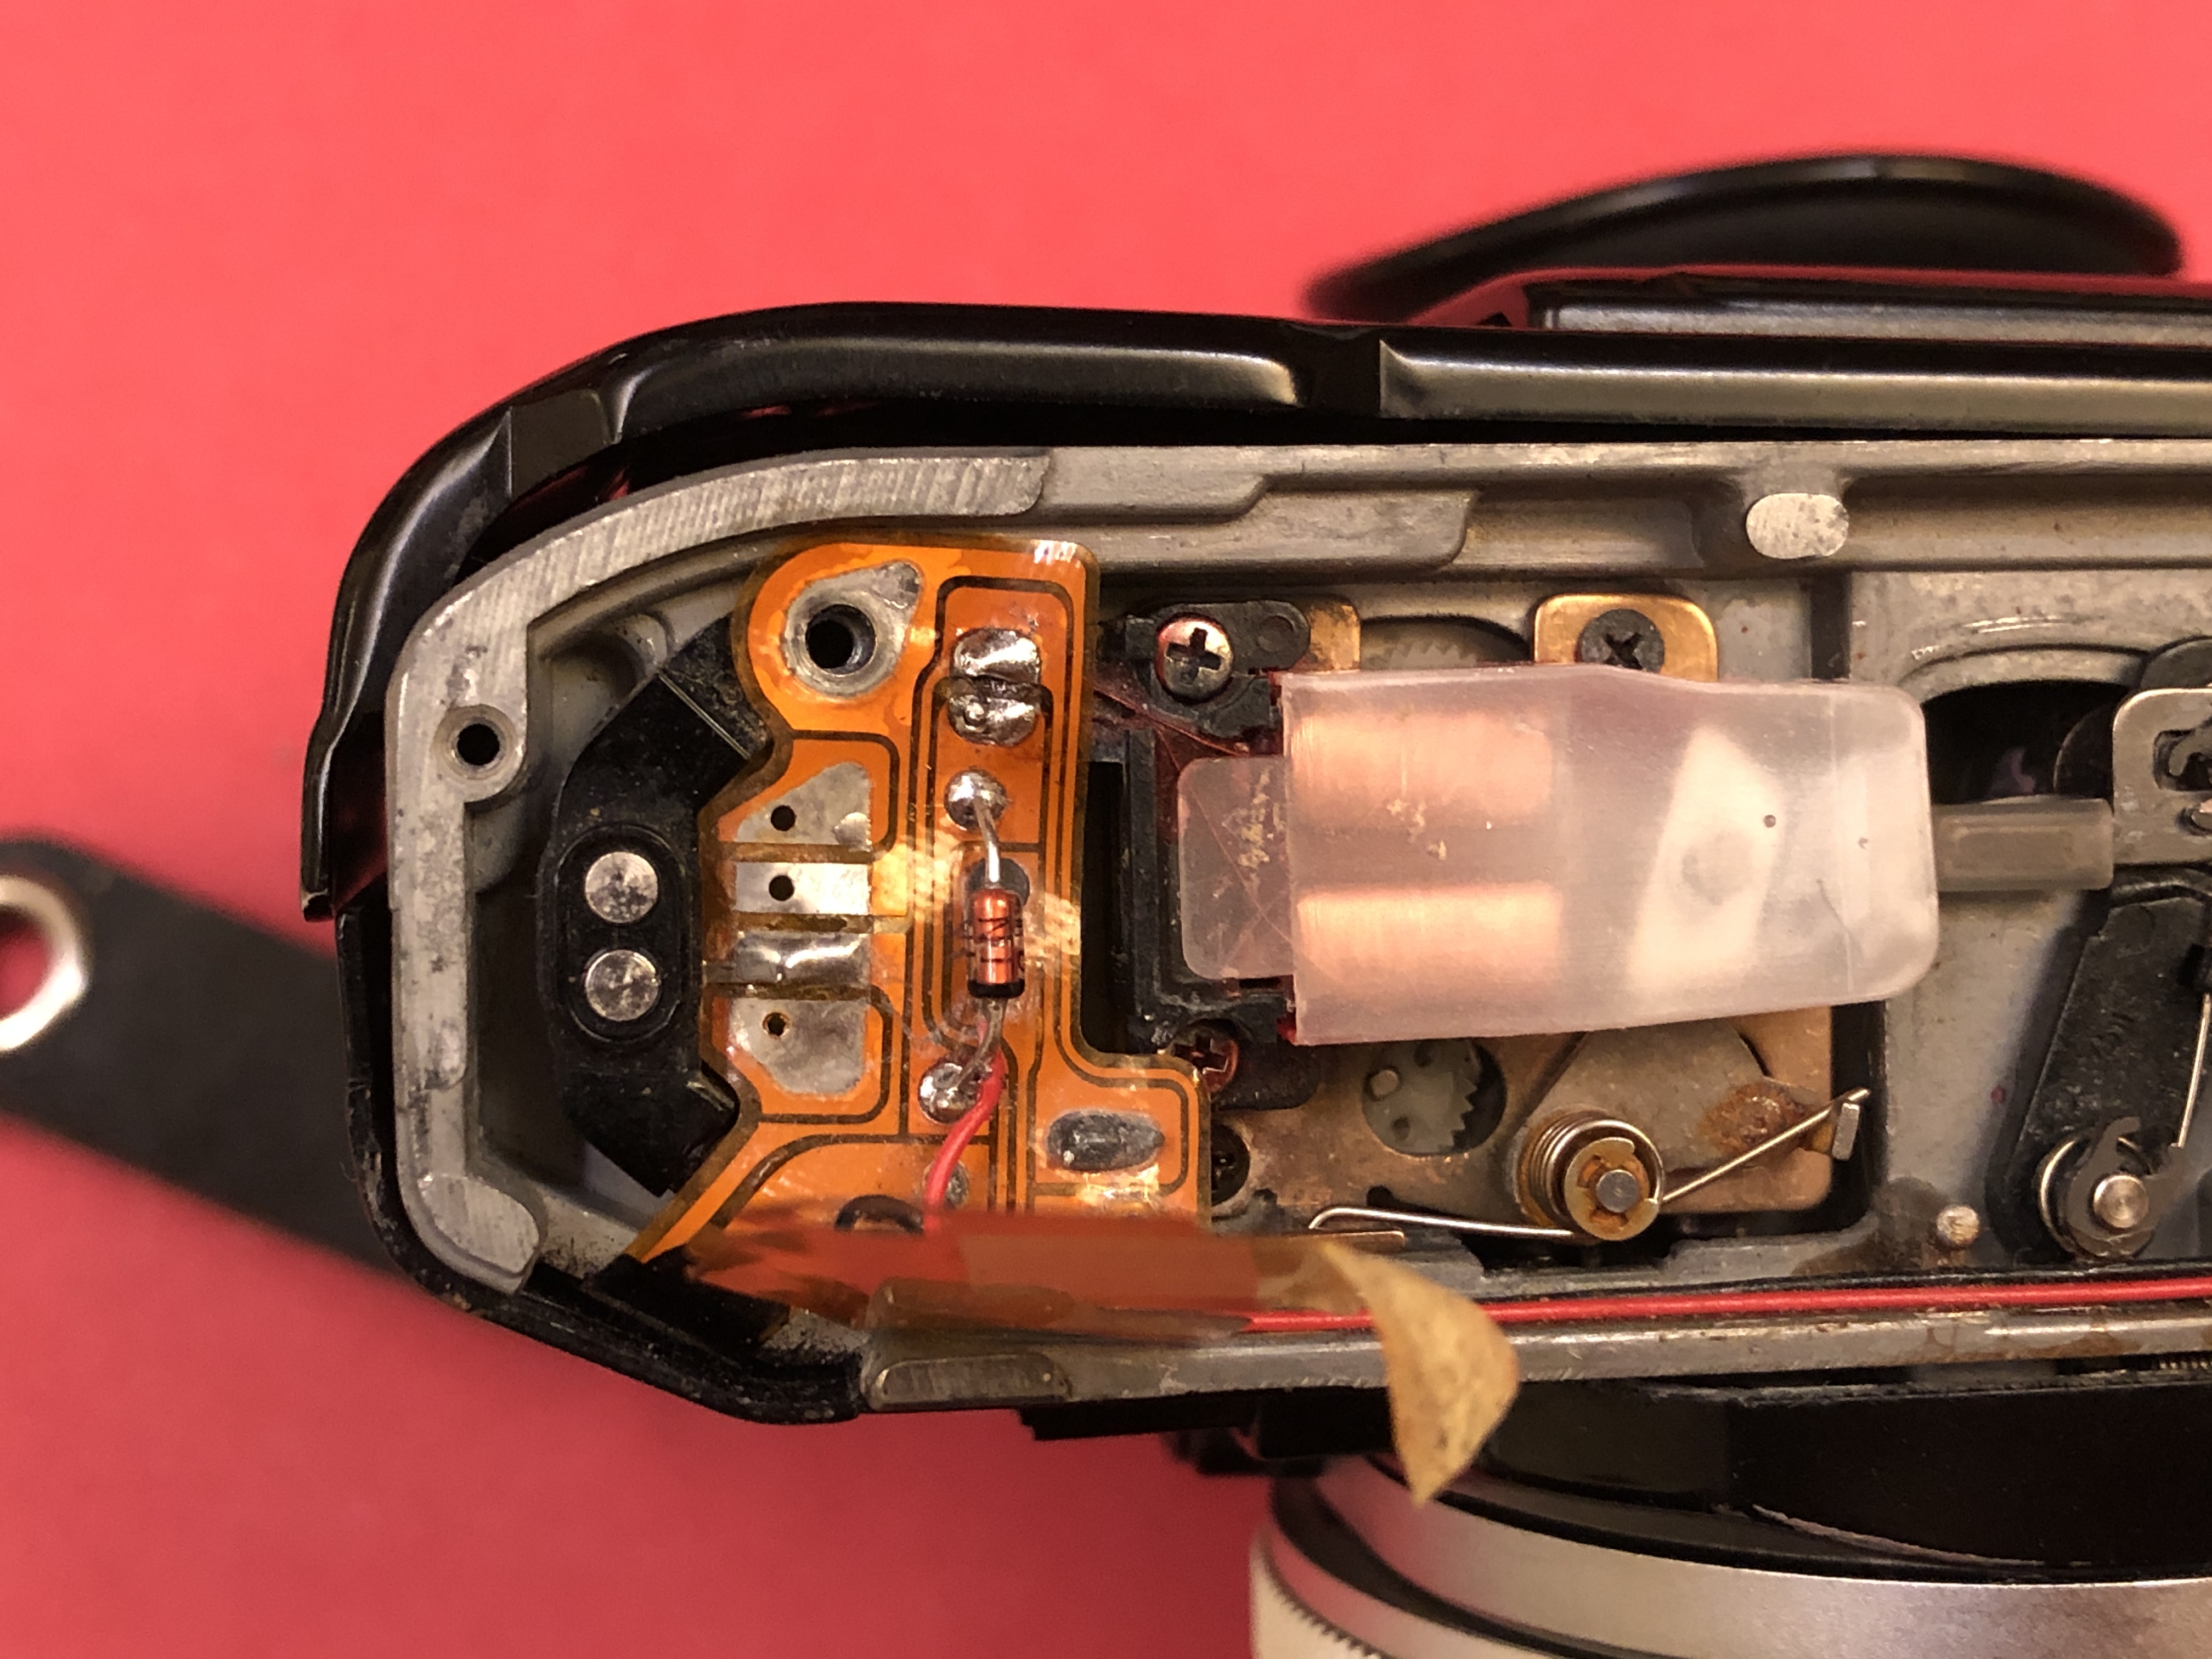
So the next place to look was at the shutter electronics which are all on the gold flex pcb to the left of the electromagnet. After undoing the bolt constraining the flex and freeing the electromagnet from its housing, it was clear that something was missing. A component had fallen off the board. Just below the resistor in the following picture you can see the two well-aged leads of a through-hole component conspicuously disconnected.
The repair manual informed me that this was supposed to be a diode, so I bought one and soldered it on.
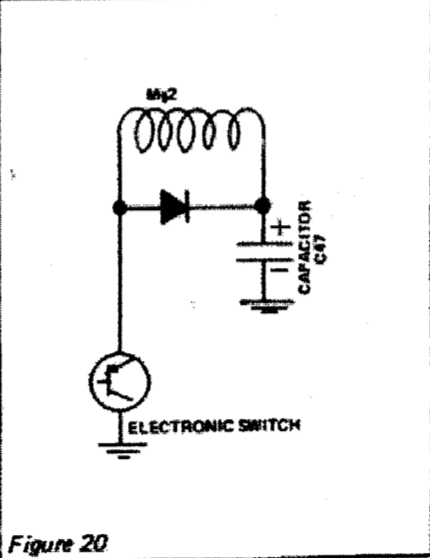
The repair manual is surprisingly well written and relatively comprehensive. It includes the following diagram of the shutter electronics which shows that the diode is used to charge up capacitor c47. The capacitor can then be discharged through the windings of Mg2, pushing the shutter magnet away from the coils. The lack of diode had been preventing the cap from charging.
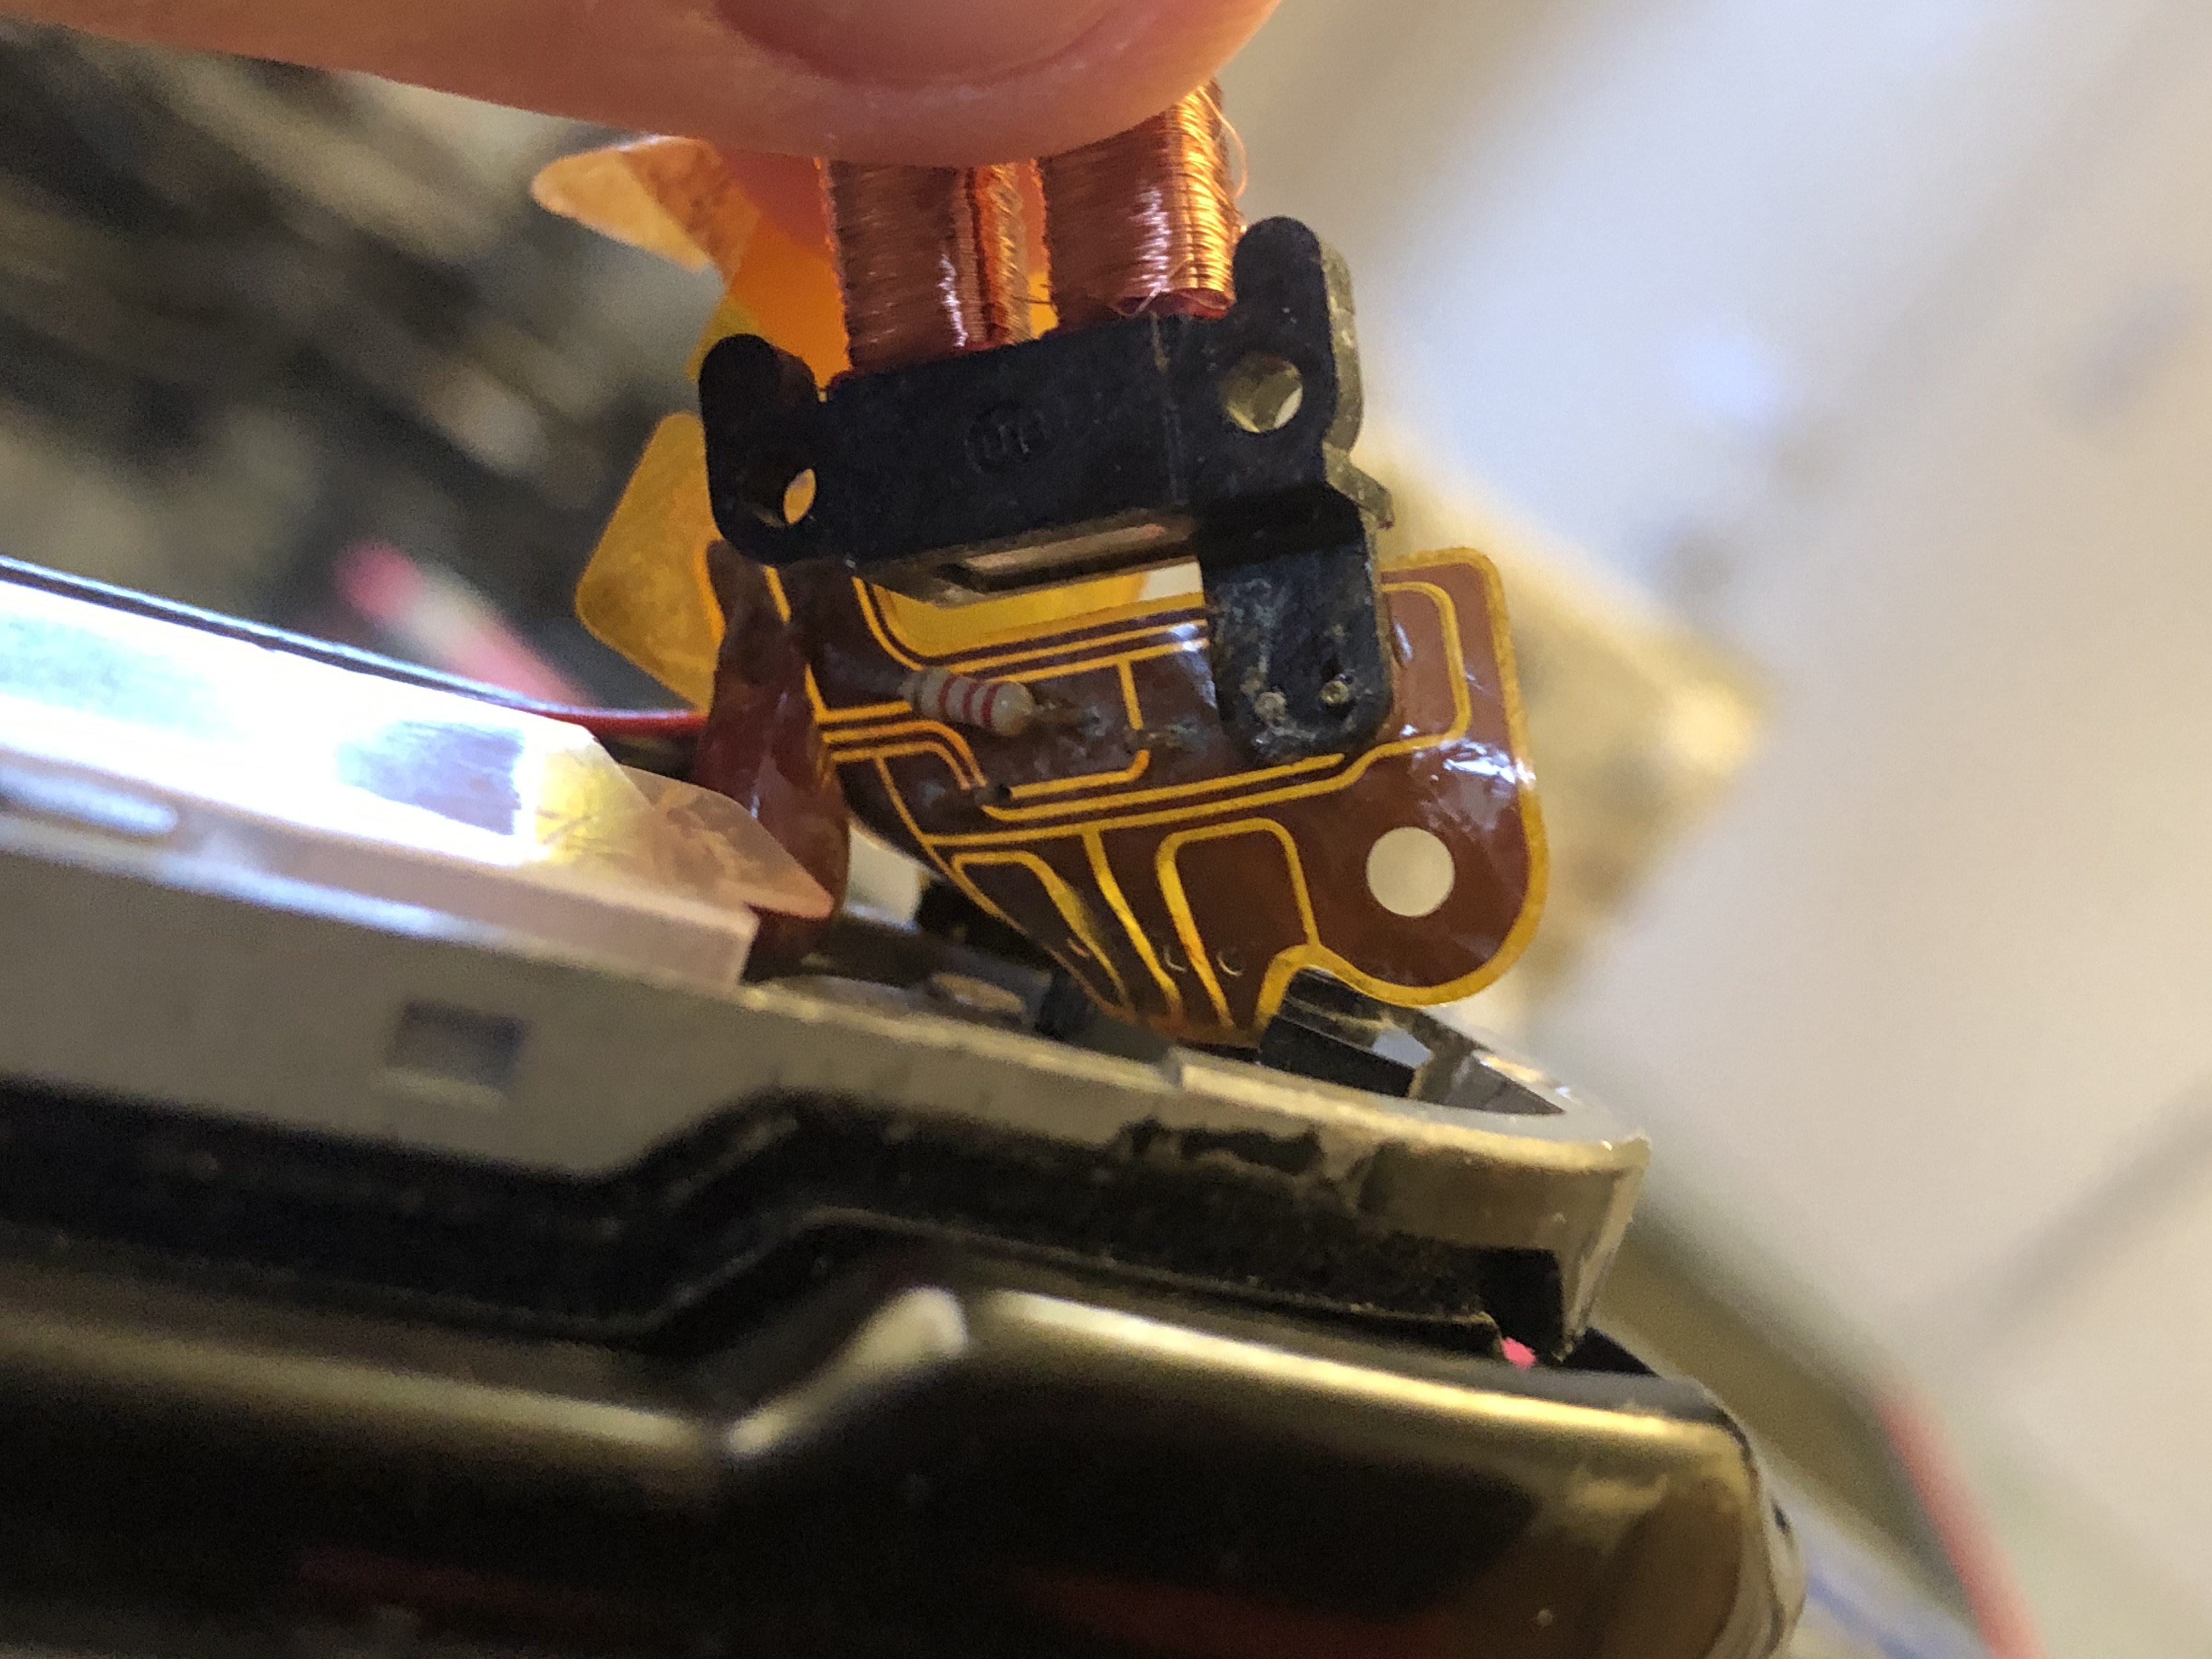
Even with the fresh diode in place, the shutter electronics still failed to release when the trigger was pressed. After probing a couple of the components on the flex, I found a that the windings around the magnet Mg2 had broken. I desoldered the magnet and hoped that the break wasn’t somewhere deep in the coil.
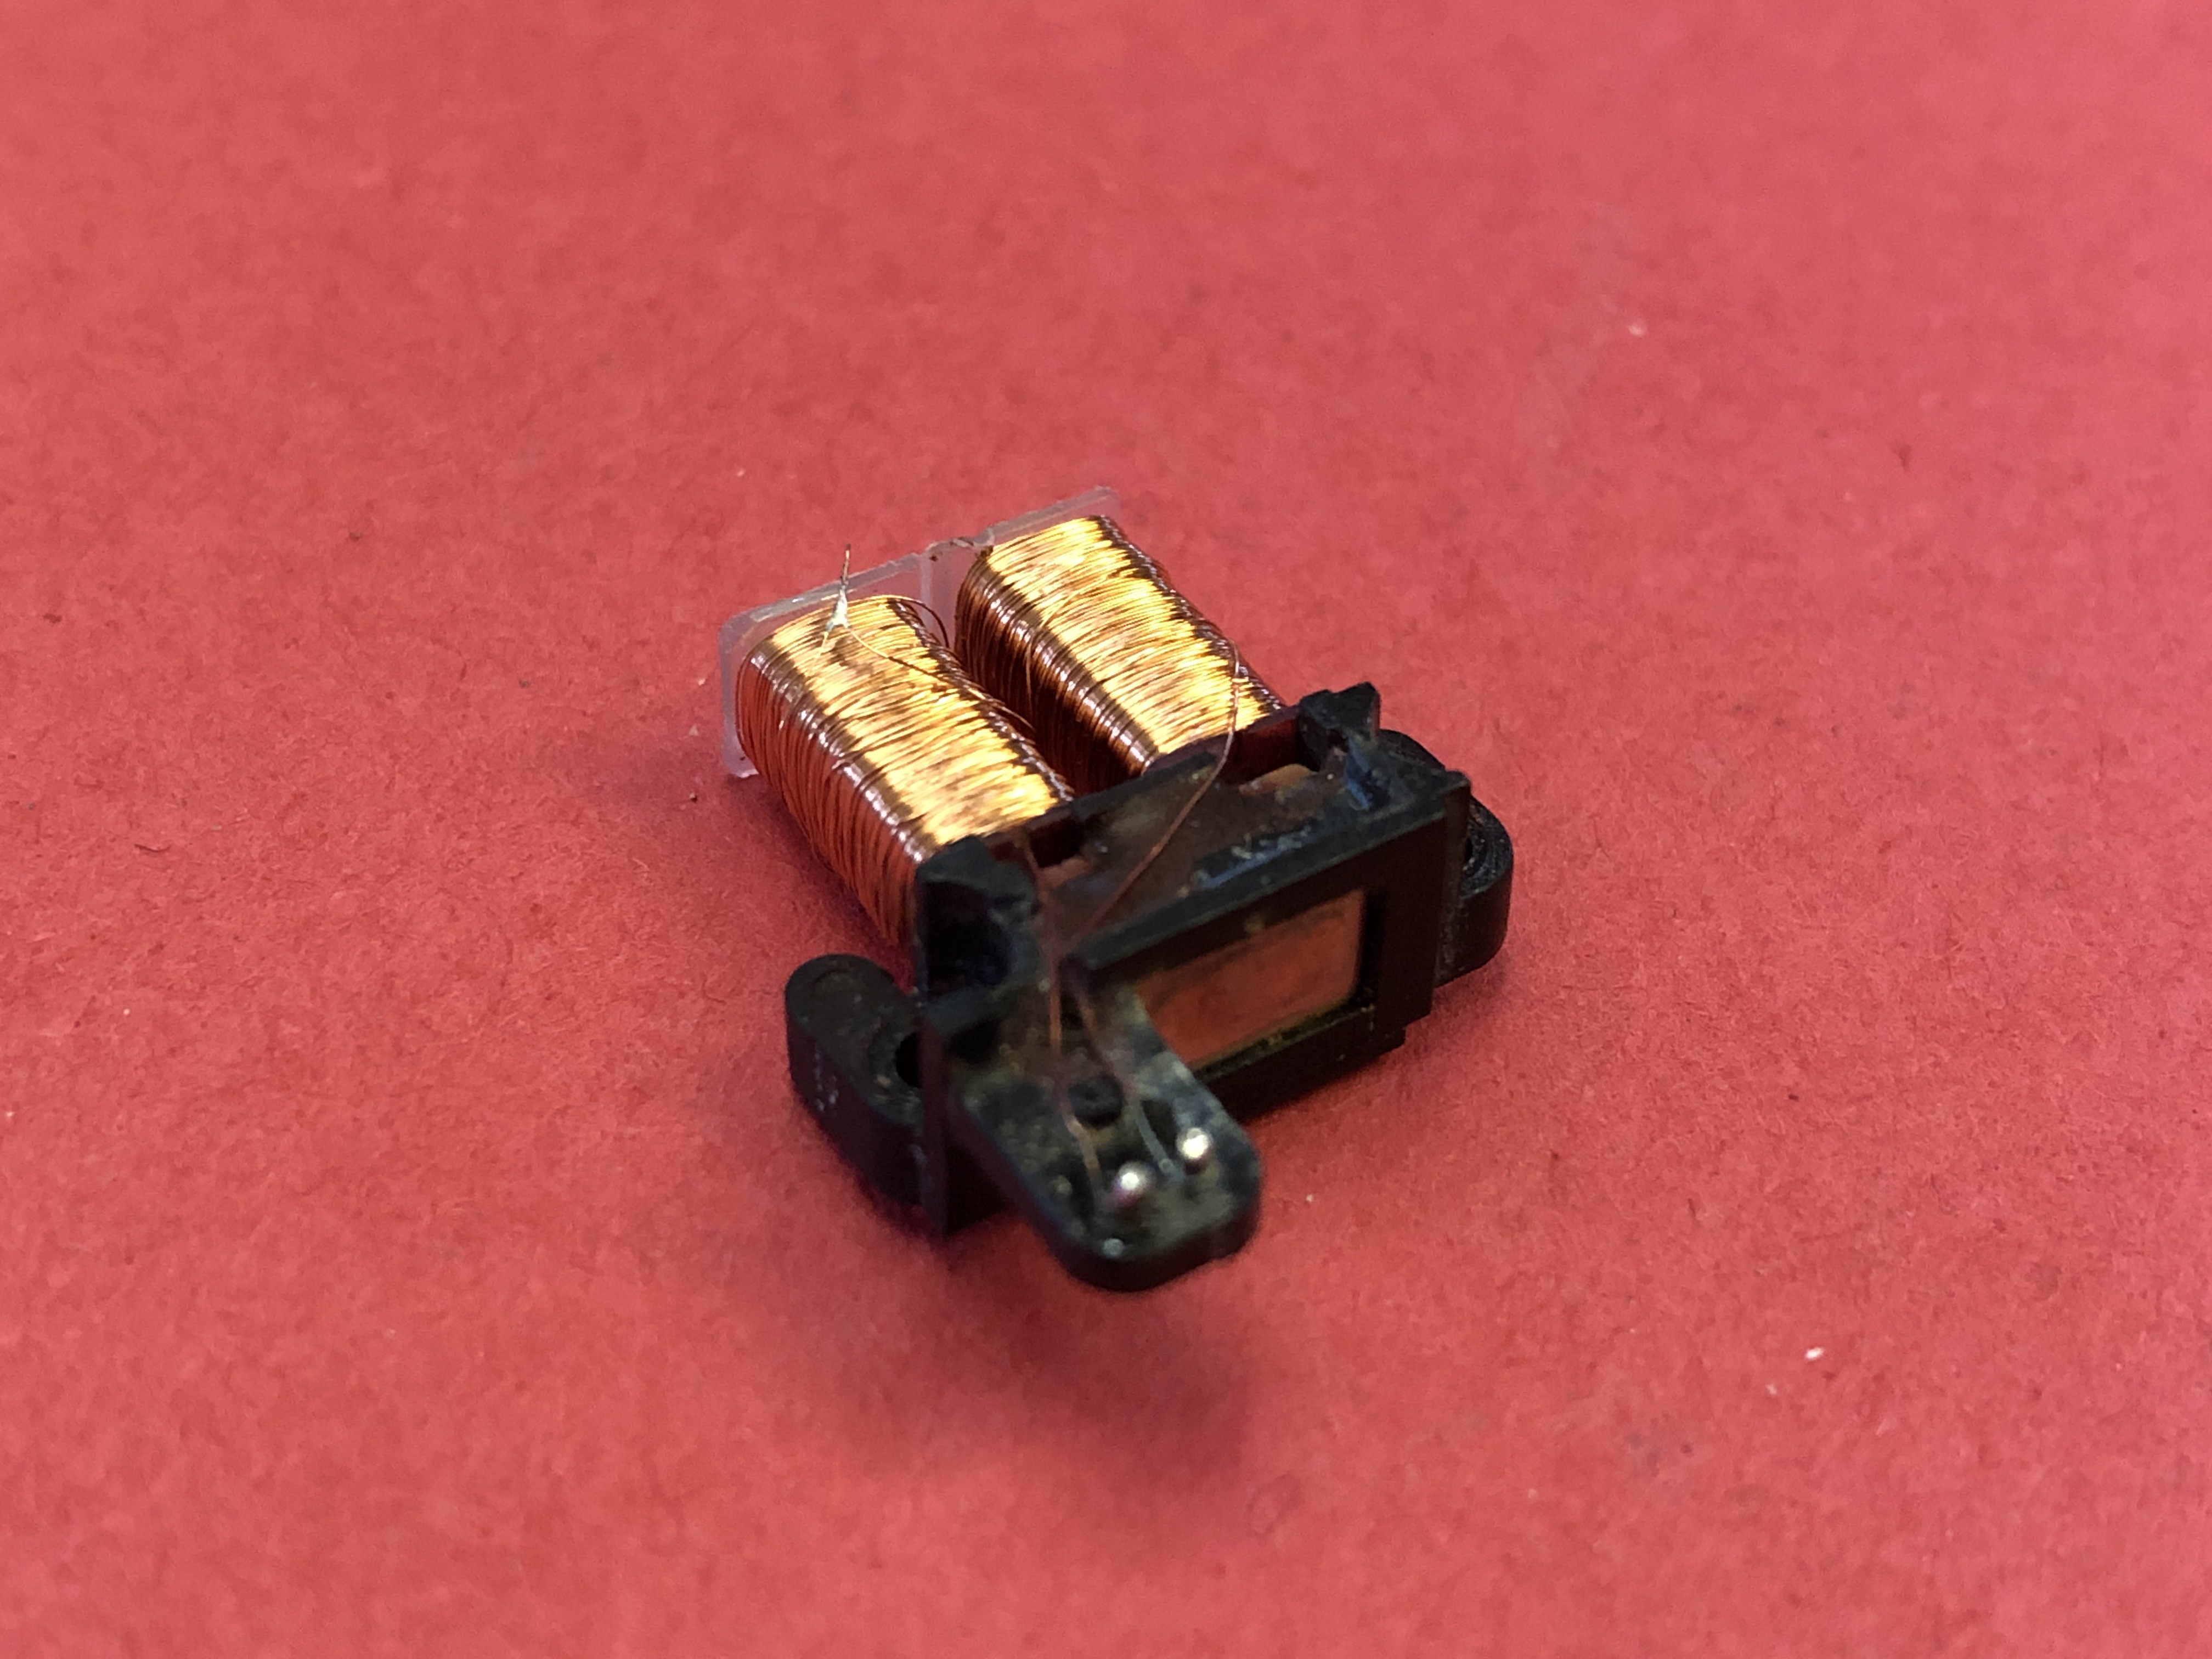
Indeed, after some searching the break was visible. Soldering the magnet wire took a few tries. It is hair thin and coated in enamel to prevent shorts. The internet suggested burning the enamel off with a lighter, but the wire was so thin that it burned just as quickly as the enamel did. The eventual solution was to pass a hot soldering iron across the wire a few times to remove the enamel. The solder joint is at the upper left of the coil in the image above.
With the coils conducting and the magnet back in place, the shutter finally fired. When I put the bottom cover back on the camera, the shutter stopped firing. After some searching, it turns out that the leads on my new diode were a little bit too long and the bottom cover was causing them to short to the camera body. After trimming the stray leads, the camera was ready to take some pictures.
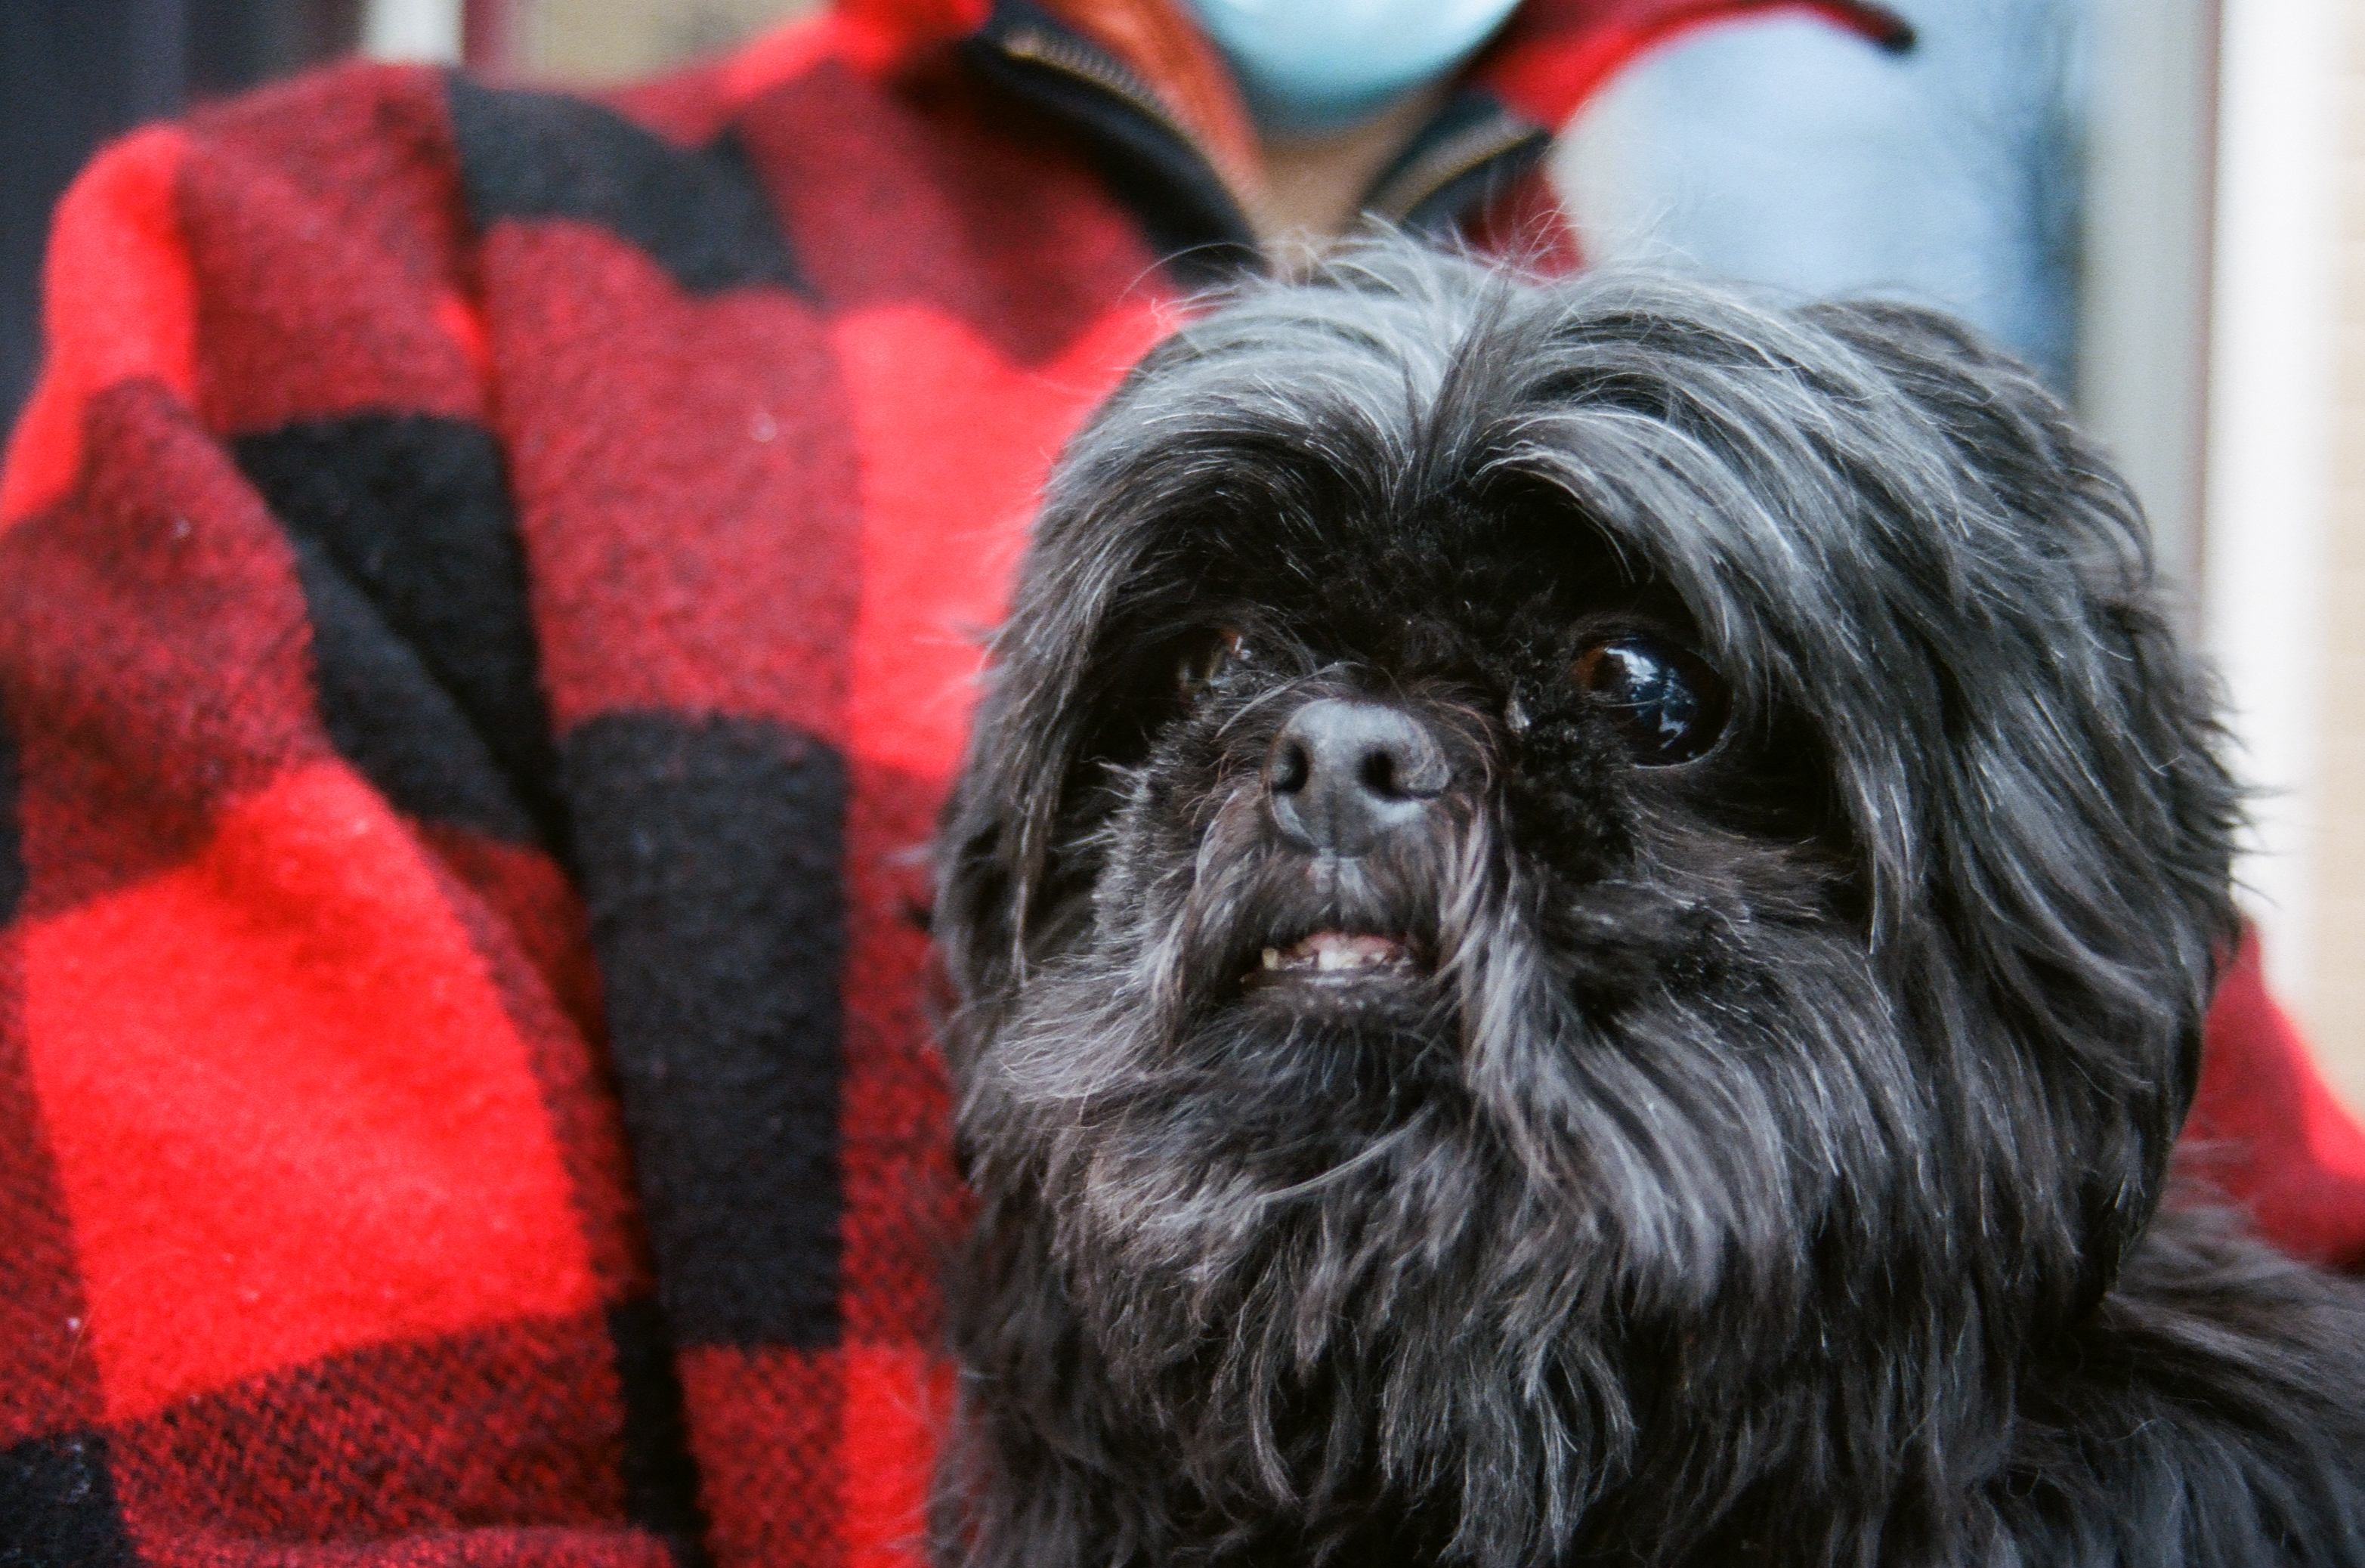
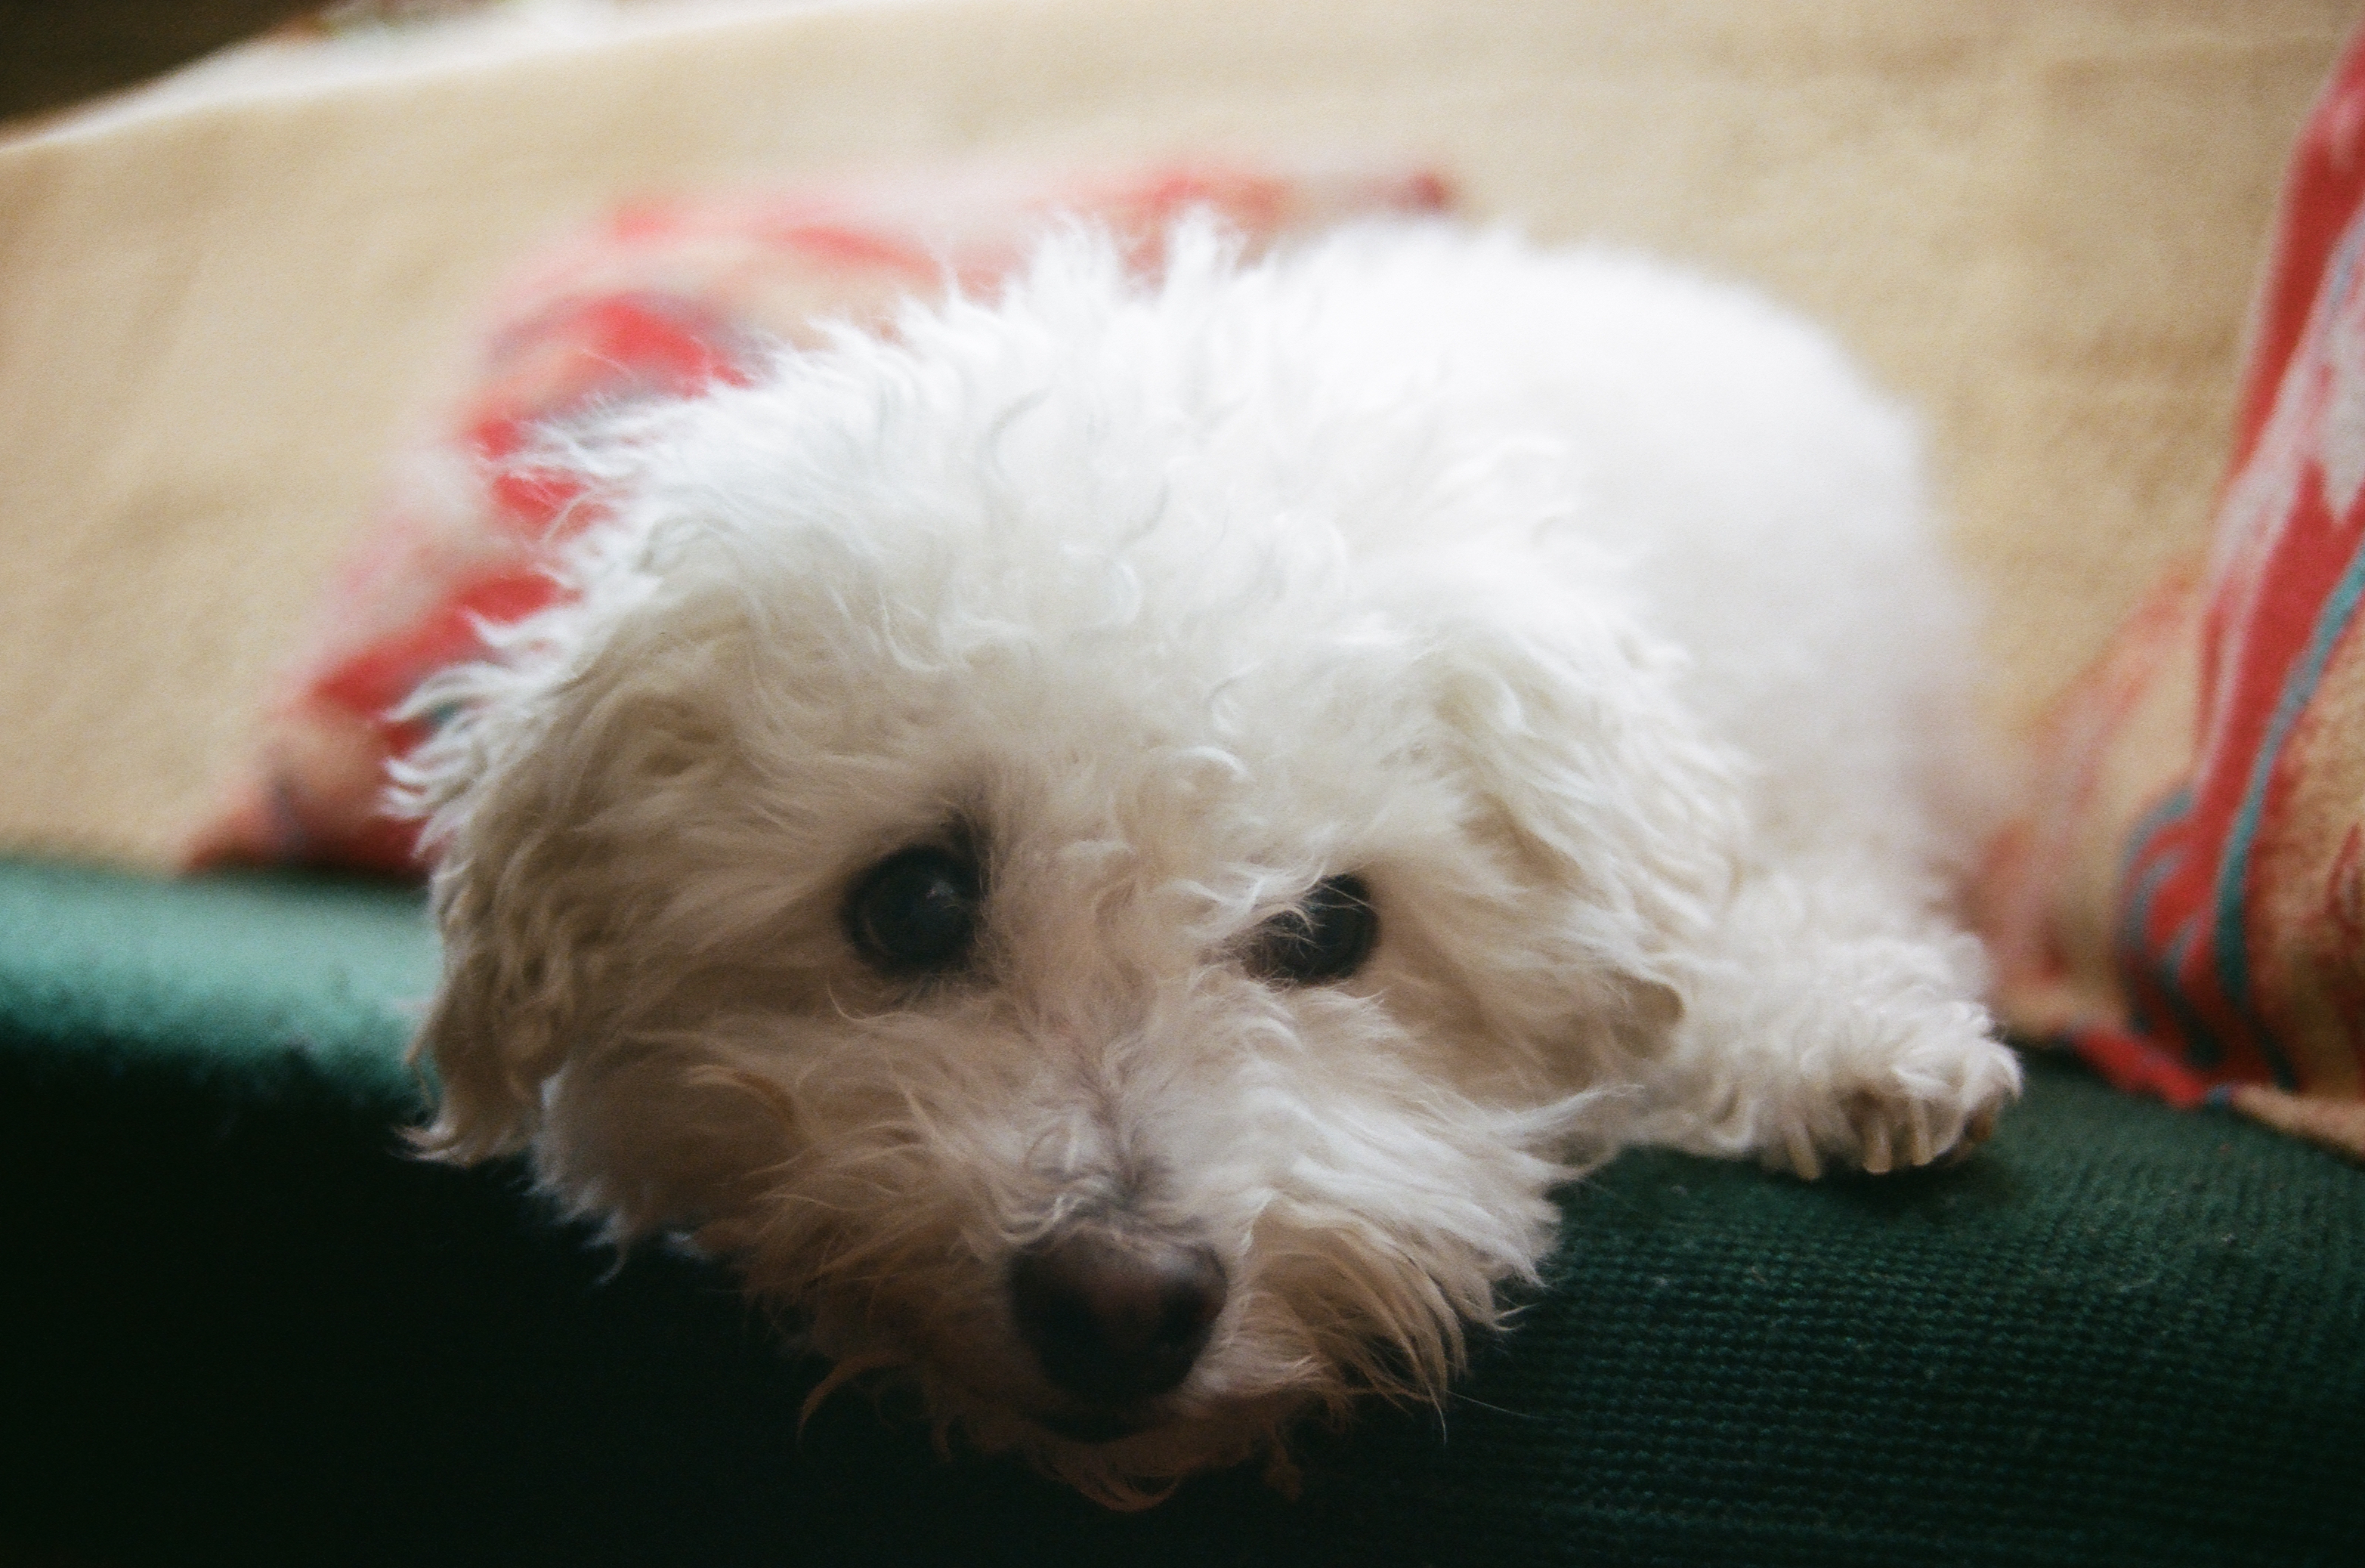
Here are a couple of the pictures Eleanor took with Portra 400 film.